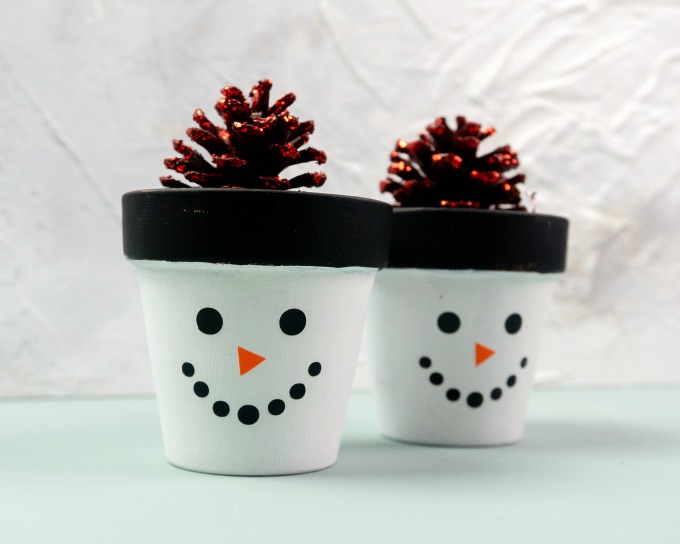
A snowman planter is a great way to add a little holiday spirit to the home this year. Using a little paint and your Cricut, you can create a snowman planter with that classic face and a “hat” made with black paint and a sparkly pinecone at the top.
 It’s a fun way to get crafty and create a festive addition to your home.
Mini Snowman Planter with Pinecones
Links may be commissioned.
These snowman planters will give everyone the holiday feels. Their smiles bring holiday joy, and that sparkly pinecone top adds just the right amount of bling to the project. It’s the perfect addition to any Christmas decor, and it’s just plain fun to make. This project is designed using a Cricut, but you can easily cut these shapes out with scissors, or use paint, paint pens, or permanent markers.
Materials Needed:
12×12 sheet of black permanent adhesive vinyl (oracal 651)
12×12 sheet of orange permanent adhesive vinyl (oracal 651)
12×12 sheet of transfer tape
1 bottle matte black paint
1 bottle white chalk paint
potting soil
1 – set of 9 glitter red pinecones
Cricut cutting machine
Cricut blue cutting mat
scissors
Cricut design space
plastic paint drop sheet or scrap newspaper to protect your work surface
paint brush
Mini flower pots. You can get these in a pack for 2 at Dollar Tree, or a little more at any craft store.
Vinyl Weeding Tool
Scraper Tool
Instructions:
Paint the bottom of the flower pot white. Paint the top edge of the flower pot black. Let dry.
Once dry it’s time to start cutting the vinyl for the snowman face. Using the Cricut Design Space software, we’re going to use the shapes tool. Navigate to the shapes tool and open 4 circles and 1 triangle. Do this by clicking on the specific shapes.
Move the first circle to the left and make it the size you would like the eye to be. Then right click and hit duplicate. Pull the eye over to where you’d like the next eye to be. Now resize the triangle to the nose size and rotate it to point right.
Take another circle make it small and put it on the left as the start of the mouth. Duplicate and put as the start of the mouth on the opposite side. Repeat this process with the other two circles, completing the mouth.
Now click and draw a box over the entire design, then click weld in the bottom right corner. Your design should now be once piece and can be resized to less than an inch which will fit on these small flower pots.
If you’re using a larger flower pot. simply resize to your measured space. Now navigate to contour on the right of the screen. Remove the triangle by clicking on it in contour. This will allow you to cut the eyes and mouth in just black. Place the black vinyl on the cutting mat and set your machine to vinyl on the dial.
Cut out the eyes and mouth. Once it’s complete then weed the design with the weeding tool. Set aside. Now go back to design space and hit contour. Click the nose to bring it back and click the eyes and mouth to remove.
Take the orange vinyl and place on cutting mat. Cut on vinyl setting on dial. Once your design is cut, weed the design. Cut any excess paper around the design. Now cut a piece of transfer tape with scissors to fit the design. Pull the orange nose off and place on the sheet with the black. Pull transfer tape from backing and place on weeded design.
Using an old gift card or scraper tool rub well over the entire design. Pull slowly making sure the design sticks to the transfer tape then place on the flower pot. Burnish it really well with the card or scraper tool. Peel the transfer tape back slowly, making sure everything sticks to the design. You may want to use your fingers to push down the edges if they start to lift while you’re removing the transfer tape.
Once the design is on the planter you can now fill the planter with potting soil or rocks and top off with a glittered pinecone. This is super cute to add to gifts baskets. Or make a few to group for home decor.
Add Some DIY Flair to Your Holiday Decor
This snowman planter craft is fairly straightforward, and it’s so much fun. Get crafty, and make your own snowman planters to add some whimsical fun to your holiday decor this year.
More Fun Winter Craft Ideas
- Upcycled Snowman Jar – A fun and easy project that’s great for all ages. Using different sized jars will give you a different look.
- Fluffy Sheep Ornament – A fun and easy project that looks cute as a holiday decoration or as a package topper.
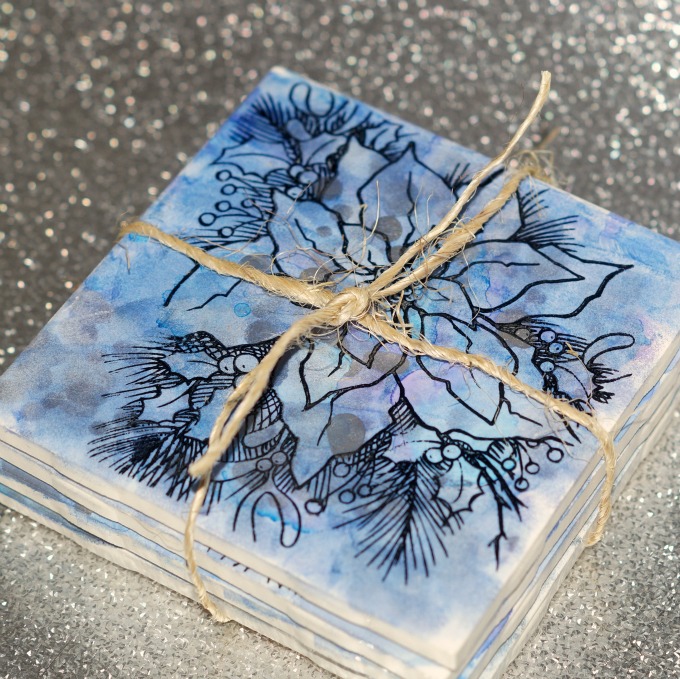
- Upcycled Elegant Tile Coasters – No one will believe that these elegant coasters started life as tiles that were less than $0.25. (pictured above)
- Buffalo Plaid Scrappy Wreath – Buffalo Plaid is great for any time of year, but especially at the holidays. Make your own scrappy wreath with a little fabric and ribbon.

