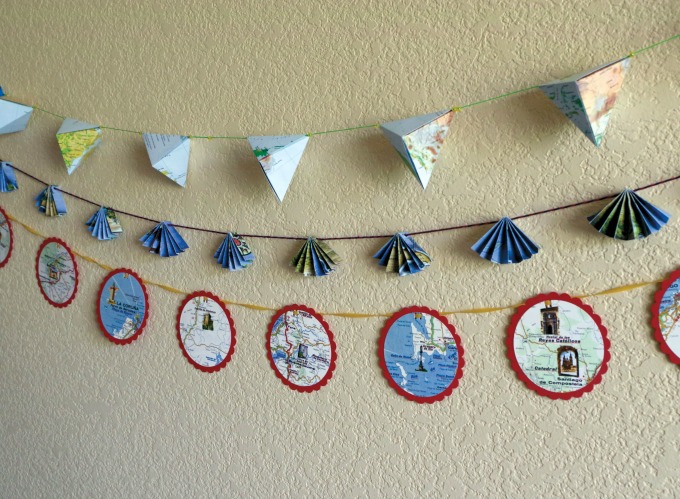
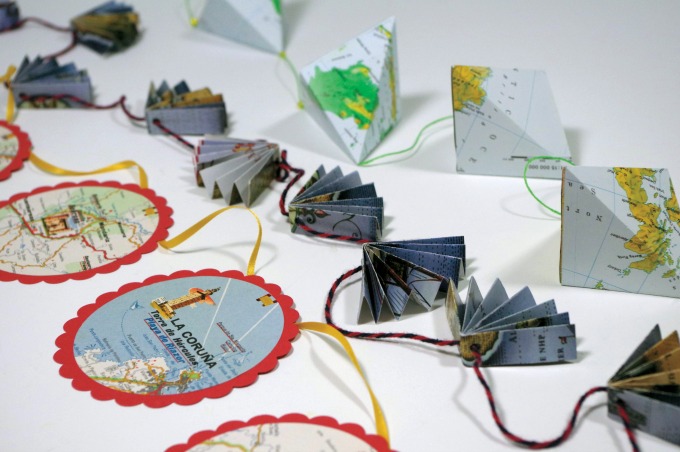
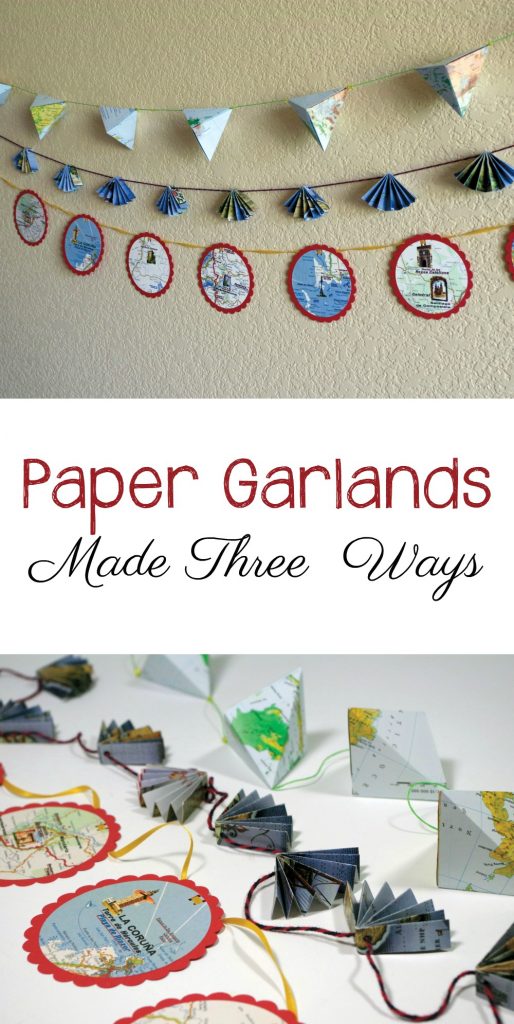
I love paper. I always have, and I probably always will. The colors, the textures, the different weights, and finishes…I could go on and on waxing poetic about it. Garlands have become so popular in recent years, and one of the best things to make them out of is paper. We’re going to show you how to make three different styles of paper garlands – crane eggs, fans, and stacked rounds.
Never fear though. While these paper garland projects may look difficult and complicated, they’re really quite simple and easy to do.
Links may be affiliate links.
Crane Eggs Paper Garland
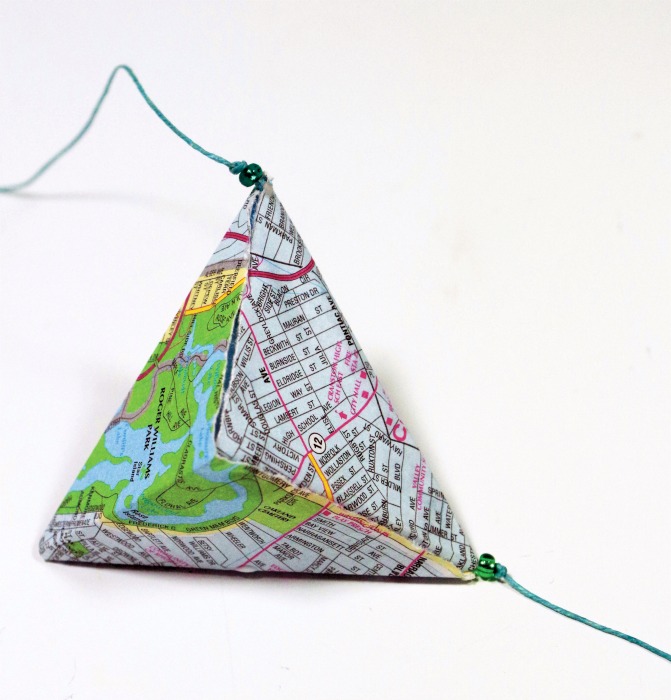
These simple paper eggs are “rolled” forms made from leftover strips of one-sided maps, and they make lovely ornamental garlands. These would be fab made from scrapbook paper, too. They’d just be slightly smaller.
Supplies Needed
- 2″ x 16″ (5 x 40.5 cm) map strips (as many as desired)
- String (this used waxed linen)
- Craft glue or dry adhesive.
- Small bead with a hole large enough for the string (this uses size 6 seed beads)
Directions
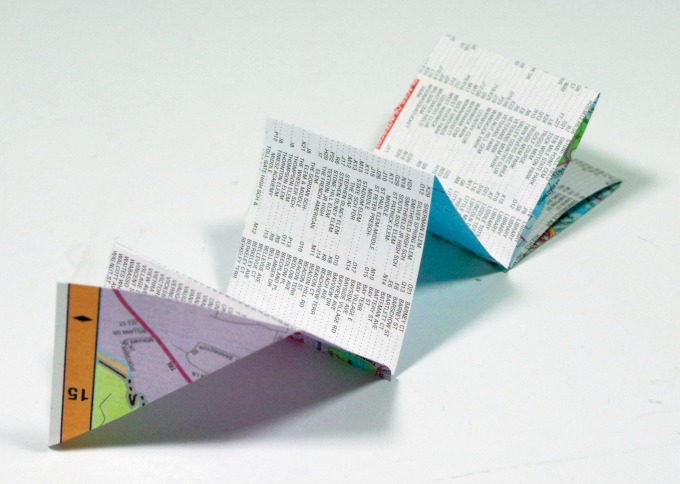
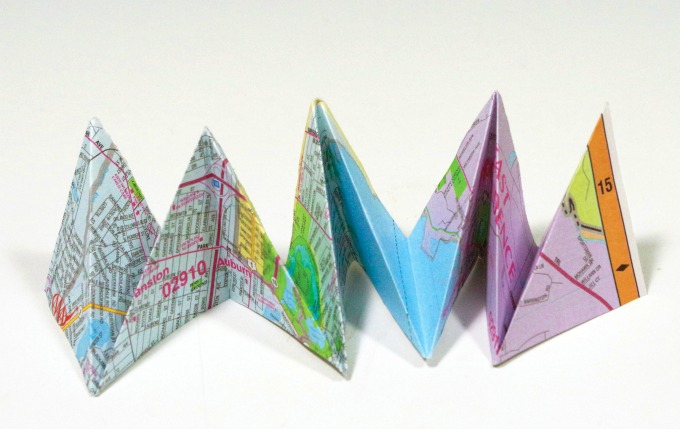
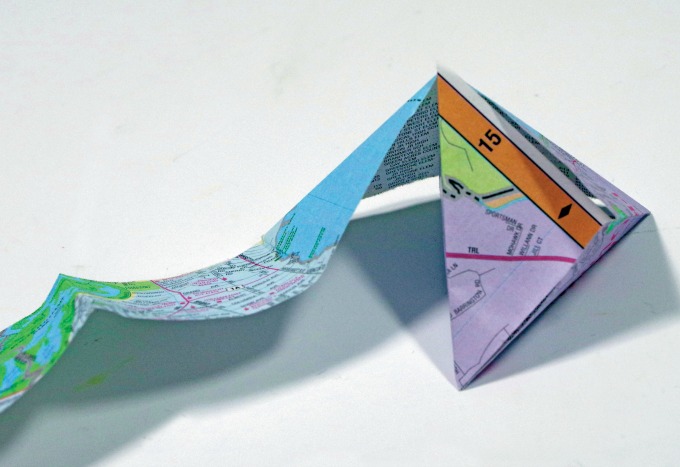
Accordion-fold one strip of map. Fold the last panel diagonally.
After folding the last panel diagonally, go back and fold all other panels diagonally. This will make your strip triangle-shaped when you’re done.
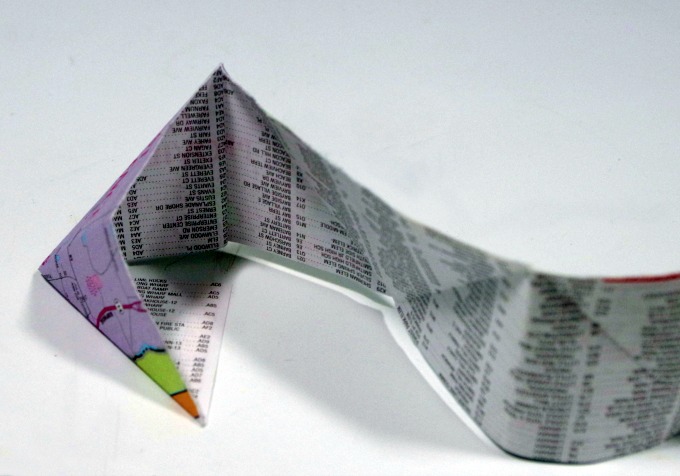
Open the strip out again and begin to roll it loosely from one end, so that the diagonal panels form a hollow shape with six sides.
Continue, letting the folds in the paper guide you. They will wrap around the shape over and over.
When you get to the last two panels, fold one in on the other. Lay the string along the inside edge. Glue the string in place.
String a bead on either side of the shape. Make a small knot next to the bead to keep it from sliding.
Repeat steps 1 through 6 until you have the garland length you desire. Be sure to add some space between crane eggs. These are about 6 inches apart on the garland.
Paper Fans Garland
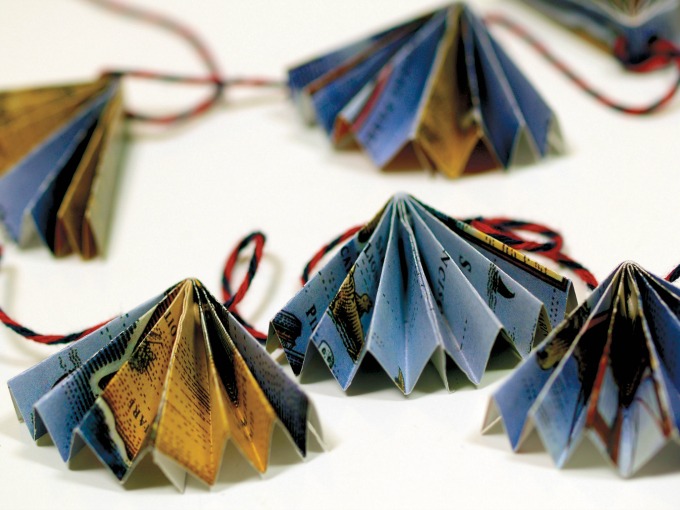
Fans harken back to hot summer days or Spanish dancers. Do you remember making these in elementary school? I sure do! They’re easy to make to decorate your yacht, tree house, beach hut, or backyard afternoon tea.
Supplies Needed
- 3″ x 4″ (7.5 x 10 cm) map rectangles (as many as desired)
- Craft glue or dry adhesive.
- String
- small-hole paper punch
Directions
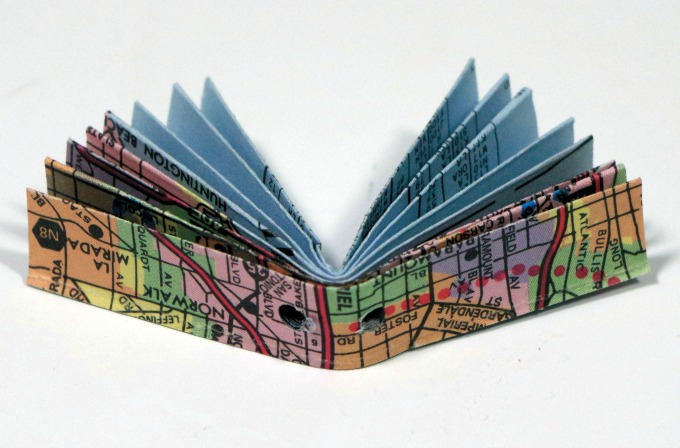
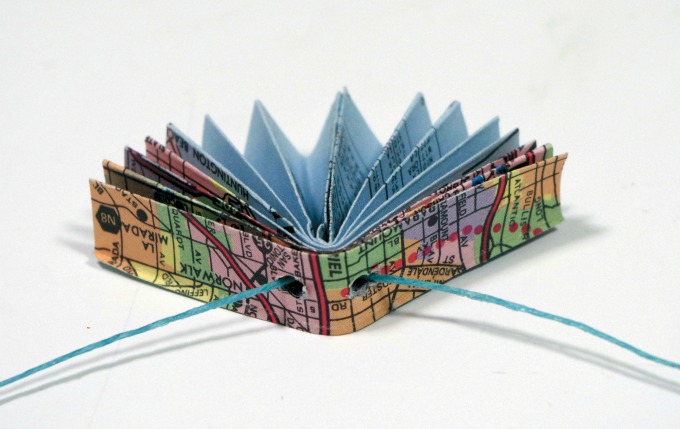
Accordion-fold the map rectangle on the short side. Fold the stack in half.
Punch a small hole on either side of the center fold.
Glue the center panels together. Thread the string through holes at the top.
Repeat steps 1 through 3 until you have the garland length you desire
Stacked Circles Paper Garland
Commemorate a trip by using one map in combination with a complementary color to make a bold, graphic garland. This style packs a lot of punch, but is oh so easy.
Supplies Needed
- Maps
- Cardstock
- Glue or a dry adhesive. I’m partial to dry adhesives.
- Ribbon
- Scissors
- Circle cutter
- Decorative-edge scissors or a scalloped paper punch
- Craft knife
Directions
Using scissors or a circle cutter, cut out small circles from maps.
Cut out circles from the cardstock paper about ½ -1 inch larger than the map circles.
Use the decorative-edge scissors to trim the edge of the cardstock paper circles. Or use a scalloped circle paper punch.
Center and glue the map circles onto the cardstock paper circles. Let dry.
With your craft knife, cut two small parallel slits at the top of the disk. The slits should be the width of the ribbon you are using.
Slide the disks onto the ribbon.
Voila! See how easy it can be to make paper garlands? Even the most complicated style are really pretty easy to make, once you get the hang of it.

