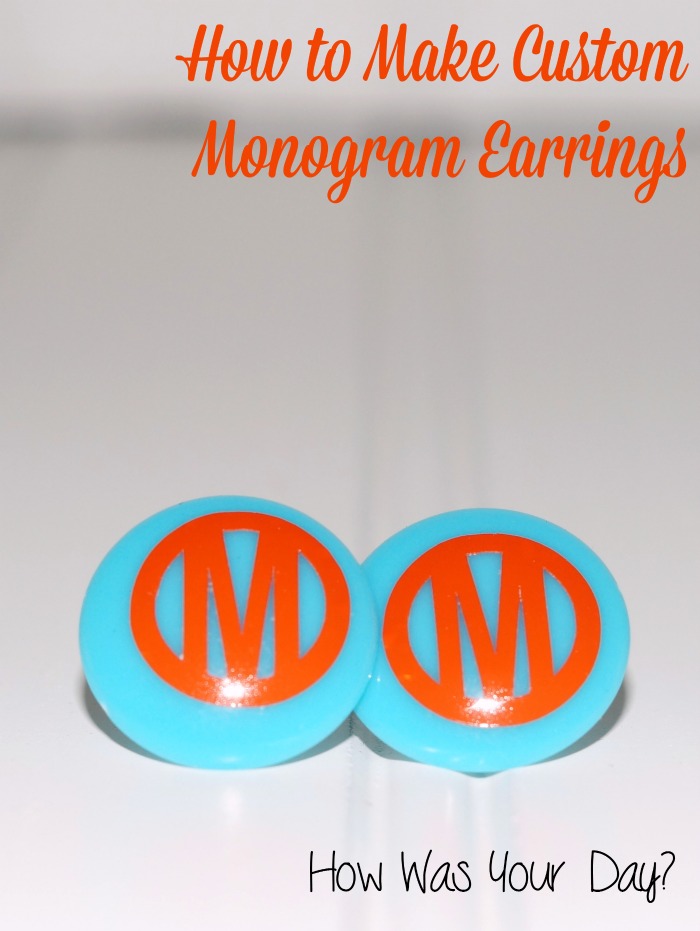
Monograms are oh so popular among the preppy set. Make your own DIY monogram earrings and be the envy of your friends.
If you live in the south, one of the things that you just cannot get away from is the monogram. I mean, there is a saying “If it doesn’t move, monogram it!” Personally, I’ve never been one that’s fallen into that trend, but I totally see how others have. Maybe it’s because the letter “G” looks weird in a lot of fonts. Recently, though, a friend asked me to make her some monogrammed earrings. I was like “whaaaa?? How???” Her reply was “You’re clever and creative. You’ll figure out how to make them.” Ooh…a challenge!
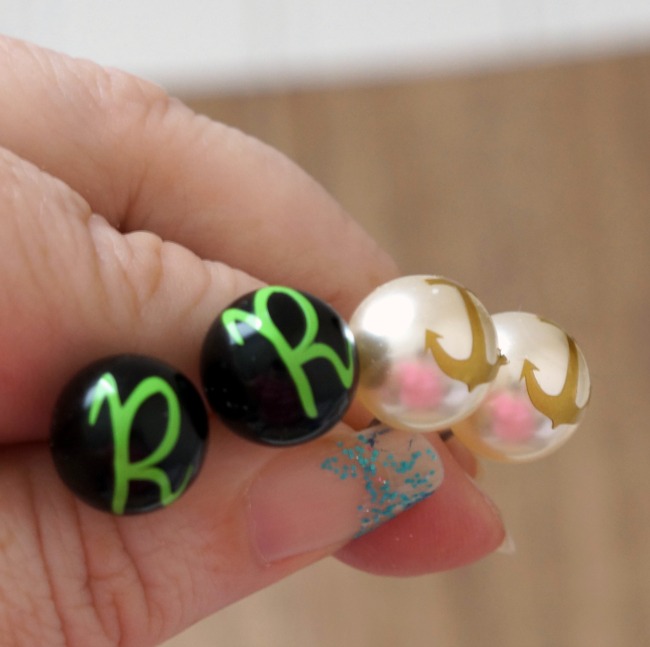
After some trial and error, I did figure out how to make DIY monogram earrings using the Silhouette machine. It’s not even difficult, once you get the hang of it.
How to Make DIY Monogram Earrings using the Silhouette
Materials Needed
- Permanent vinyl. I’m using Oracal 651, but there are tons of great brands and suppliers out there.
- Earrings. Ones with a flat face are easier. The rounded ones aren’t really difficult, though.
- Transfer tape or contact paper. This is how you move your vinyl design. I prefer transfer tape, but some swear by contact paper.
- Silhouette machine
- Scissors
Directions
Your first step is to figure out what design you want on your DIY monogram earrings. You can do initial monograms, or a single letter. You can even forego the monogrammed earrings and create designs on them instead. Whoa, right?!?!
Open up your Silhouette Studio program. Place your designs as you normally would when designing any other layout. Place only one of your motifs or letters for your DIY monogram earrings on your layout.
Size the design to the size that you need. For the rounded pearl or heart earrings, my designs are about .45 of an inch. The flat rounds can be up to about 0.6 inch.
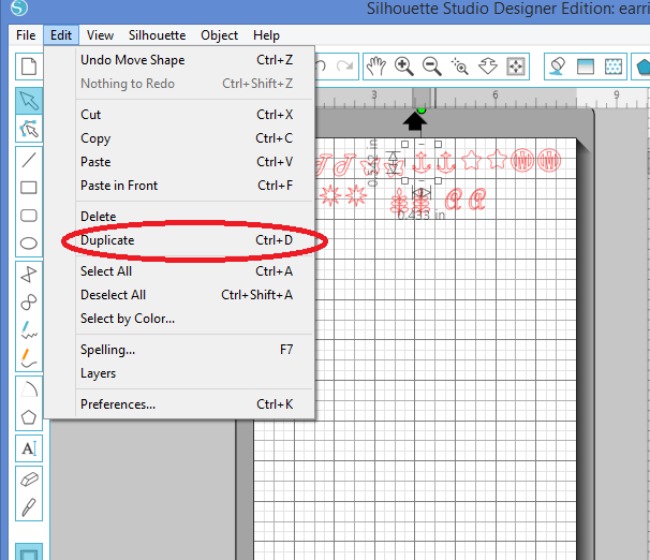
Once your motif is the right size for your DIY monogram earrings, duplicate it. This will make sure that both of your monogrammed earrings designs are the same size.
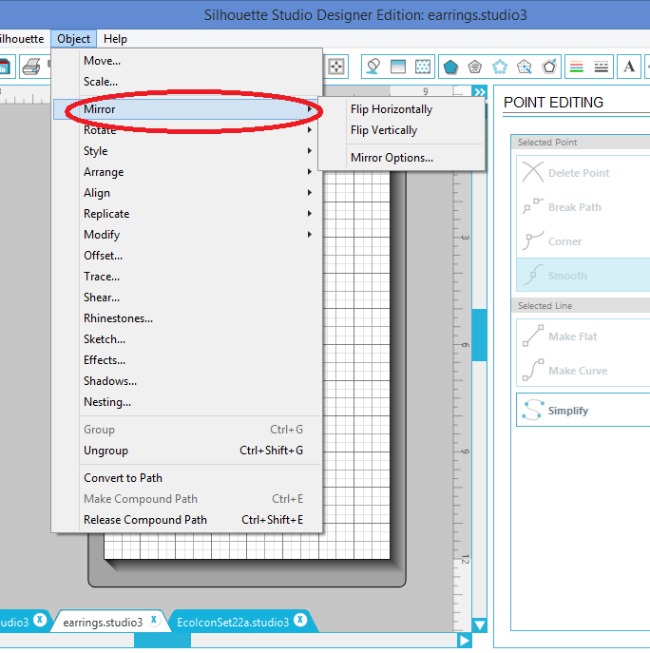
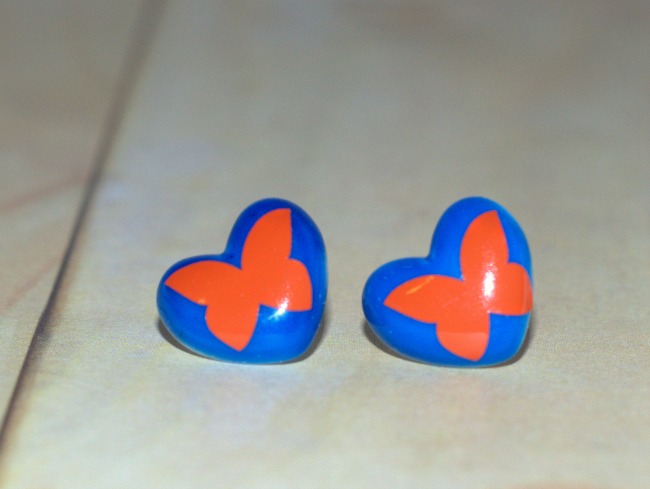
If it’s a directional image, you might want to mirror the motif as well. I did that for the swallows.
Once you have the designs for your monogrammed earrings set – and in pairs! – it’s time to cut. Send it to the Silhouette and sit back while the machine works its magic.
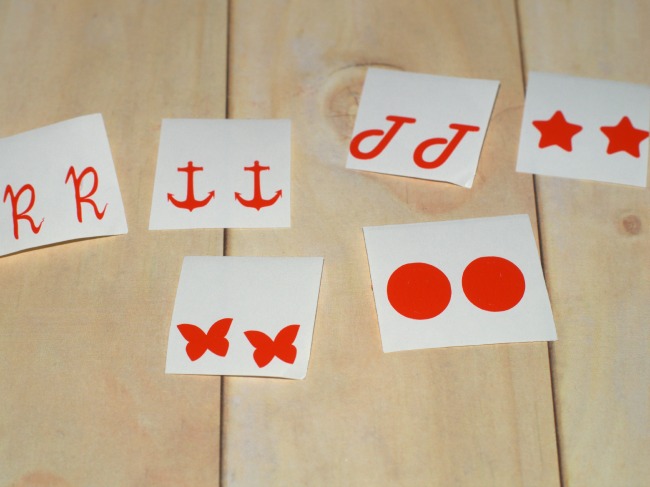
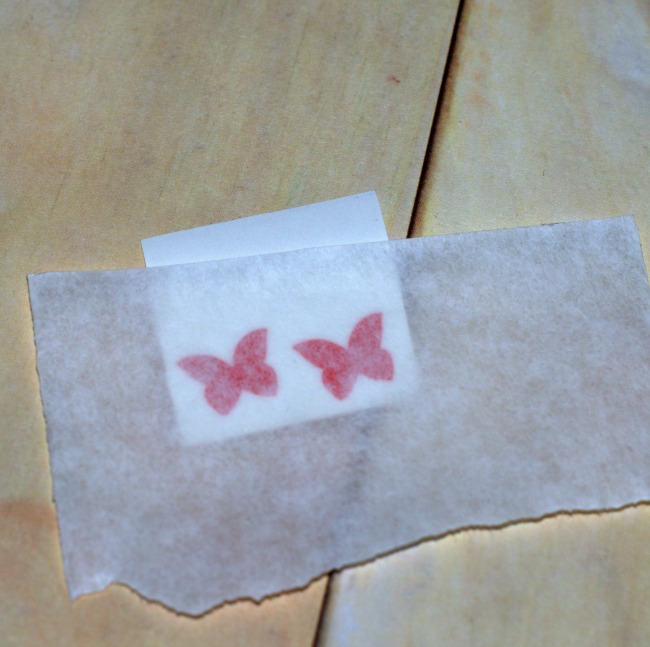
Once your designs are cut, it’s time to weed. This is the practice of removing the excess vinyl. It’s really actually pretty quick and easy. You can kind of see the cut designs above.
Cut the monogrammed earrings designs apart, leaving the pairs together. Grab the excess vinyl from one of the edges, and slowly pull it off. It should pretty much come off in one piece, quickly and easily. You’ll be left with the motif you want to add to your DIY monogram earrings. The circles above are the Ms shown on the turquoise. They need a little more weeding, but it’s super quick and easy.
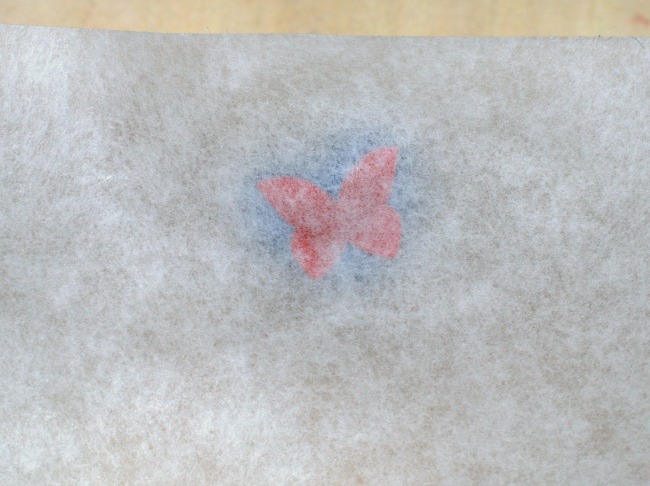
Take a small piece of transfer tape. Stick it to the top of the design and burnish down. Pull the vinyl backing off, and you should have your design on your transfer tape.
Take your earring blank and line it up with the motif on the transfer tape. Press it down, once you have it aligned, and smooth it onto the earring. Take care not to get creases or bubbles on your DIY monogram earrings. Most of those can be smoothed out with your finger or fingernail.
Repeat for the other earring.
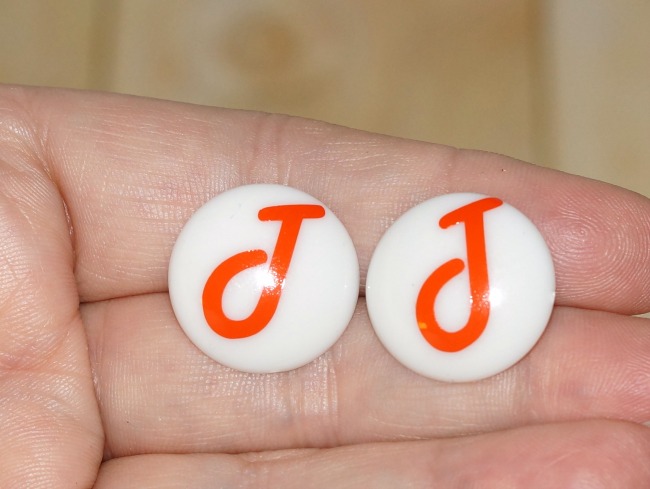
Voila! You’ve now created a pair of custom DIY monogram earrings. It was quick, easy, and pretty inexpensive. Make a pair of monogrammed earrings to go with all of your outfits – or a pair of DIY monogram earrings for everyone you know!
For more fun Easter/Spring ideas, visit a few of my favorite bloggers:
- Easy Easter Craft: Washcloth Bunny by Confessions of an Overworked Mom
- Easy DIY Garden Markers by A Mom’s Take
- Bunny Cupcakes by This Mama Loves
- Simple Spring Wreath by Simply Southern Mom
- Carrot (Cake) Cupcakes by Mom Does It All
- Ultimate Easter Egg Dye Guide by The Guavalicious Life
- DIY Homemade Bird Feeder by My So Called Balanced Life
- Edible Easter Placemats by Two Boys One Girl and a Crazy Mom
- DIY Colorful Spring Wreath by Home and Garden Cafe
- Nest Necklace by Style on Main
- Make an Easy Painted Eggs Easter Craft with Dollar Store Supplies by My Kids Guide
- Spring Tea Party with Lemon and Ginger Scones by Day by Day in Our World
- Spring Button Canvas by Better in Bulk
- Carrot Cake Cookie Cups by About a Mom
- Spring Tulle Wreath by Upstate Ramblings
- Easy DIY Spring Tote Bag for Girls by Philzendia



[…] DIY Monogram Earrings […]