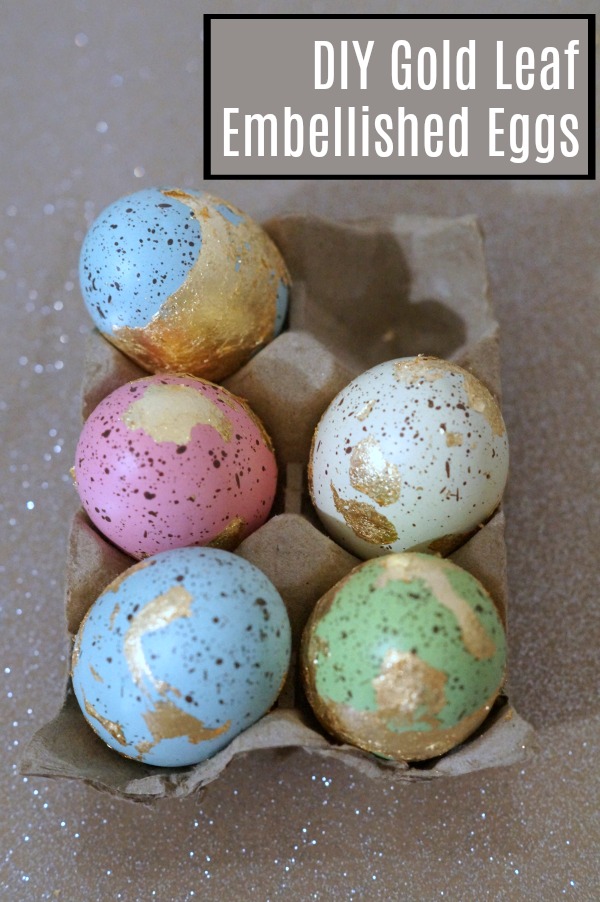
Metallic shades and gold things are so hot, and so popular right now. Seriously, when was the last time you looked at a room layout that didn’t have a highly polished metal accent piece? These DIY Gold Leaf Eggs are a perfect accent piece for a room that’s not so modern.
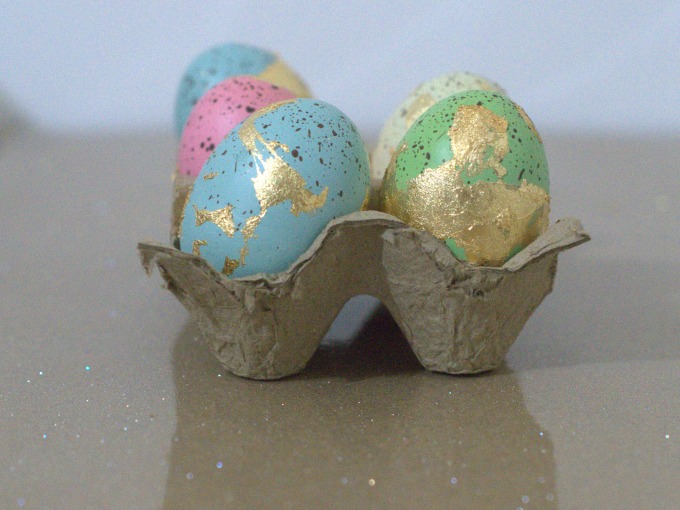
One of my favorite things in the whole wide world is gold leaf and gilding stuff. Seriously. I’m always wondering “What can I gild next?” I really like to use it as an accent. Like these DIY Gold Leaf Eggs. Now, I’m not a big fan of everything being covered completely in gold or gold leaf. That’s a bit overkill. But some subtly placed gilded highlights make everything better. Okay, gold leaf doesn’t make everything better, but it improves a lot of things.
I’ve previously showed you how to make faux gilded eggs using metallic wax. These gilded eggs with gold leaf are almost as easy, and about the same level of messy. While these gold leafed eggs look like golden Easter eggs, they can be used for home decor any time of the year.
They look especially great in a Spring wreath, or a cottage chic home. Put some of these gilded eggs in a nest on a table or shelf for a great conversation piece. It’s a great gold leaf craft that works for so many things.
How to Make DIY Gold Leaf Eggs
Links may be affiliate links. They help support our gold leaf habit.
Supplies
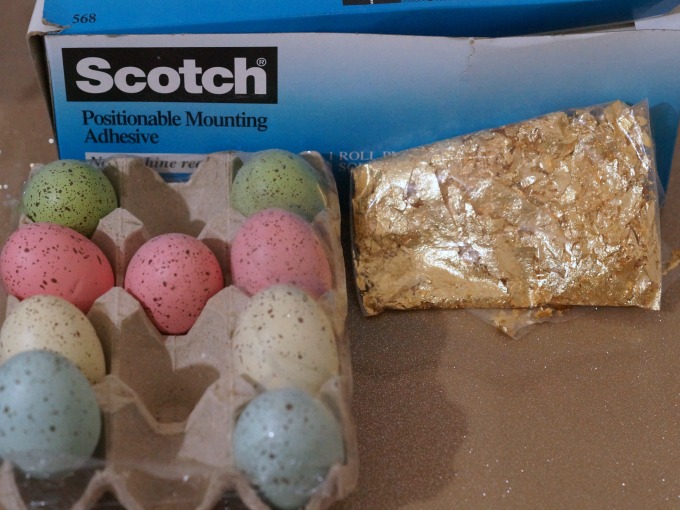
Plastic or papier mache eggs. I’m using colored plastic eggs from the home section of the craft store. They just give these gilded eggs a more finished look. Here’s another choice that is similar, but more natural looking.
Double sided adhesive. I’m using Scotch Brand Positionable Mounting Adhesive. This adhesive is amazing, and a roll will last you forever. FOR-EV-ER. You could use actual gold leaf size, (gold leaf glue) too.
Composition Gold Leaf Flakes. Composition means fake. This is really thin sheets of brass, copper, or a similar metal. Real gold would be waaaayyyy too expensive for these DIY gold leaf eggs. You could use sheets of composition gold leaf, as well.
Directions
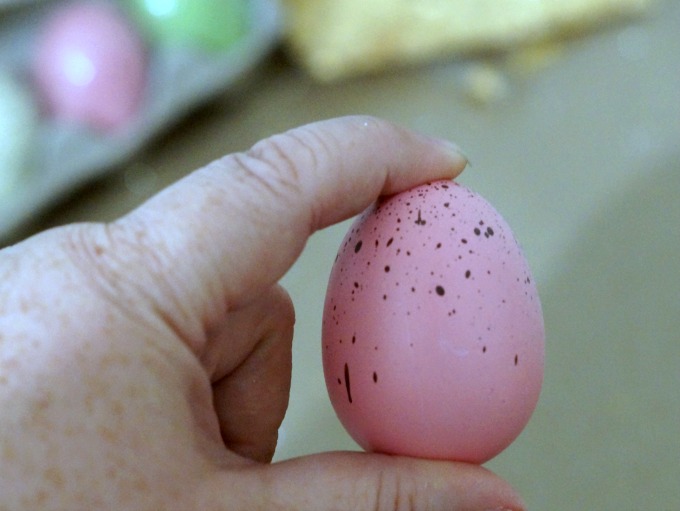
Take your eggs and remove any dust or debris with a soft cloth.
If you’re using papier mache eggs, you’ll want to paint them. You can use any kind of craft paint, in any color. Let dry
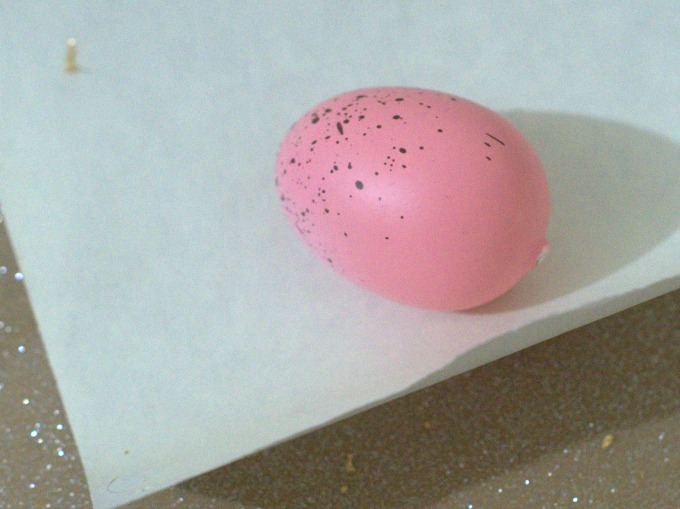
Take a piece of your adhesive, and apply it to your egg. I used many different techniques, varying from wrapping the egg in adhesive to using a blotting motion. Test it out, and see what works best for the look you’re trying to achieve.
If you want to completely cover your DIY gold leaf eggs, gold leaf size is probably a better choice for your adhesive. Personally, I like the patchy look.
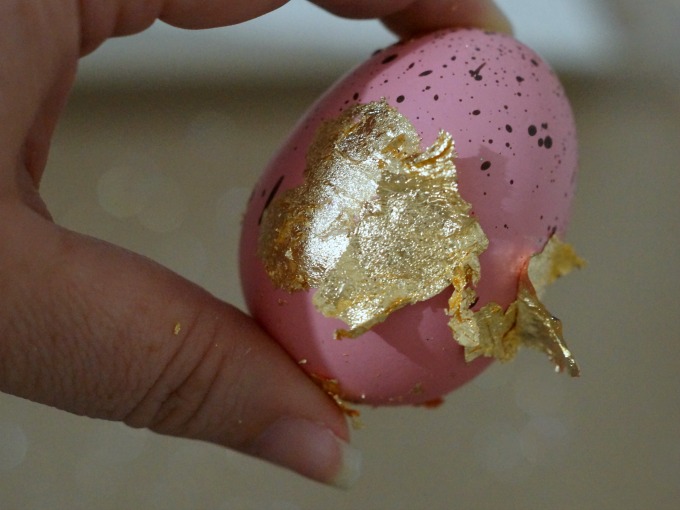
Add gold leaf flakes to your adhesive. Make sure the adhesive is covered, and burnish it down.
Rub off excess gold leaf.
Continue with the rest of your eggs.
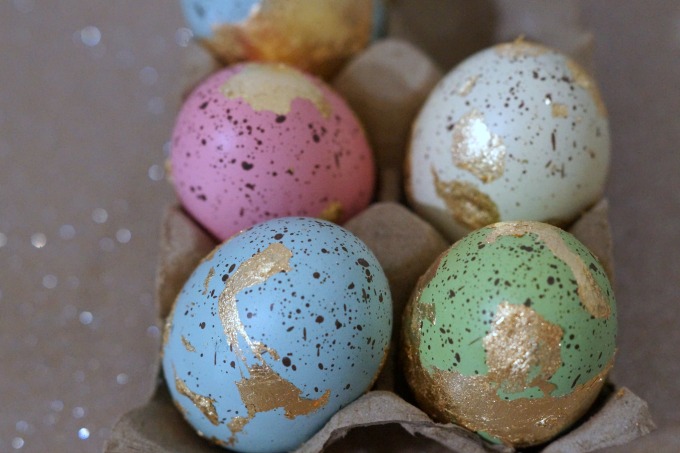
Voila! Your DIY Gold Leaf Easter Eggs are complete! Now wasn’t that easy?
These fancy Easter eggs will keep for years to come. They don’t need to be sealed, but you can if it makes you feel better. Simple spray them with a spray sealer. I like the Krylon Matte Finish for this project. You’ll keep the sheen of the gold leaf without it being too shiny and glossy.
Since they’re hollow, they will need a little bit of TLC when packing them away. Just wrap them in a little bubble wrap or foam wrap, and put them in a box. Easy peasy. If you’re putting your Easter or Spring decorations in a large plastic tote, put these eggs in a smaller bin or box inside the tote.
Since you’re in the Spring mood, check out these other great Spring + Easter projects
- DIY Chic Easter Feather Wreath – Busy Creating Memories
- Coloring Eggs with Sand for Easter – Diana Rambles
- Easter Chick Pudding Cups – Cutefetti
- Lemon Mint Foot Soak – Food Fun Family
- Caterpillar and Dragonfly clothespins – Views from the ‘Ville
- Easy Spring Bud Vases – Upstate Ramblings

