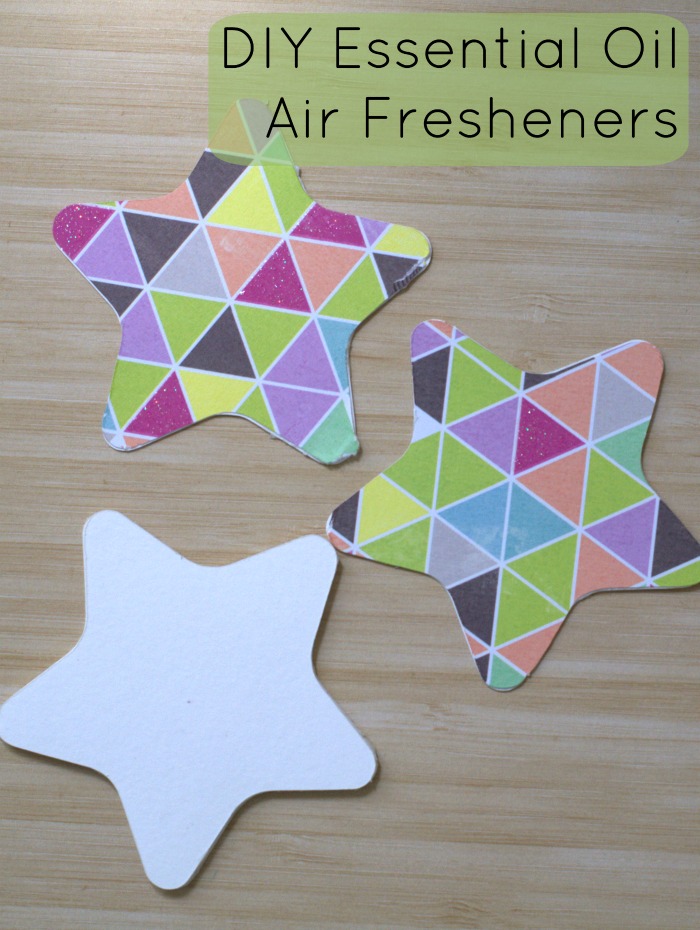
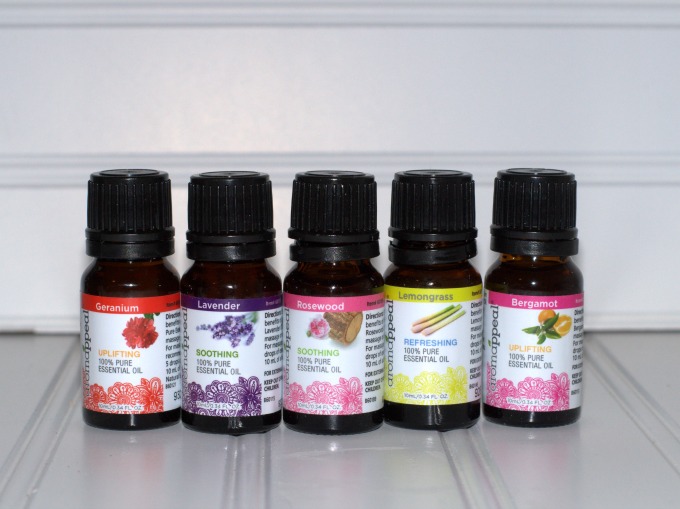
This DIY Essential Oils Air Fresheners project was inspired by product received.
We all know how great essential oils are, right? They can be used to treat a myriad of ailments, help with your mood, or to focus, or even to relax you and fall asleep. Let’s face it though – a lot of times, the essential oils just smell soooo good that I don’t even care what they’re there to help me with. It’s like the aromatherapy is just an added bonus!
That’s part of the reason that I am in love with these DIY essential oil air fresheners. They are so quick and easy to make, look cute, and are easy on the pocketbook, too. Not into air fresheners? That’s okay! You can use these as essential oil drawer sachets too.
How to Make a DIY Essential Oil Air Freshener
Links may be affiliate links. They help support our site when you make a purchase, at no additional cost to you.
Materials needed
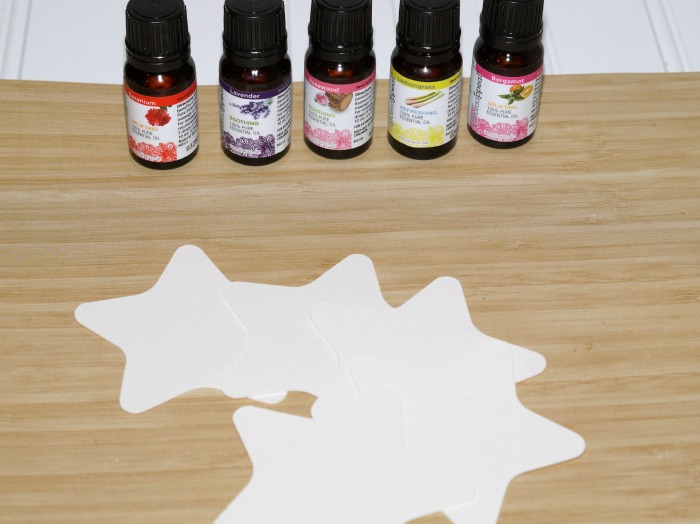
- Essential Oils – I’m using Lemongrass and Lavender
- Heavyweight paper – I’m using a 300 gram (140 lb) watercolor paper. This can be found in the art supply section of your local craft store.
- Dry Adhesive. Pretty much any permanent tape runner will work.
- Ribbon
- Decorative Paper – Want to make your DIY essential oil air freshener prettier? Scrapbook paper is great for this.
- Scissors, Xacto knife, or other cutting tool. I used my Silhouette die cutter.
Directions
Choose the shape you’d like your DIY essential oil air freshener to be. Either cut and size it on your Silhouette, or make a template to cut out. I’m using a star with slightly rounded ends that’s about 3 inches in diameter.
Cut several of these shapes out of watercolor paper.
Take one of your shapes for each essential oil you’re using. I used lemongrass and lavender, so I’d take two of my cut shapes.
Put 3-5 drops of one essential oil on one cut out shape. Repeat with each of your essential oils and shapes that you pulled out. So, I have two stars set aside – one with lemongrass essential oil and one with lavender essential oil. Let dry!
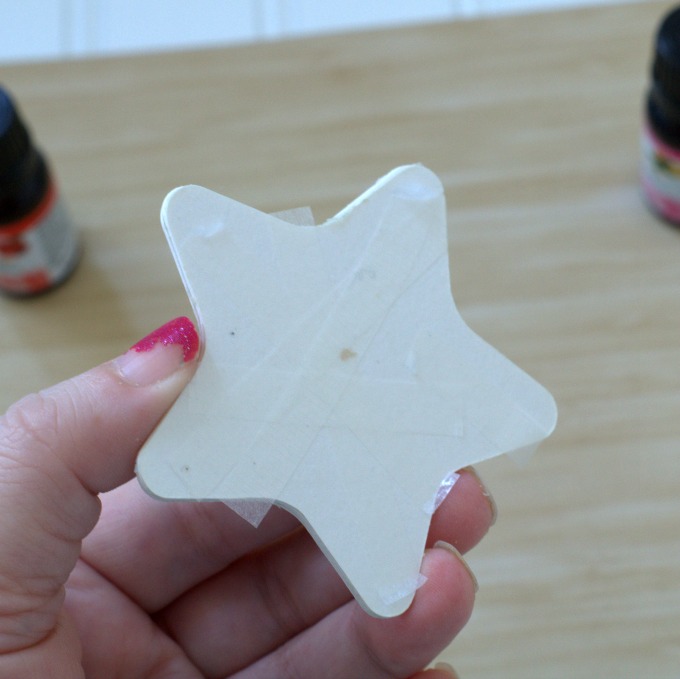
Now, for the construction! Take one plain shape and put dry adhesive all over it. I basically just run 3-5 strips along the shape, making sure to get the arms of the star really good. Layer one of the scented stars and stick them together. Make sure to line them up well.
Repeat this step, layering plain and scented shapes, finishing with a plain one. Don’t worry about the tape that’s hanging over the edges. You can just rub it off with your finger and it will go away.
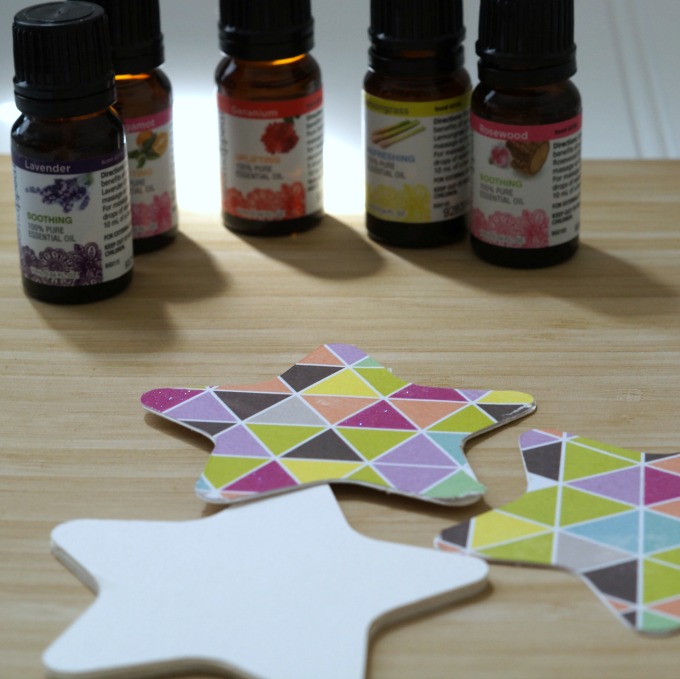
Now, if you’d like to add a little decoration to your DIY essential oil air freshener, cut a shape or two out of decorative paper. Handmade paper or scrapbook paper are perfect for this. Simply attach the decorating paper the same way you attached your layers. Voila! It’s all fancy-like now.
If you’ll be hanging this DIY essential oil air freshener, you’ll want to punch holes in your shapes before assembling them. During assembly, line these holes up. Thread a length of ribbon through and tie a knot. Now you can hang these in your closet, car, or anywhere that needs some freshening up.
Essential oils we use.
There’s a lot of talk out there about essential oils, their purity, and the authenticity of oils. Growing up in a crunchy family, we’ve used a lot of natural brands of products for a long time. Puritan’s Pride has been around for 40+ years, and have a long held commitment to making the best quality, natural products at an affordable price.
Their essential oils are no different. Packaged in affordable sizes with the same dedication to quality makes Puritan’s Pride Aromappeal Essential Oils a great addition to my collection. We also like Plant Therapy, NOW brand, and a couple others.

