Recently, I was cruising Pinterest, as I am known to do. I pin a lot of somewhat random stuff. Things that I want to remake for myself or a gift. Things that inspire me with their colors or photo layouts or something else. Then there are my save for later pins – things I plan to go back to and check out. And last, but not least, there are pins that I see that I think would make a great blog post, if they were reworked.
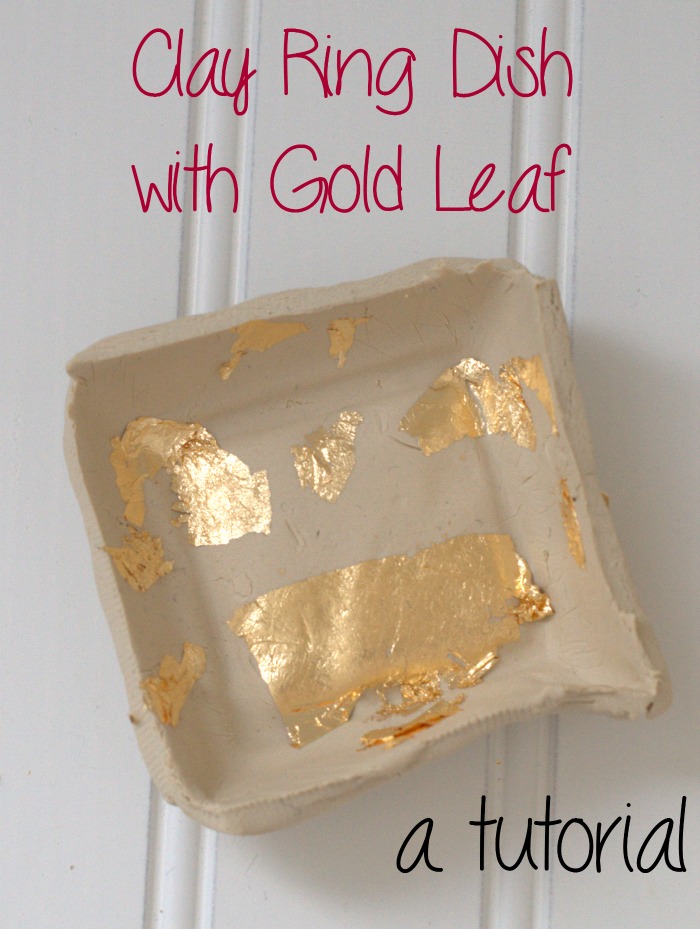
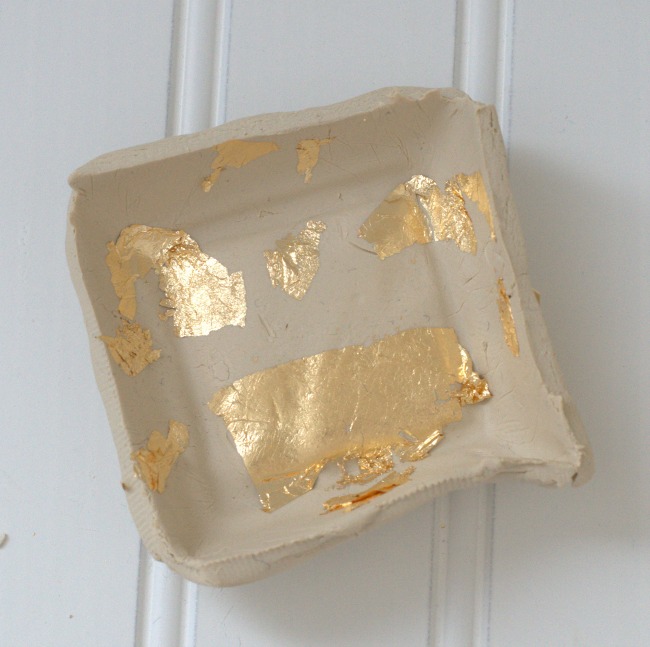
This clay ring dish with gold leaf is one of these such projects. The project was inspired by this original. I don’t really like working with polymer clay, and I kind of live for gold leaf. Well, that’s not true. I have a romance with gold leaf, but we all know I live for glitter. Anyway, I swapped out the polymer clay for air dry clay, and the marbled colors for gold leaf for this clay ring dish with gold leaf Pinterest Remake Challenge.
How to Make a Clay Ring Dish with Gold Leaf
Materials needed
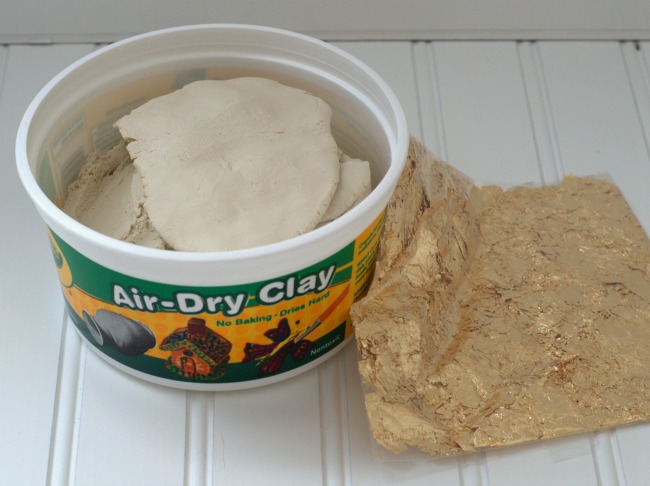
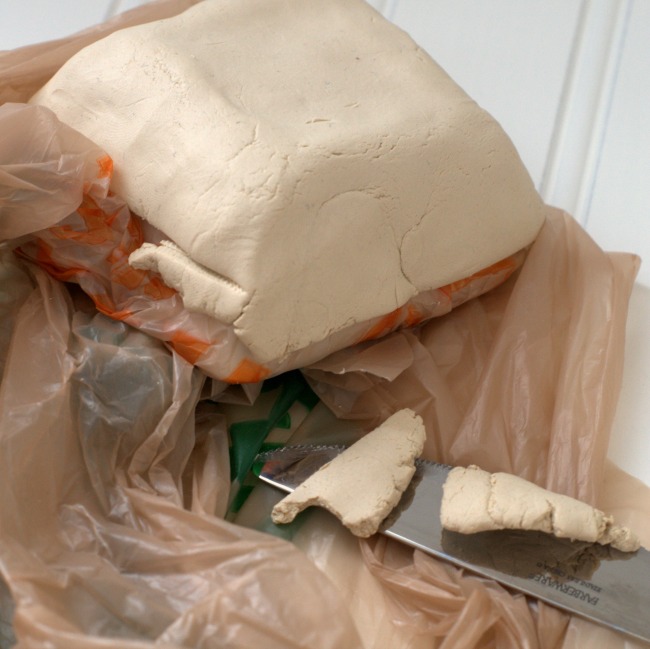
- Air dry clay. I’m using Crayola air dry clay. Laugh if you want, but they make some pretty good art materials that are affordable and easily accessible. It was like $6 for this tub of clay, and I already made a batch of Christmas ornaments with it.
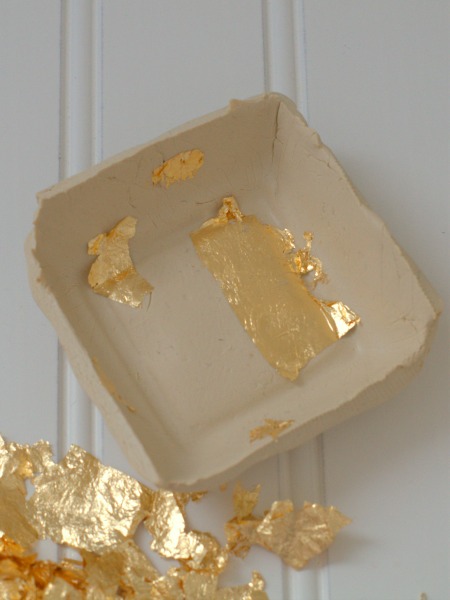
- Gold Leaf. I’m using gold leaf flakes rather than sheets. I find it helps with the random look.
- Small dish. You’ll use this to mold your clay, so it needs to be a shape you like.
- Plastic bag.
- A small bowl of water.
- Plastic knife or a clay knife
Directions.
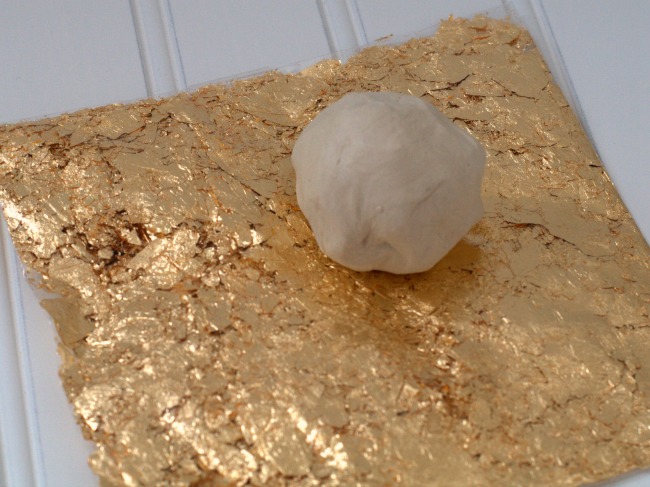
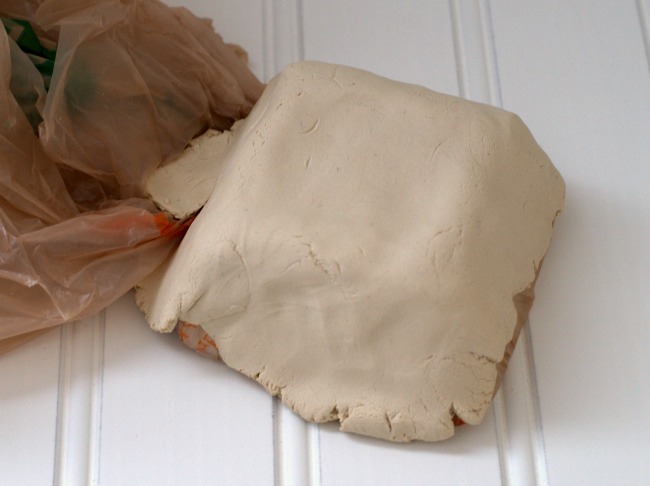
Take a hunk of clay and start kneading it. I started with a chunk that was about ½-3/4 fist size. You just want to get the clay soft and warm.
Work the clay into a slab. You can use a clay roller, but I just sort of mush it between my hands, like playing pattycake. I also use the table to help me work the clay into a slab. You want to be sure to put something down on the table – like a plastic bag or tablecloth – to protect the surface.
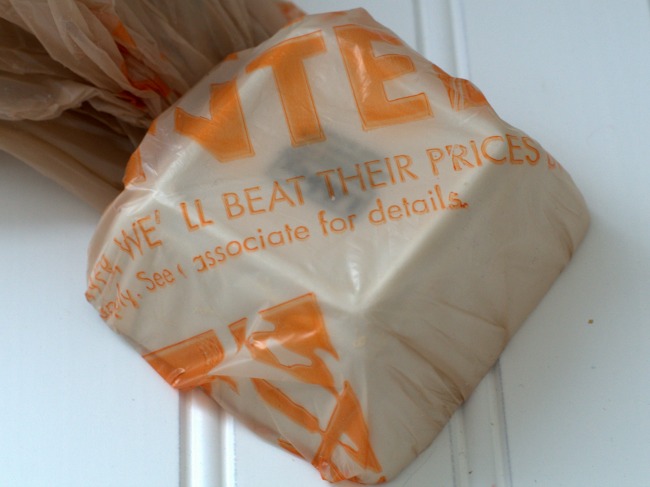
Wrap your small dish in a plastic bag, like a grocery bag. This step is crucial. Without it, you probably won’t be able to continue with your clay ring dish with gold leaf. Ask me how I know.
Form your slab of clay over the back side of the small dish. Make sure to connect edges and seal them really well. If need be, get your finger wet to glue the clay together.
Trim the edges so that they’re somewhat even. I used a table knife (shhh…don’t tell anyone!) but a clay knife or a plastic knife works really well for this.
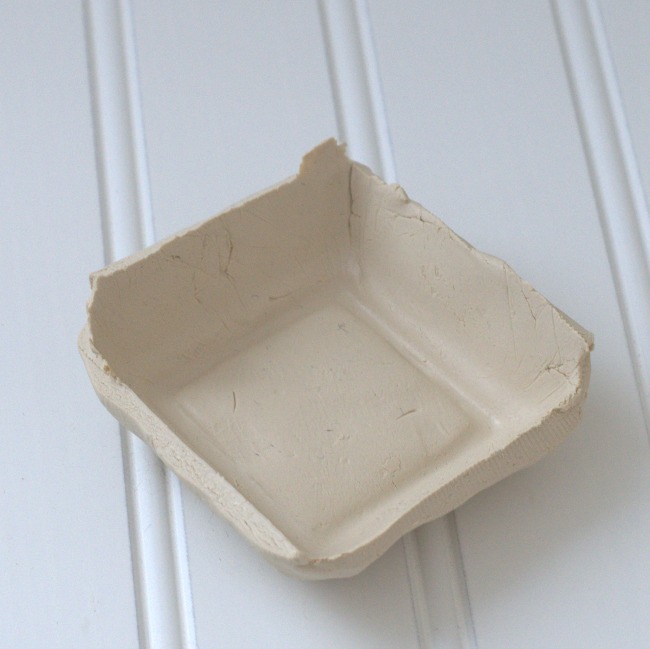
Remove the clay dish from the small dish. Take care not to destroy what you just made. Carefully pull the bag away from the clay. You should now have a small dish shape. Like magic!
Take a few flakes of gold leaf and randomly apply them to your dish. Do this before the clay has a chance to set and dry. This is what makes it a clay ring dish with gold leaf flakes. The more random the gold leaf is, the better. If you’re asking yourself “Is this enough?” it’s the perfect time to stop.
Set your clay ring dish with gold leaf in a well ventilated, warm area, and let it air dry. This will probably take a couple days. You can speed it up with a blow dryer or a very low oven.
Before the clay dries, you may want to smooth out the edges with wet fingers. This will help you get a smooth rim and look a little more finished.
Once your clay ring dish with gold leaf is completely dry, enjoy it! It’s solid and sturdy, and so pretty.
Love these kinds of Pinterest remakes? Here are more Pinterest remakes from a few of my favorite bloggers:
- Gluten Free Italian Easter Pie – Pastiera di Grano from Confessions of an Overworked Mom
- Pineapple Coconut Coke Cake by My So Called Balanced Life
- Easter Chick Craft made with a Mason Jar by Simply Southern Mom
- Easy Craft: Fillable Easter Ornament by Three Different Directions
- Mason Jar Mini Key Lime Pies by Better in Bulk
- Easy Healthy Recipe: Coconut Red Lentil Curry by Our Family World
- Easy Lavender Carp Freshener by Taking Time for Mommy
- Natural Herb Stenciled Easter Eggs by Upstate Ramblings
- Gold Confetti Drinking Glasses by Homemaking Hacks
- Fudgy Mint Cookies by Eat Move Make
- Mini Carrot Cakes by Mom Always Finds Out
- Healthy Coffee Breakfast Shake by LW Vogue
- Easter Bunny Egg Holder Craft by Embracing Homemaking
- Apothecary Jar Easter Centerpiece + 3 Ways to Make Cute Glitter Eggs by Oh So Savvy Mom
- Easy Kids DIY Hair Accessory Organizer by Views from the ‘Ville

[…] Clay Ring Dish with Gold Leaf by How Was Your Day? […]