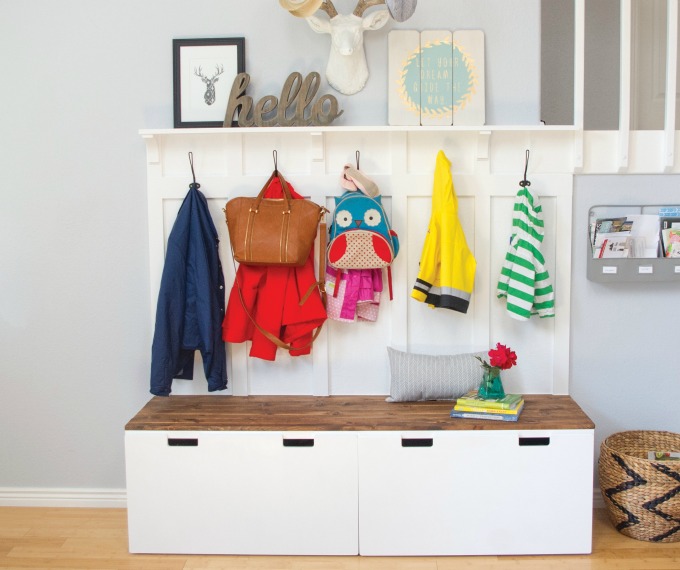
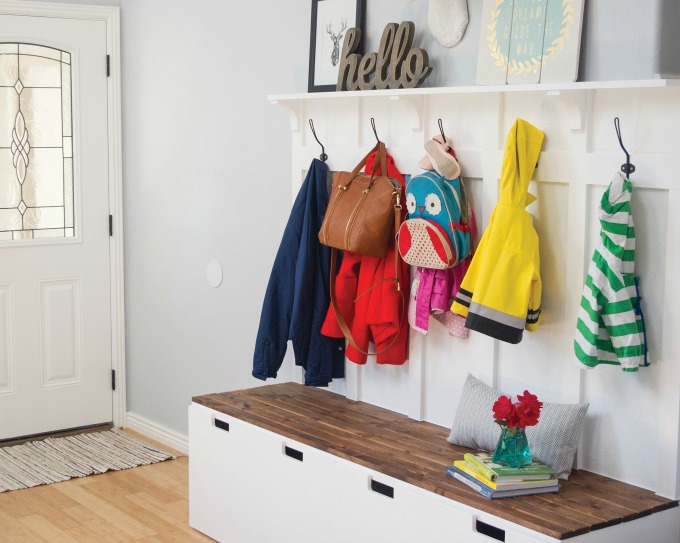
If you live in an area that has a lot of winter weather, you know how important a mudroom bench is. You’re always putting on and taking off shoes, coats, mittens, hats…the whole gamut. This DIY Mudroom bench project is perfect for you, if you’re a little bit handy.
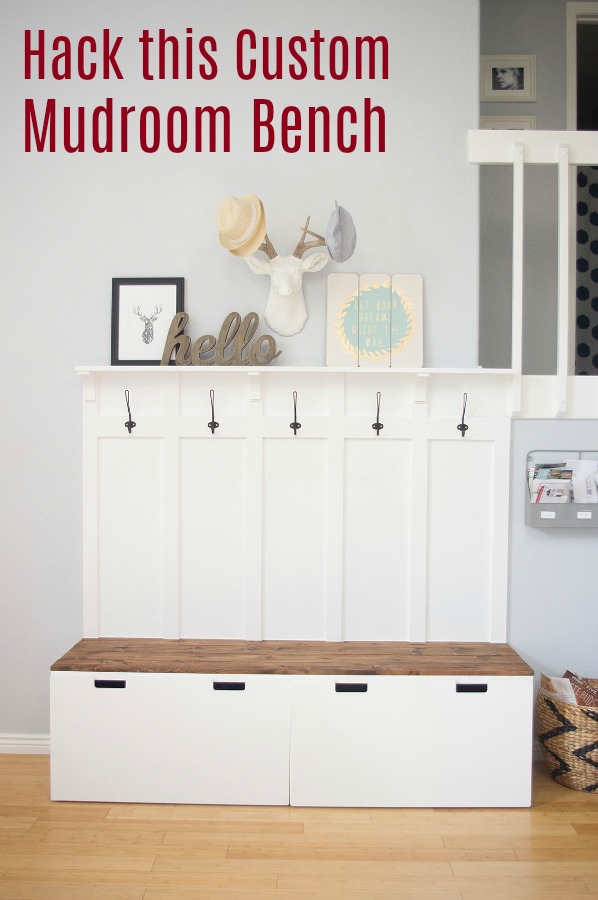
The great thing about this mudroom bench is that the main parts are IKEA pieces. Yup, this is an Ikea hack. The rest of the supplies just help fancy up the benches, and make them look a whole lot more expensive, and like a piece of custom furniture.
The built in custom bench is great for things like shoe storage, extra blankets, and those random things that seem to collect. It looks fabulous by your front door, and people will think you spent a whole lot more on it than you did. If you don’t have enough room in your entry way, it’s a great piece for your laundry room or back door, too. This Ikea mudroom bench would be perfect if you have a back door entry, like an eat in kitchen.
Make a DIY Custom Mudroom Bench
This Ikea mudroom bench project is definitely an intermediate level project. It requires a lot of cutting, measuring, and use of some real power tools. You’re also not going to be able to move this around. It’s a semi-permanent installation.
If you’re not as comfortable cutting boards, you can have that done at the home center. Usually it’s really reasonable – like $0.25 per cut. And for a couple bucks, it’s usually worth my while to let someone else cut the boards. The supplies list looks daunting, but it’s really not that bad.
Links may be affiliate links. We make a small commission if you purchase through them.
Materials Needed
- 2 STUVA storage benches
- 5 SVARTSJÖN hooks
- stud finder
- primer
- paint
- foam paint roller made for cabinetry
- drill
- screws in various lengths
- four 16-inch (2 15 -cm) tongue-and-groove pine boards, 72 inches (183 cm) long
- wood stain (This uses Minwax Honey 272)
- cloth
- polyurethane
- circular saw
- fine sandpaper
- one 14-inch (2 – 10-cm) board, 72 inches (183 cm) long
- three 13-inch (2 – 7-cm) boards, 96 inches (243 cm) long
- one 16 -inch (2 – 15 -cm) board, 72 inches (183 cm) long
- Kreg Jig
- 3 corbels, 4-5 inches (10-12 cm)
- nails and nail gun
- paintable caulk and caulking gun
Ikea Mudroom Bench Directions
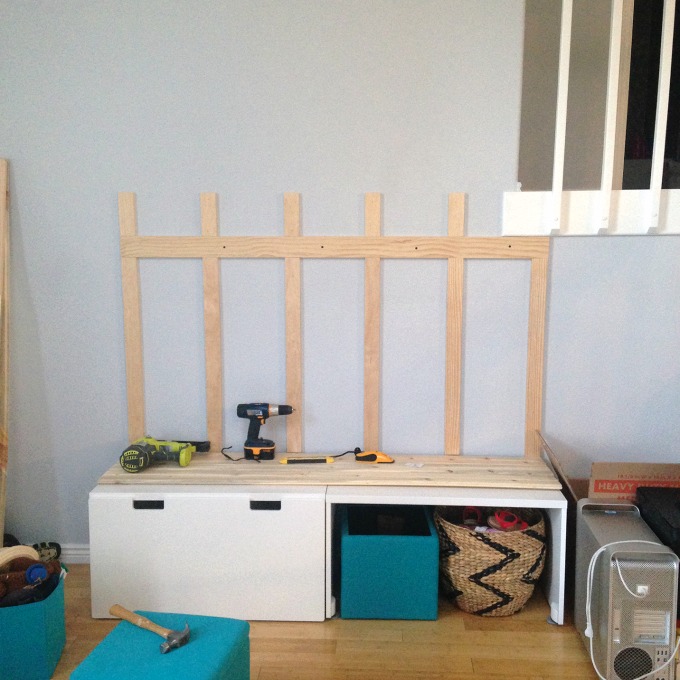
Assemble the STUVA benches according to the directions.
Decide what color you want your benches, and paint them. The best way to paint them is to spray with primer first. One can of spray primer will cover both benches. Then, paint using a quart of your favorite paint and a foam roller made for cabinetry.
Screw benches into the wall studs. It helps to have a stud finder to find your studs, and screws that are at least 2 inches long for a secure attachment. Drill the screws through the back of each bench into the studs. You may want to start with a pilot hole first.
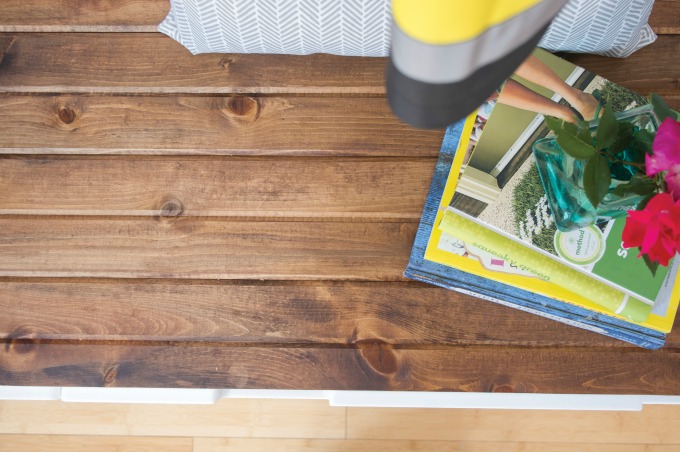
Stain the 16-inch tongue-and-groove boards in the wood stain of your choice. We used Minwax Honey 272 and applied it with an old rag. Once dry, apply two coats of polyurethane.
Using a circular saw, trim 1 inch from the width of one the tongue-and-groove boards. You want to ensure all four boards fit the STUVA benches, as well as get rid of the protruding groove. Sand the edge smooth.
Lay the tongue-and-groove pine boards on top of the benches and screw into the benches from underneath. Secure in three or four places along each board, using 1-inch screws. This will become your new seat.
Cut the 14 inch board to 71 inches.
Cut the 13 inch boards into 12 pieces, six measuring 7 inches in length, and six measuring 34 inches in length.
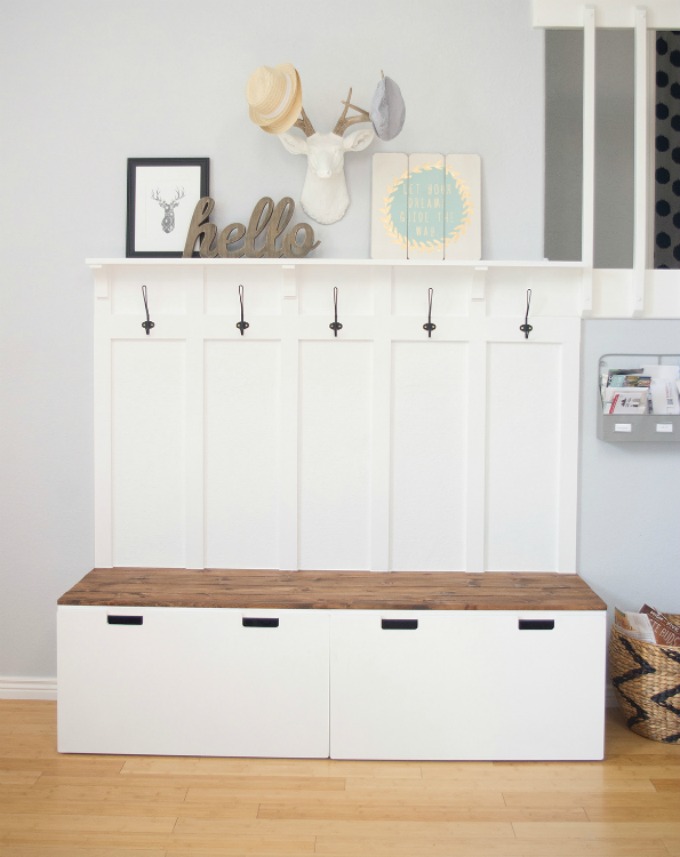
Start by screwing in the 34-inch 13s vertically, directly above the bench. Space them 11 inches apart, with the first and last 13s flush with the edges of the bench. Secure the boards using a nail gun. Next, attach the 71-inch 14 on top of the 13s. Last, attach the 7-inch 13s vertically, directly above the 34-inch 13s. This will create the detail of the back of the bench.
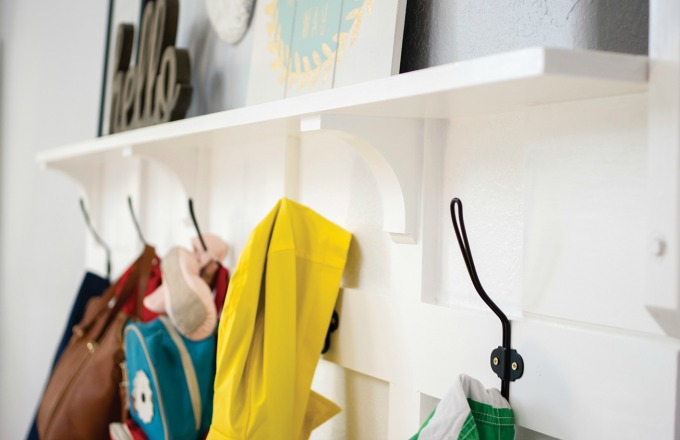
Create a shelf by cutting a 16 inch board to 71 inches and attach to wall using a Kreg Jig and 2-inch screws screwed directly into the studs. The shelf should be flush with the 7-inch 13s at a 90-degree angle.
Hang corbels using the nail gun. Nail directly into the wall from above through the shelf. You may need to trim the corbels so they fit flush with the 13s and 16 used for the battens and shelf. This will improve the look, and give your shelf stability.
Caulk all of the seams and joins.
Paint board, battens, and shelf in desired paint color.
Hang SVARTSJÖN hooks using a drill and 1/2-inch screws on the horizontal 14 inch board.
Stand back, and admire your handiwork.
Using some elbow grease and a couple Ikea benches you can hack your way into a gorgeous custom looking Ikea mudroom or entry way. This is a great home improvement project you can do in a weekendIKEA Mudroom Custom Bench
Materials
Tools
Instructions
Helpful Hints
If you have baseboards where you want to place the benches, and you don’t plan to move the benches, cut the boards away using a handsaw so that the benches fit snugly against the wall.
You may want to paint your Ikea mudroom bench the same shade as your trim, or you may choose to paint it a bold color. The choice is up to you.
A semi gloss or glossy finish paint will wear better, and be easier to keep clean.
 You May Also Like
- DIY Giant Yard Dominoes
- Choosing the Right Grain for Homebrew Beer
- DIY Bottle Tree

