I love glitz and glamour. While I like natural things and subtlety, I always think that life can be improved by a little bit of sparkle. Or a lot of bit of sparkle, whatever. A lot of times, I reach for the glitter when I want a little sumtin-sumtin for my projects. Glitter isn’t always the right choice, though, especially not for these Faux Gilded Pumpkins. Sometimes you need something that’s a little more subdued, and a lot more elegant. Enter gilding.
Don’t get me wrong – I love gold leaf, too. But I started playing around with this metallic finish stuff called Metallic Lustre about a year ago, and I think it’s love. It’s easier to use than size and leaf, and less messy. Well, a different kind of messy. Even better, you can use it on just about any porous surface, and it dries in just a couple minutes.
How to Make Easy Faux Gilded Pumpkins
A quick and easy project that really makes everything look elegant. Links may be affiliate links.
Supplies
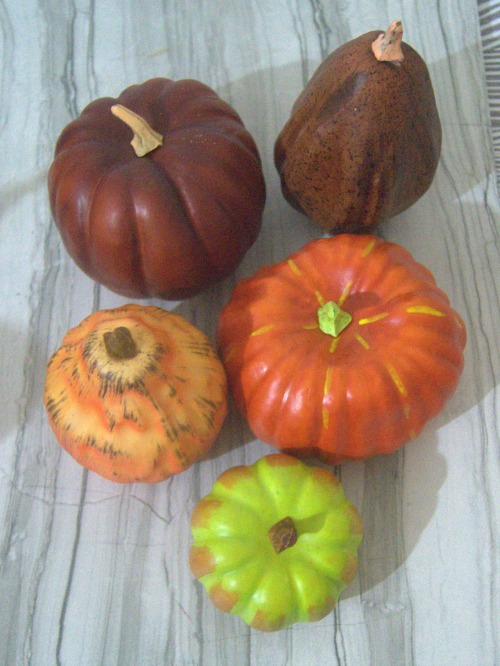
- Faux gourds. The ones I’m using are expanded foam (I think!) and came from a local store. You can find similar items here and here.
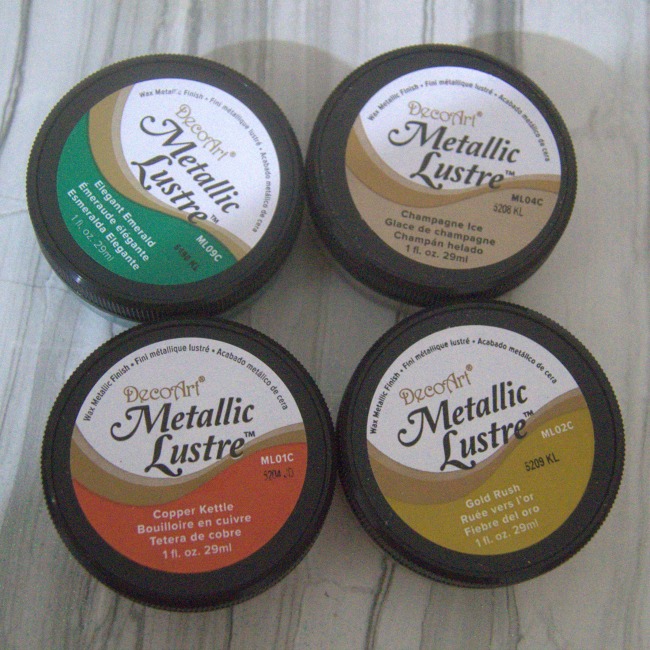
- DecoArt Metallic Lustre Wax – I used Copper Kettle, Gold Rush, and Champagne Ice for this project.
- Old cloth
- Paper towels
- Spray sealer (optional)
Directions
Make sure your gourds are clean and free of dust, dirt, and grease. Wipe them down with a paper towel if needed.
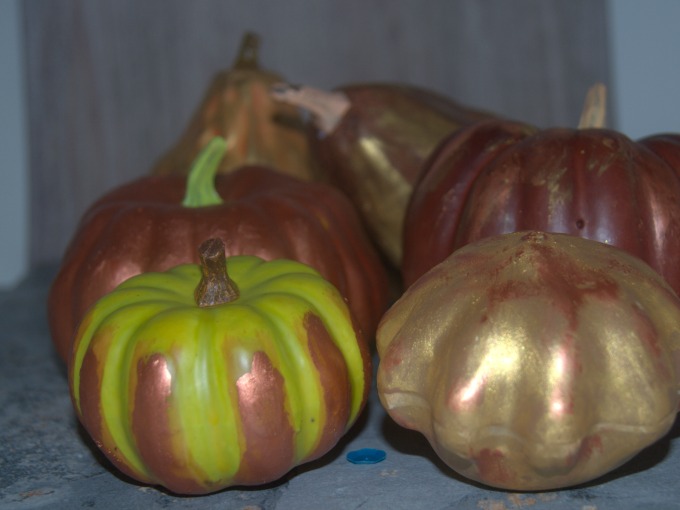
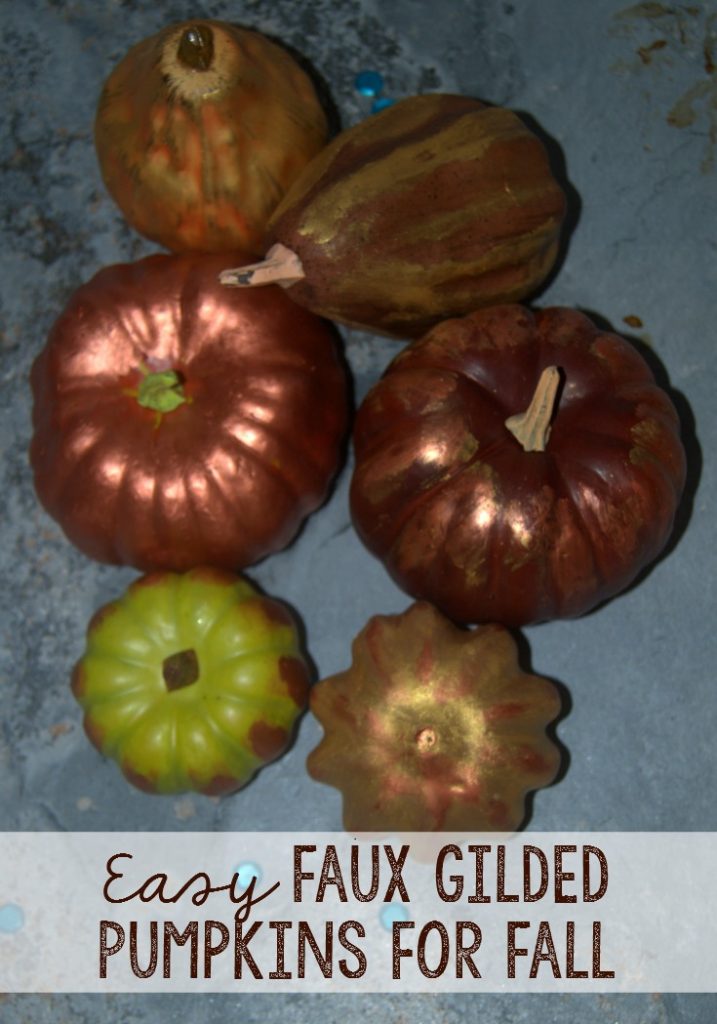
Decide how you want to gild your gourds. I chose to completely cover a pumpkin in Copper Kettle, while I decided to highlight another gourd with Champagne Ice.
I also completely gilded a squash with Gold Rush, then added a little bit of Copper Kettle to help highlight and age the squash. It brought the squash from super shiny, to “oh, that could be a vintage piece.” Highlighting along the edges or tops is a great way to add a little special something without making everything super blingy.
You only need a small amount of the Metallic Lustre wax. Using a soft cloth, or your fingers, dip a small amount out of the tub and apply to your project. You’ll want to spread it out in an even layer, where you want gilding. When highlighting, I found a little heavier application on the parts I wanted highlighted, and a very light touch on the parts I didn’t worked well.
Once you have the pieces the way you like them, set them aside to dry completely. This shouldn’t take too terribly long, but an hour or two is a good timeframe. In the meantime, clean up your hands and your work area with soap and water.
If you want, you can use a spray sealer to seal your faux gilded pumpkins and gourds. I don’t find this necessary, but others may choose to do so.
Arrange your gilded pumpkins in a bowl, along your mantel, or even in a wreath and admire your handiwork.
You’ll definitely want to check out these other great Halloween DIY projects and recipes, too!
- DIY Witch Hat Headband – Busy Creating Memories
- DIY Pumpkin Spice Sugar Scrub – Food Fun Family
- DIY Dorothy Halloween Costume for Adults – Style on Main
- Pumpkin Salted Caramel Poke Cake – Diana Rambles
- Easy Holiday Wood Photo Frame – Casa Moncada
- DIY Mummy Pumpkin Halloween Craft – The Eyes of a Boy
- Pumpkin Spice Latte Scrub – Views from the ‘Ville


