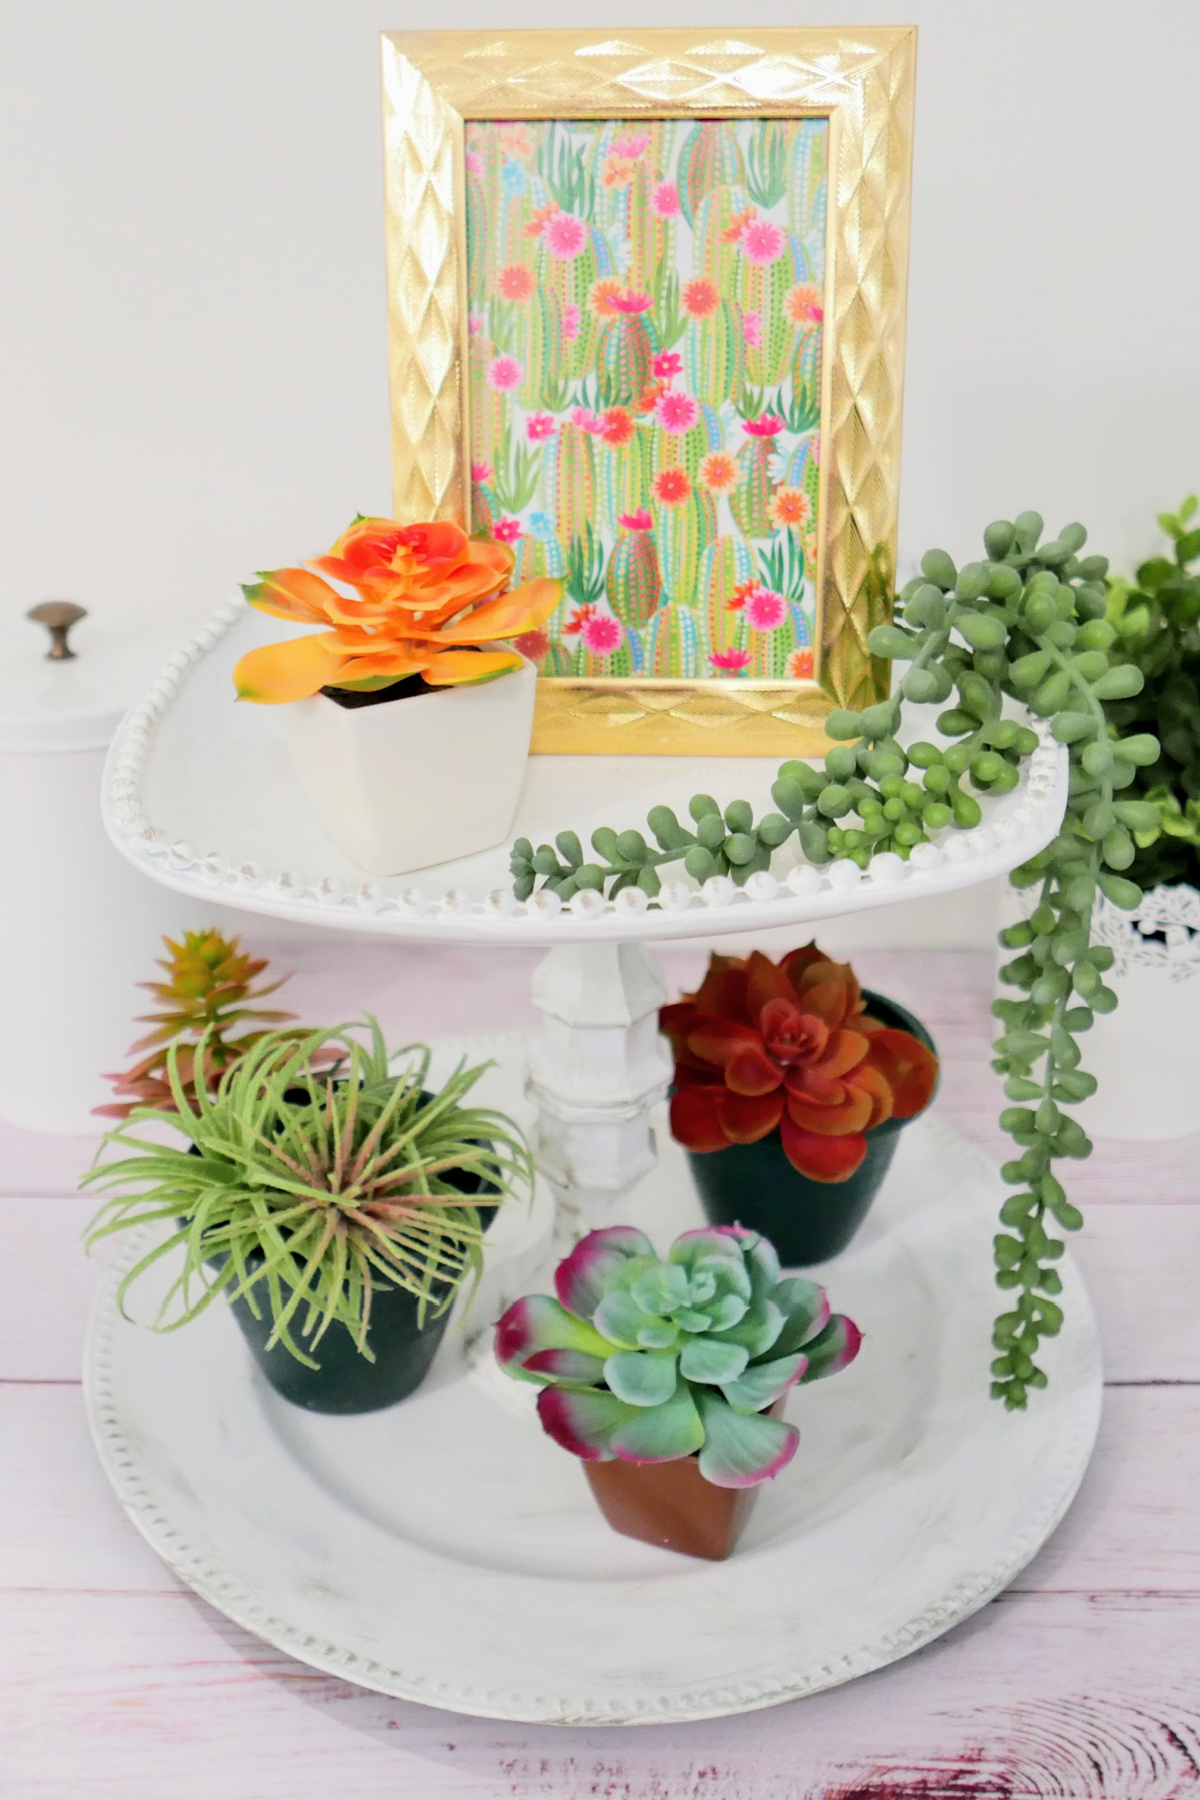
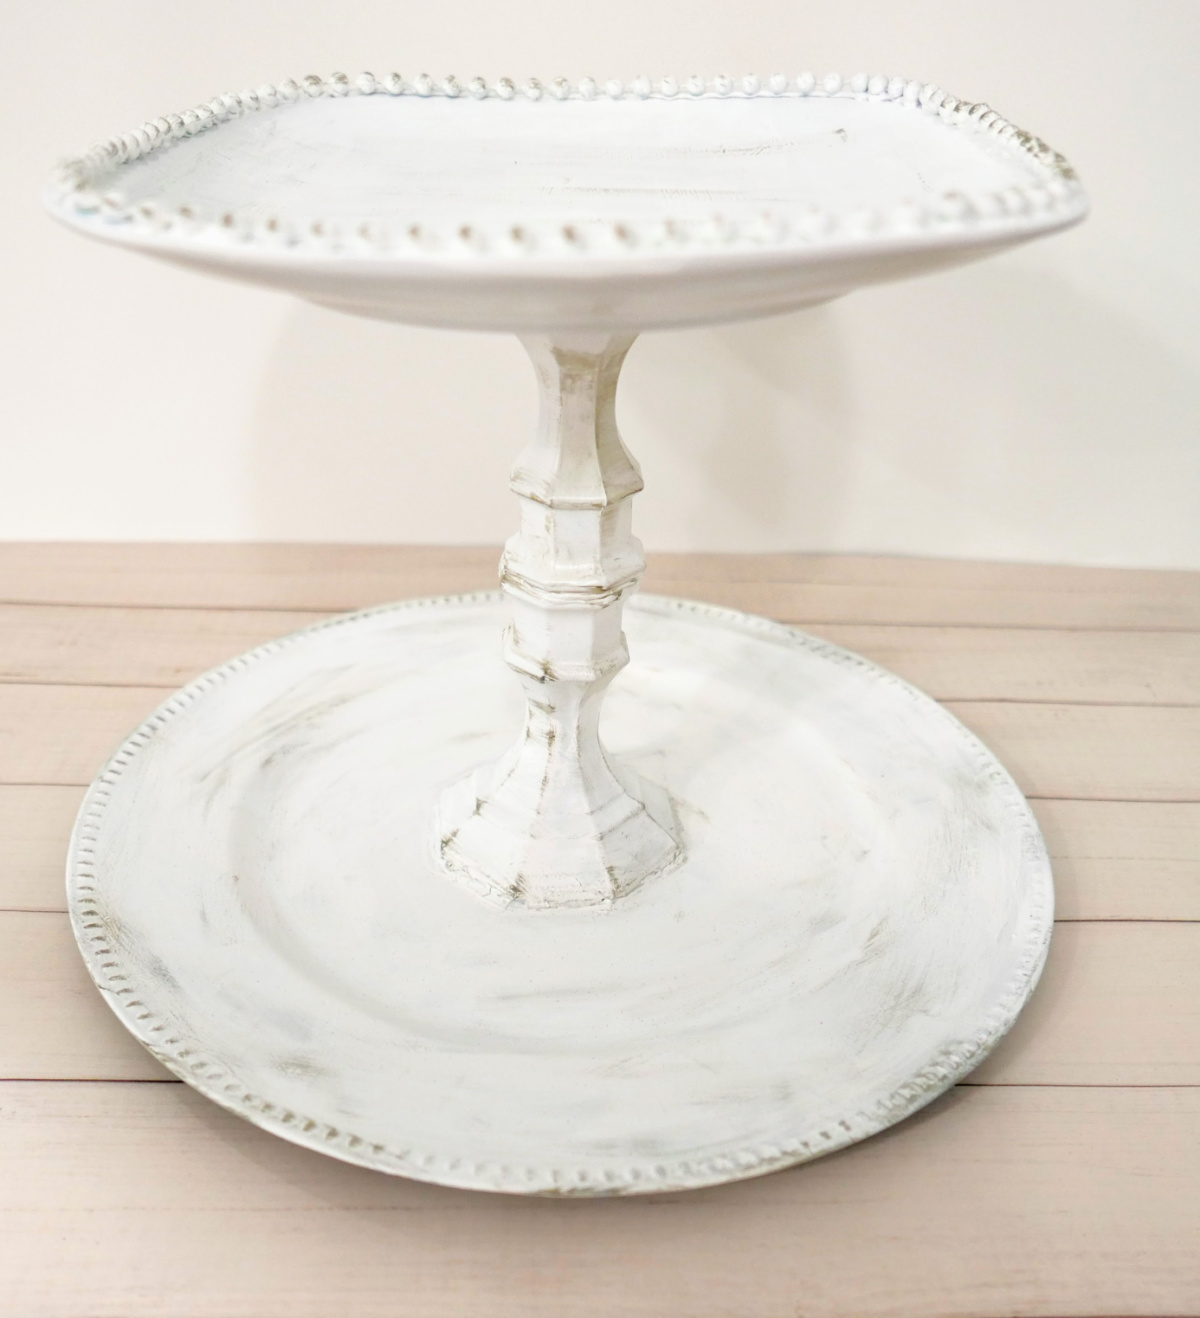
This DIY two tiered tray is a great upcycling project that classes up your decor fairly easily. It has a great boho, shabby chic look that people love so much right now, and you don’t need lots of special equipment to make it.
In fact, you only need a few basic crafting supplies, a couple of plates, and a hot glue gun to create this two tiered tray. It makes an excellent centerpiece or serving tray for light weight foods like cupcakes and snacks, and it looks snazzy, too.
DIY Two Tiered Tray
While this two tiered tray isn’t very complicated to make, you’ll need to bring your craft game to create it. You’ll be gluing, painting, and constructing, but don’t let those words scare you away. This upcycled tray takes several items and supplies to make, but this two tiered tray is in no way an advanced project. Grab your supplies and get ready to make this. I promise you it’s easier than you think, and the final product is so worth it.
Most likely, you have a lot of these items hanging around your house, or in your craft room. If you don’t. most of the items are available at your local dollar store or thrift store.
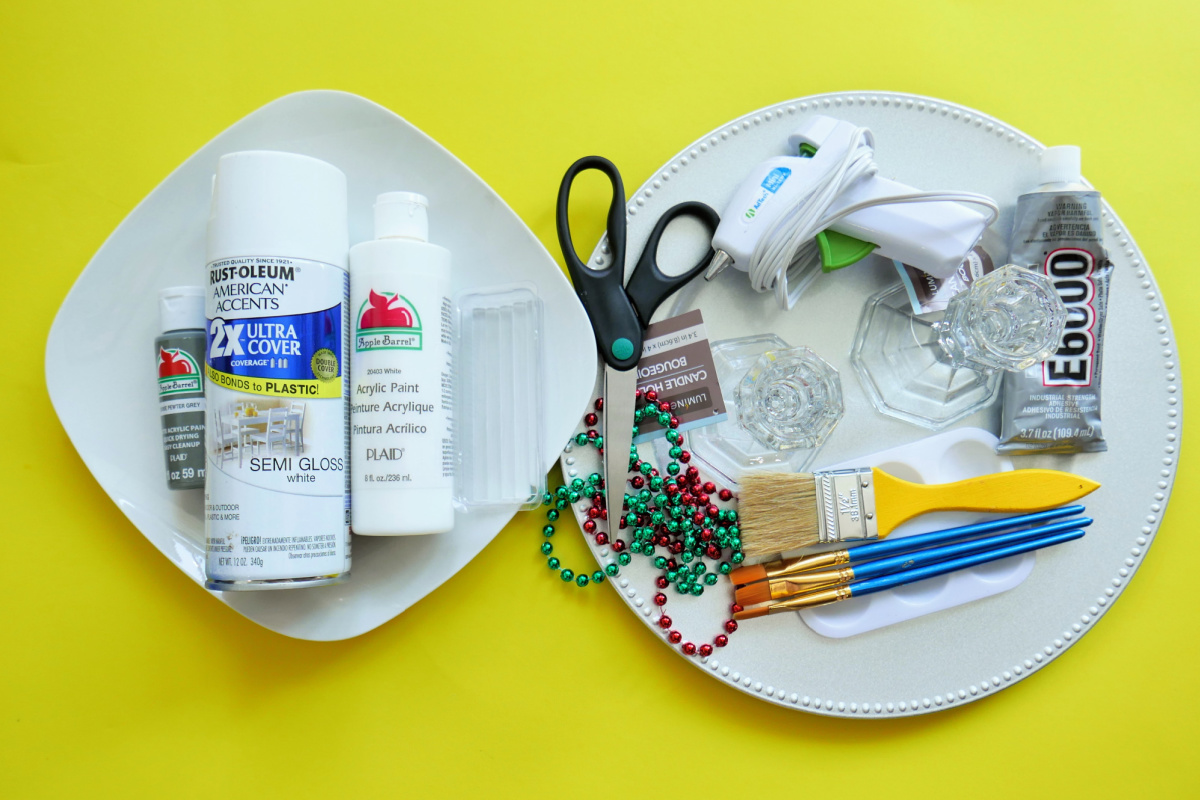
Materials Needed:
- Plastic Plate Charger
- Large Dinner Plate (Round cake pan could also be substituted)
- Scissors
- Craft Paint Brushes
- Semi Gloss White Spray Paint
- White Acrylic Craft Paint
- Grey Acrylic Craft Paint
- (2) Beaded Party Necklaces
- Hot Glue Gun and Glue Sticks
- E6000 Permanent Glue
- (2) Glass Taper Candleholders
- Paint Palette Tray (Paper plate could also be substituted)
Directions:
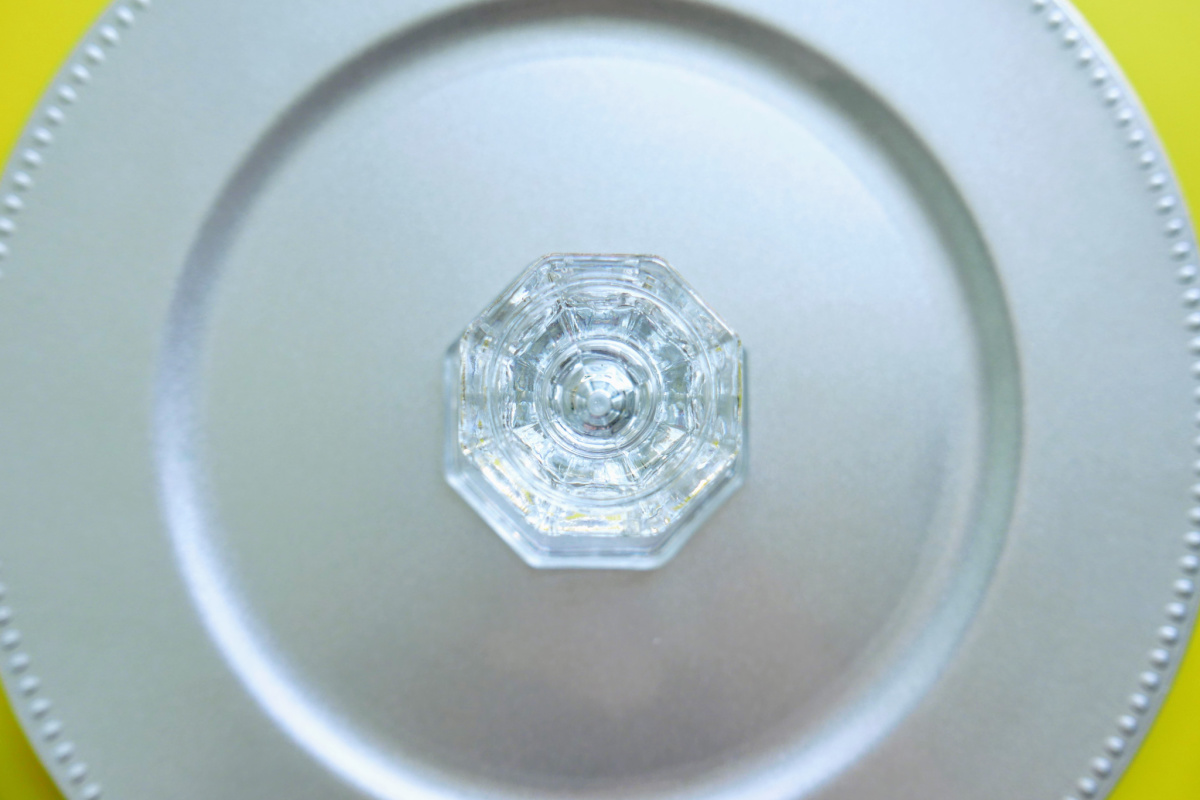
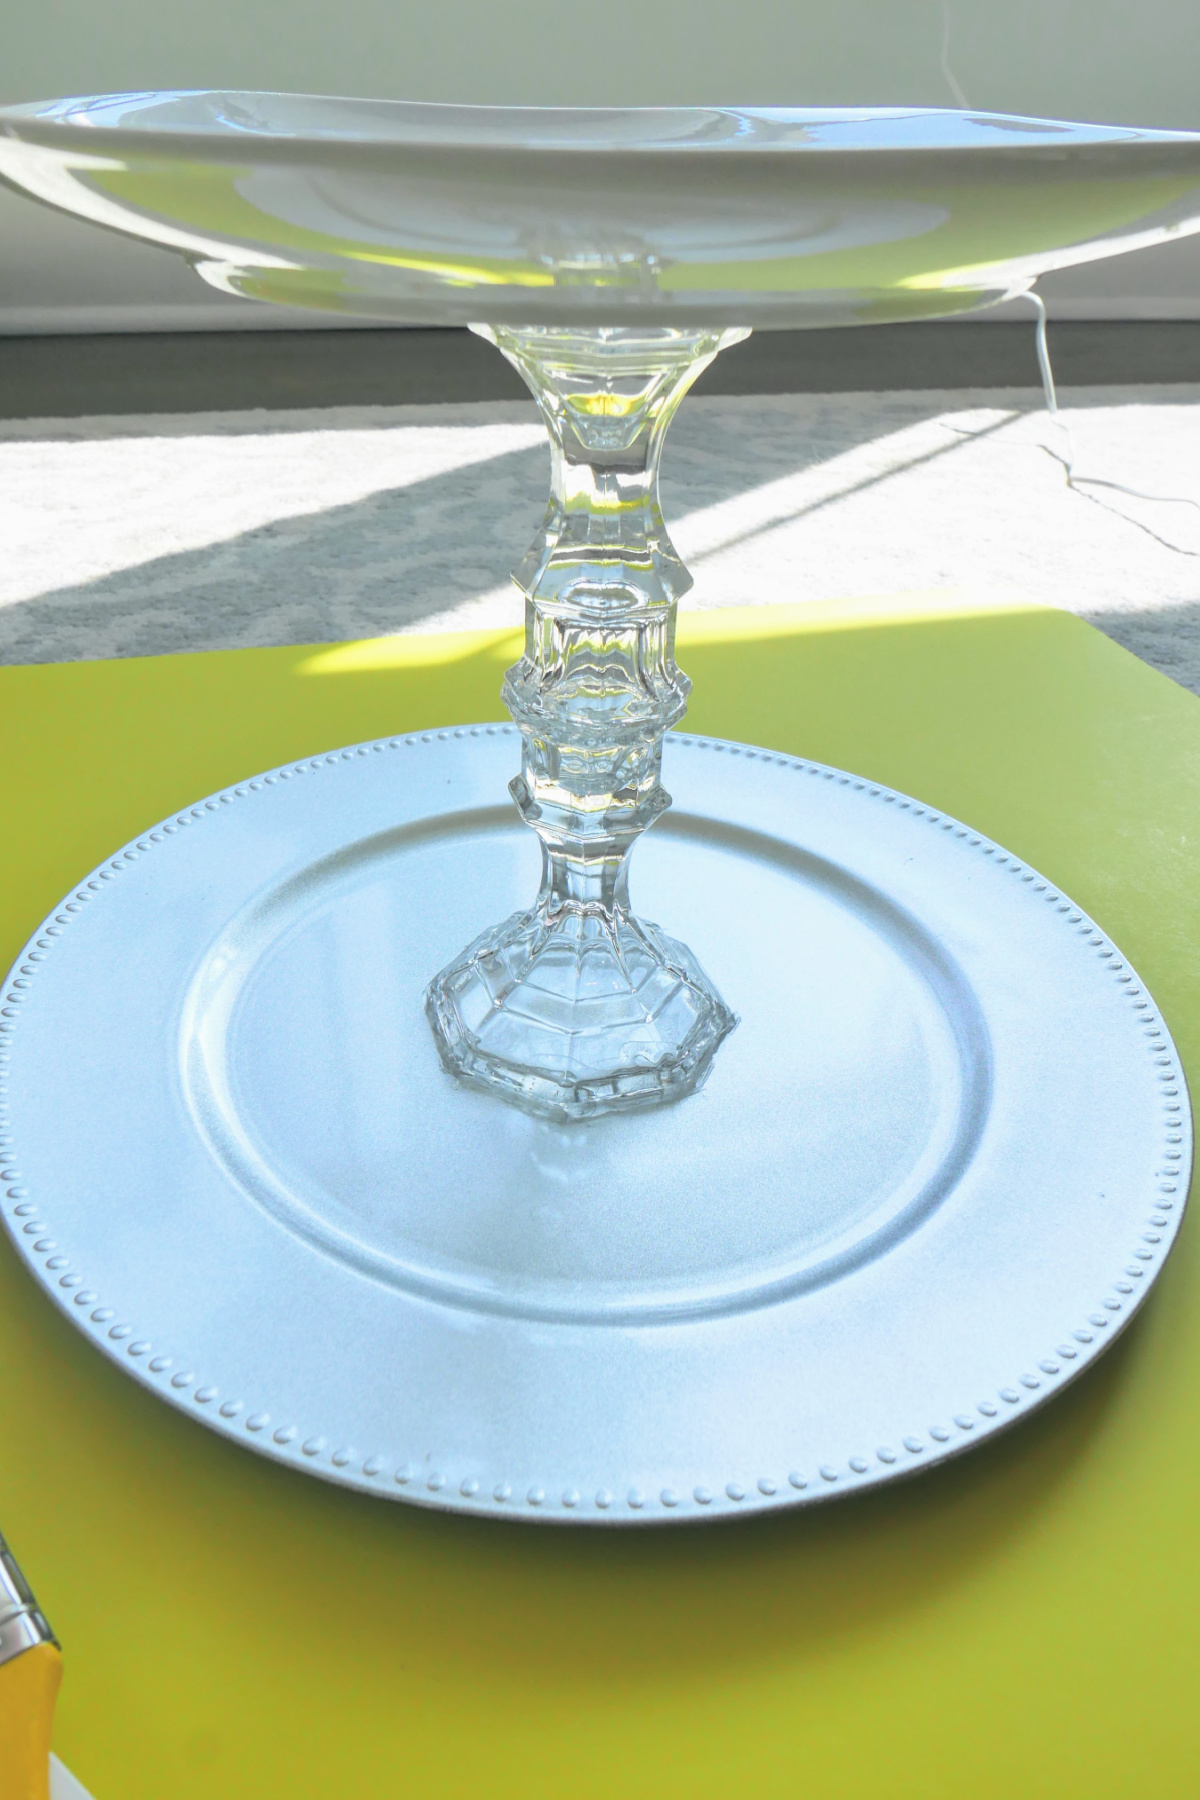
- Begin by using the E6000 glue to attach one candleholder to the center of the plastic plate charger.
- Next, apply the E6000 glue to the top of the candleholder, and turn the other candle holder upside down, and attach it to the top of the first one.
- Apply E6000 glue to the exposed candleholder bottom, and attach the large dinner plate, centering the candleholder to the bottom of the dinner plate.
4. Let the glue dry completely.
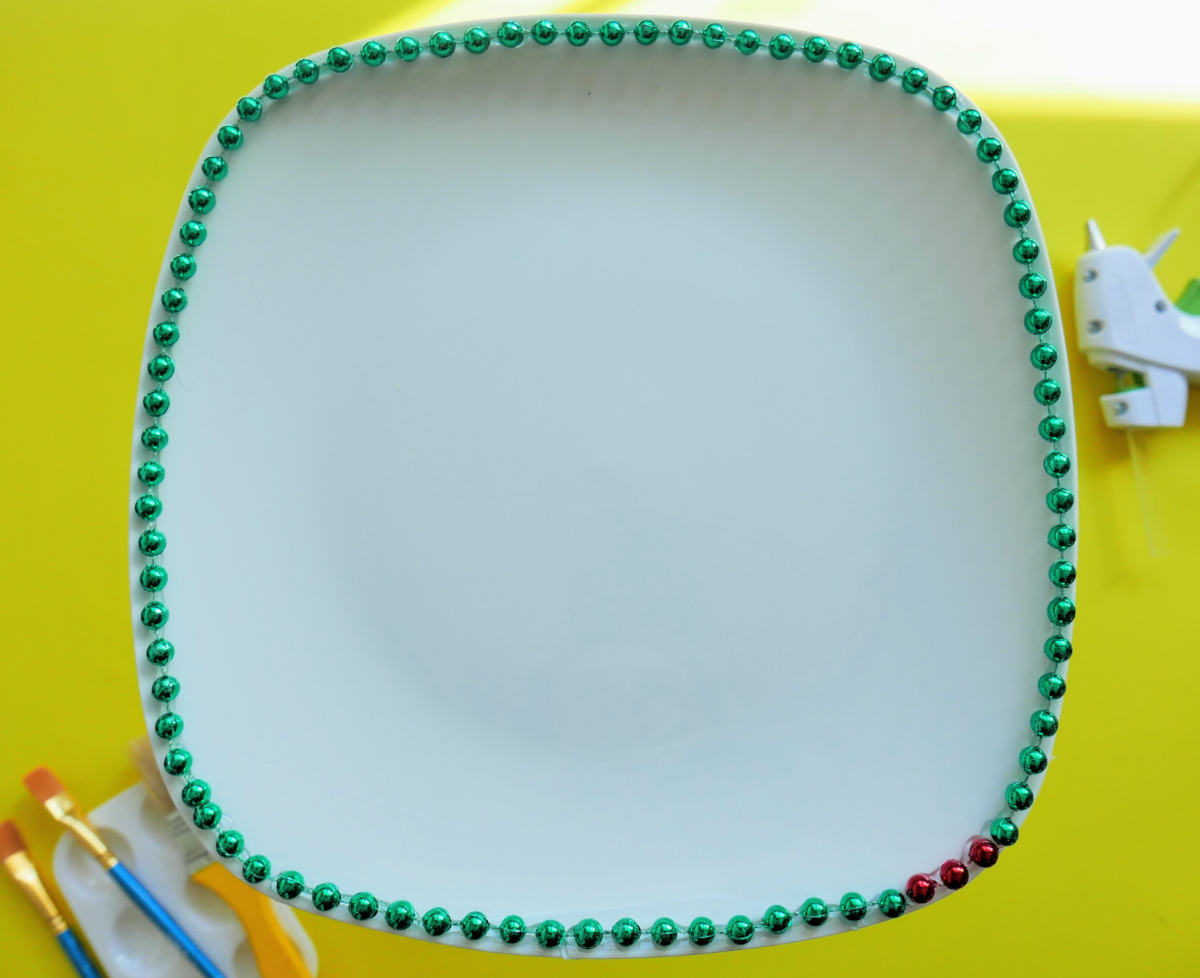
5. Cut one string of the beaded party necklace, and using the hot glue gun, begin to attach the beaded necklace to the outside rim of the large dinner plate. For the plate used in this example, one necklace was not quite long enough, so an additional necklace was cut to size to finish lining the plate.
6. Next, in a well-ventilated area, spray the entire tray from top to bottom with semi gloss white spray paint, and let dry completely.
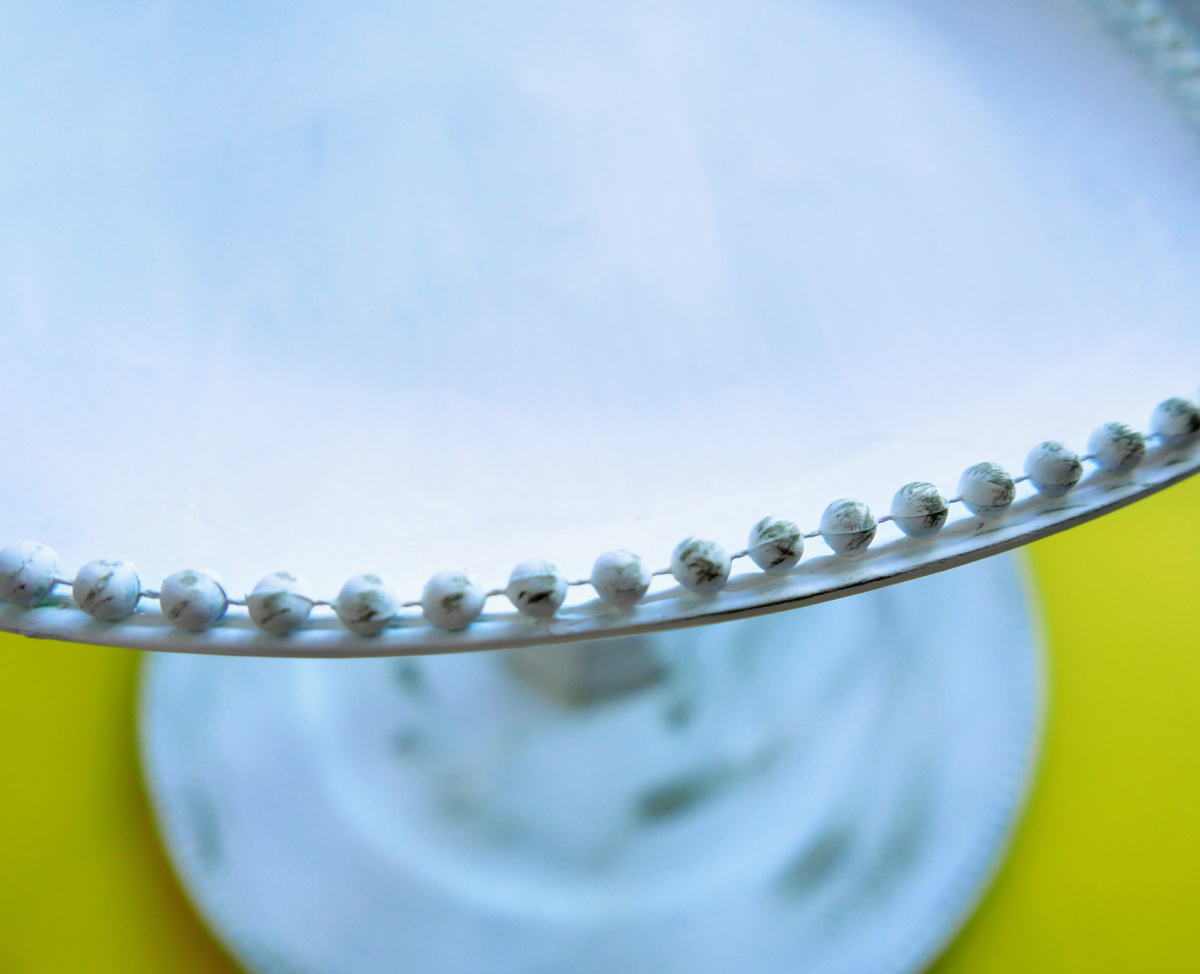
7. Once the spray paint is dry, begin painting the tray with white acrylic craft paint, making sure to get in between the beads that may have been missed with spray paint.
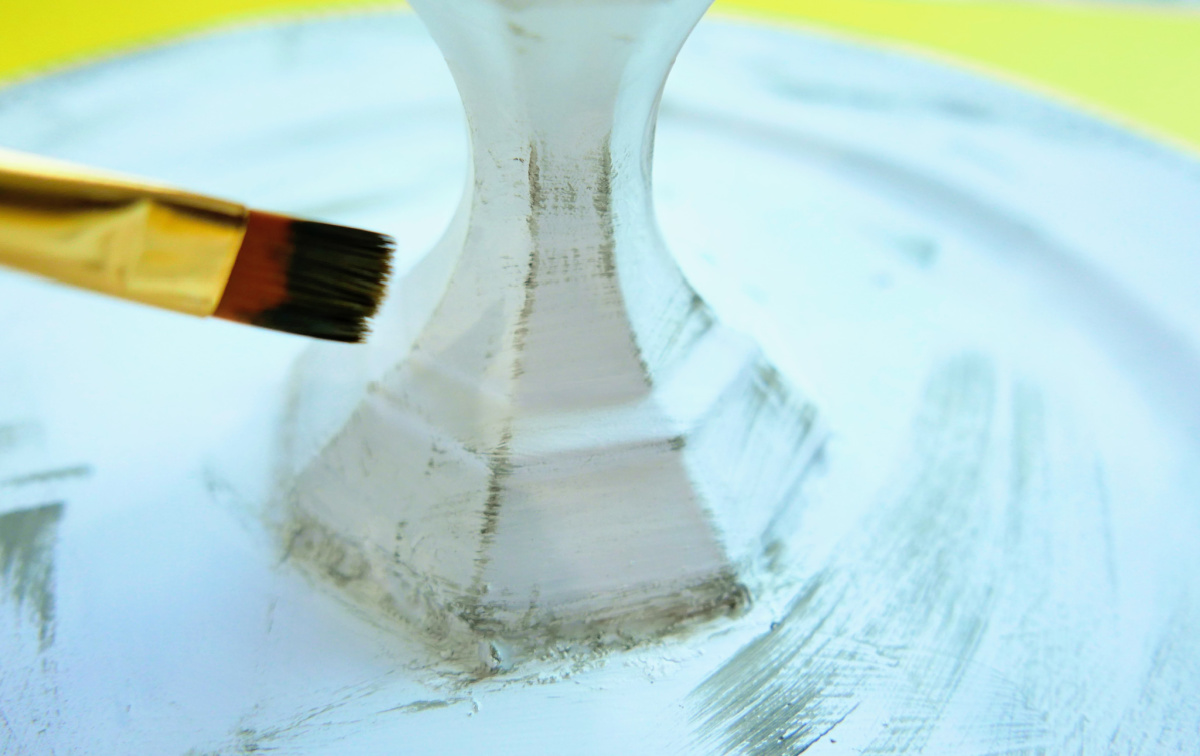
8. Once the white acrylic paint is dry, you will use the ‘dry brush’ method to add some accents with the grey acrylic paint. To do this, dab a very small amount of paint onto the brush, and then blot it off on the palette tray. You will only need a very small amount of paint on the brush.
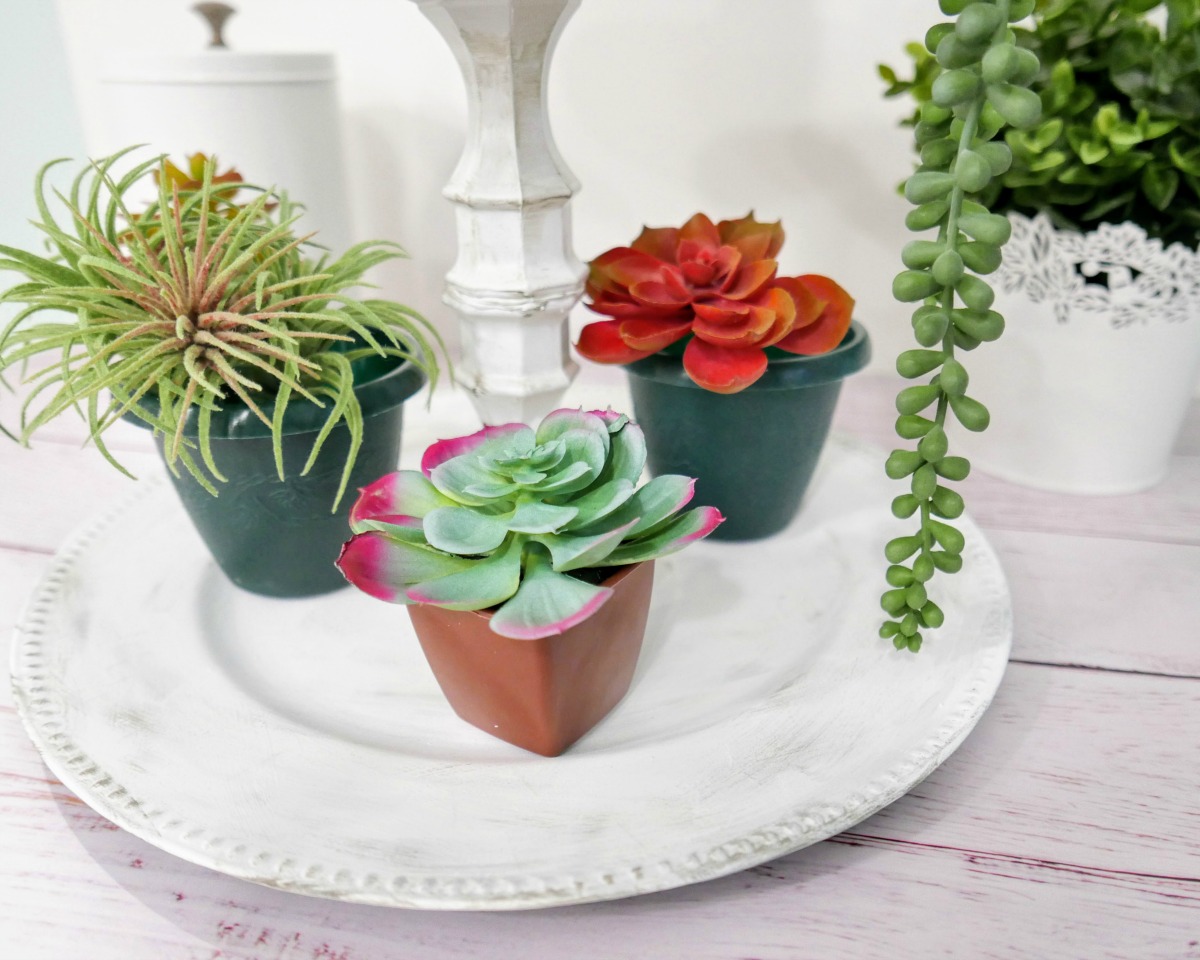
9. Gently brush over the beaded edge of the top dinner plate, and around the ribbed edge of the bottom charger plate. Make several light brush strokes across the plate and charger as well. If the grey is too dark in any areas, wait until completely dry, and then go over the gray with the white acrylic paint.
10. Once completely dry, your tray is ready to decorate, and enjoy!
This Two Tiered Tray Brings Two Times the Class
And there you have it a beautiful two tiered tray that you made yourself. I’ll bet you’ll never look at plates and candlestick holders the same after this. With some hot glue, spray paint, and a little time, you’ll have a beautiful two tiered tray that you can use as both a decorative and functional part of your decor for the holidays, everyday use, or both. Grab your glue gun, get the spray paint, and get ready to make this gem for yourself.

