Are you looking for a fun and creative way to bring a touch of the sea into your home decor? Look no further!
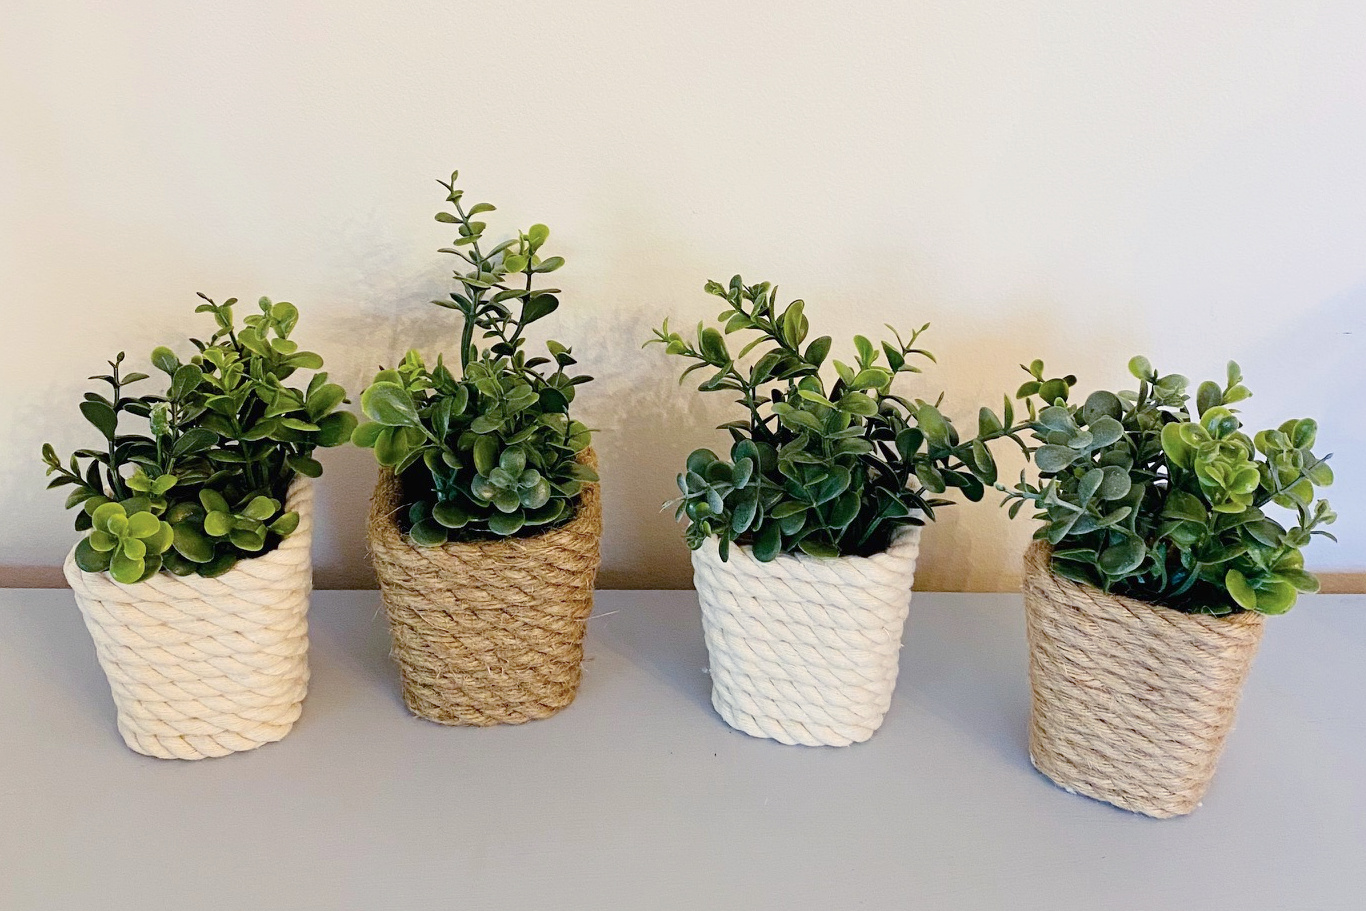
These DIY Nautical Mini Planters are the perfect way to bring a bit of the beach home with you – mess free.
We’ll guide you through the process of making charming nautical-themed mini planters using square votive candle holders, cotton rope, and a glue gun. These adorable planters will add a coastal vibe to any room and make for a unique conversation piece. Let’s dive into this fun and easy DIY project!
DIY Nautical Mini Planters
Links may be commissioned.
Many of the items needed for this project came from Dollar Tree. Yep, it’s true! You can make a bunch of these mini planters for under $10
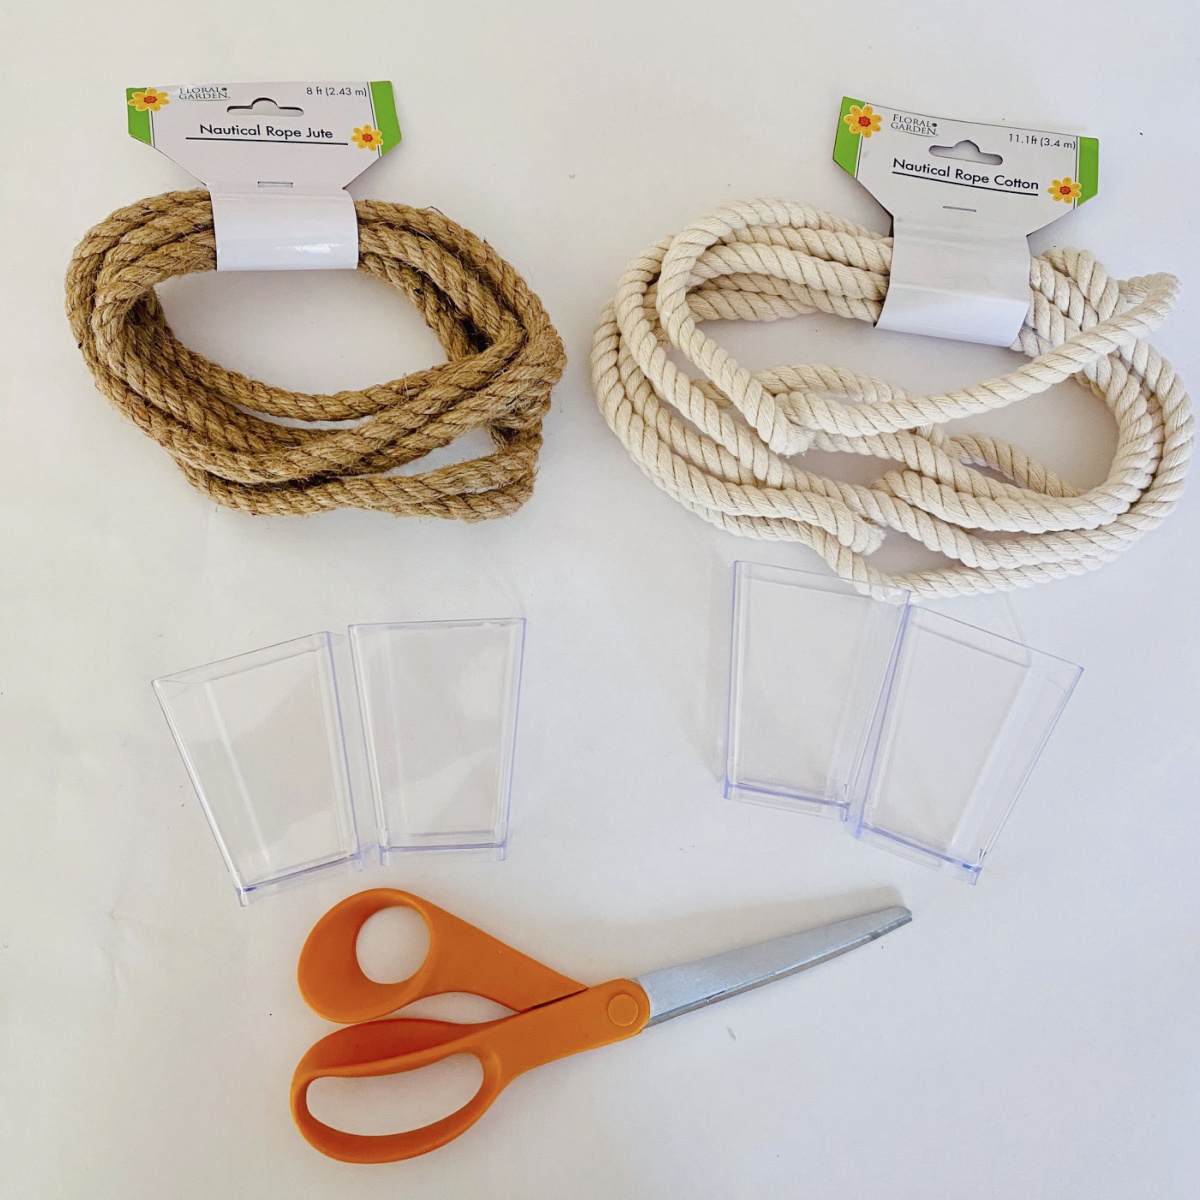
Materials Needed:
- Square votive candle holders
- DT nautical cotton rope. Our bundles were 11 ft, but get the longest yardage ones you can find.
- DT nautical jute rope. Our bundles were 8 ft, but get the longest yardage ones you can find.
- Scissors
- Glue gun
- Glue sticks
- Alcohol wipes or rubbing alcohol and a lint free cloth
- Eucalyptus or other decorative elements (optional)
Directions:
Step 1: Preparing the Candle Holders Start by ensuring that your square votive candle holders are clean and free of any dirt or residue. This will help the glue adhere more effectively to the surface. I wipe mine down with an alcohol wipe as it cuts the grease and dries quickly.
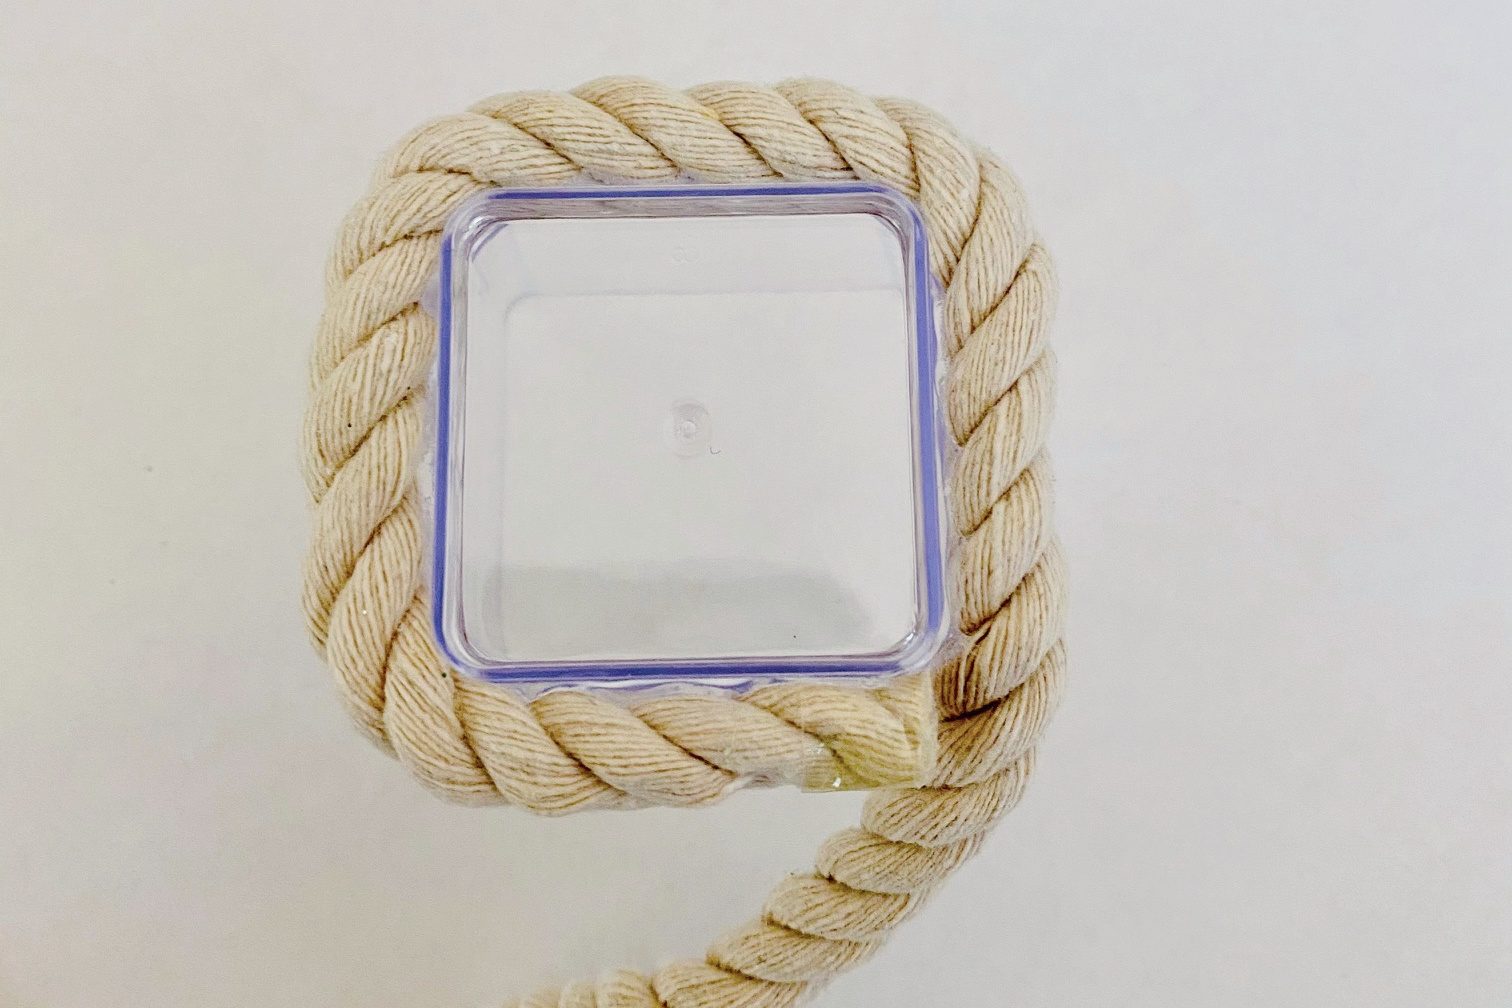
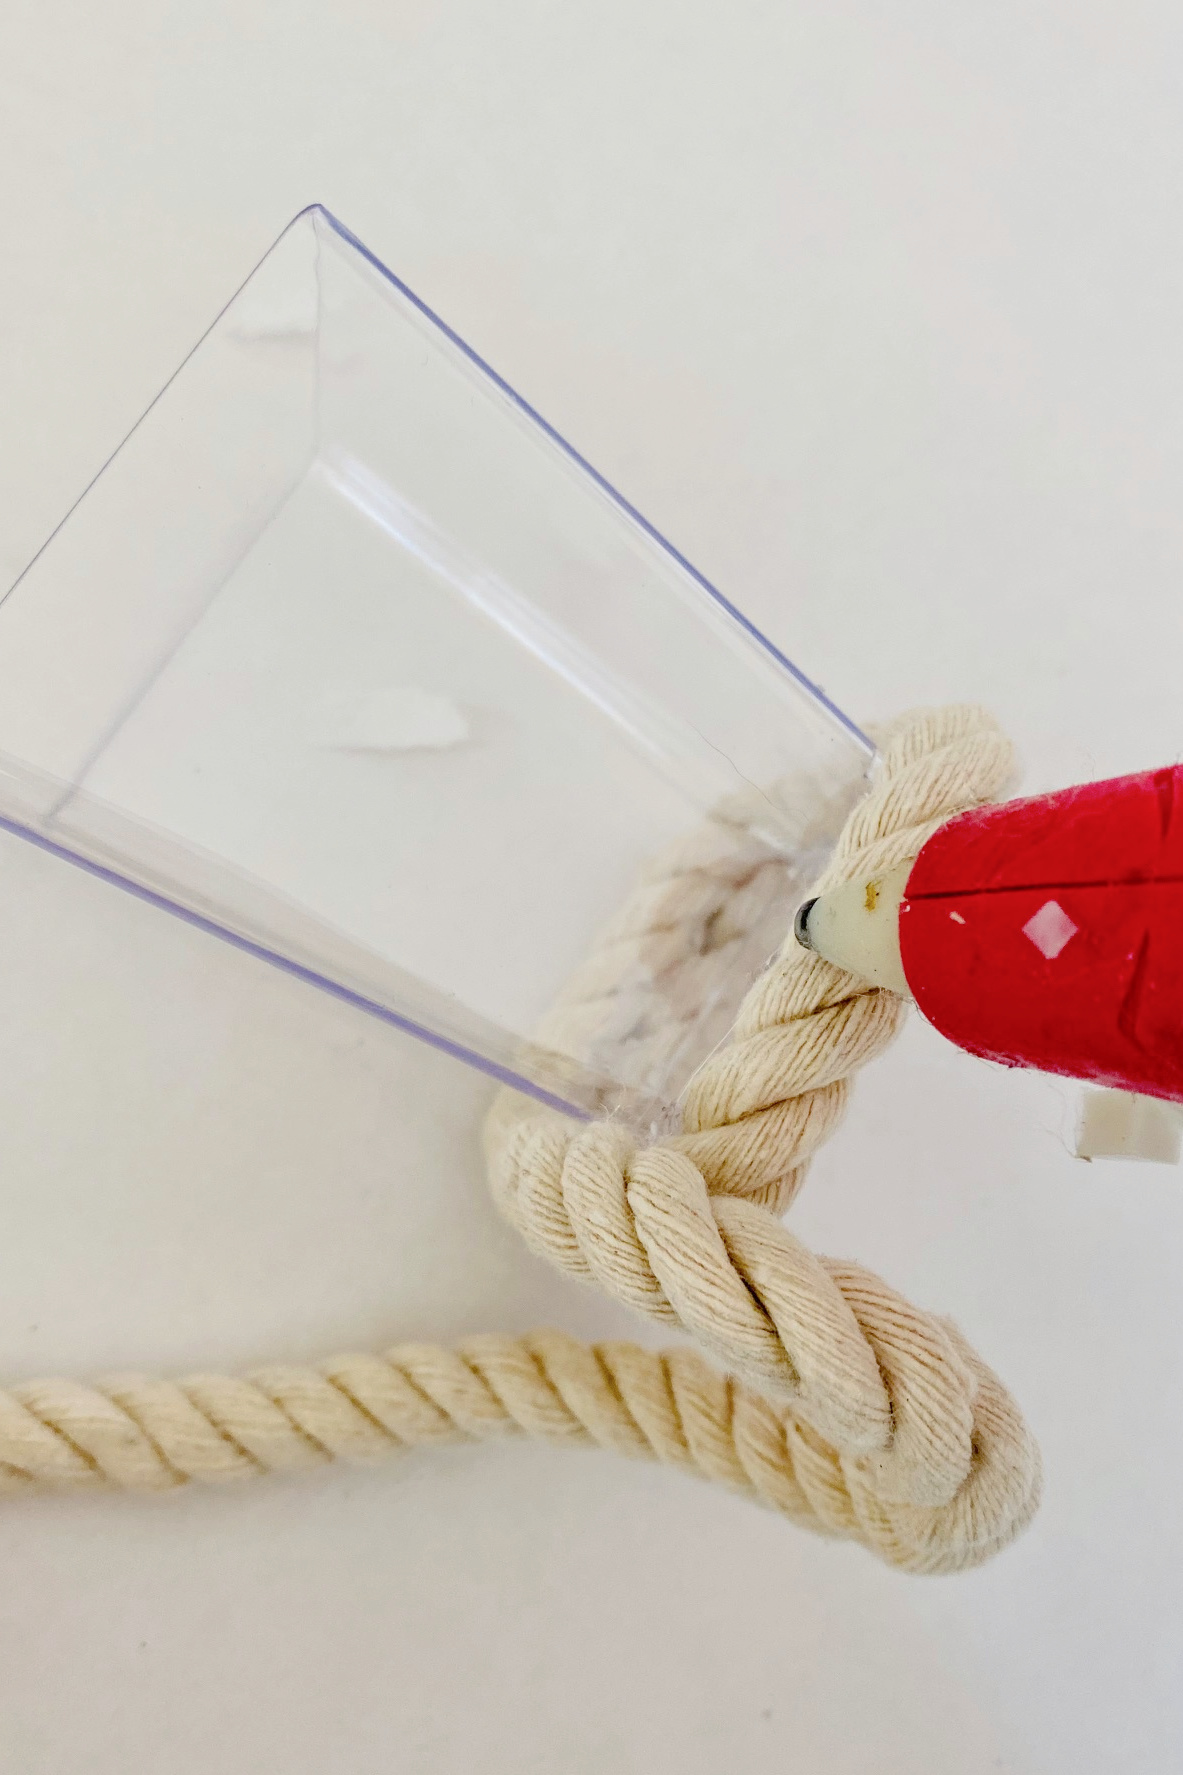
Step 2: Wrapping the Cotton Rope Take one square votive candle holder and add a line of glue around the bottom. The glue acts as an adhesive to secure the rope.
Now, it’s time to wrap the cotton rope around the candle holder. Begin at the glued area and press the rope gently onto the glue to create a strong bond.
Continue adding glue and tightly wrapping the cotton rope around the candle holder. Remember to press down as you go to ensure the rope adheres firmly.
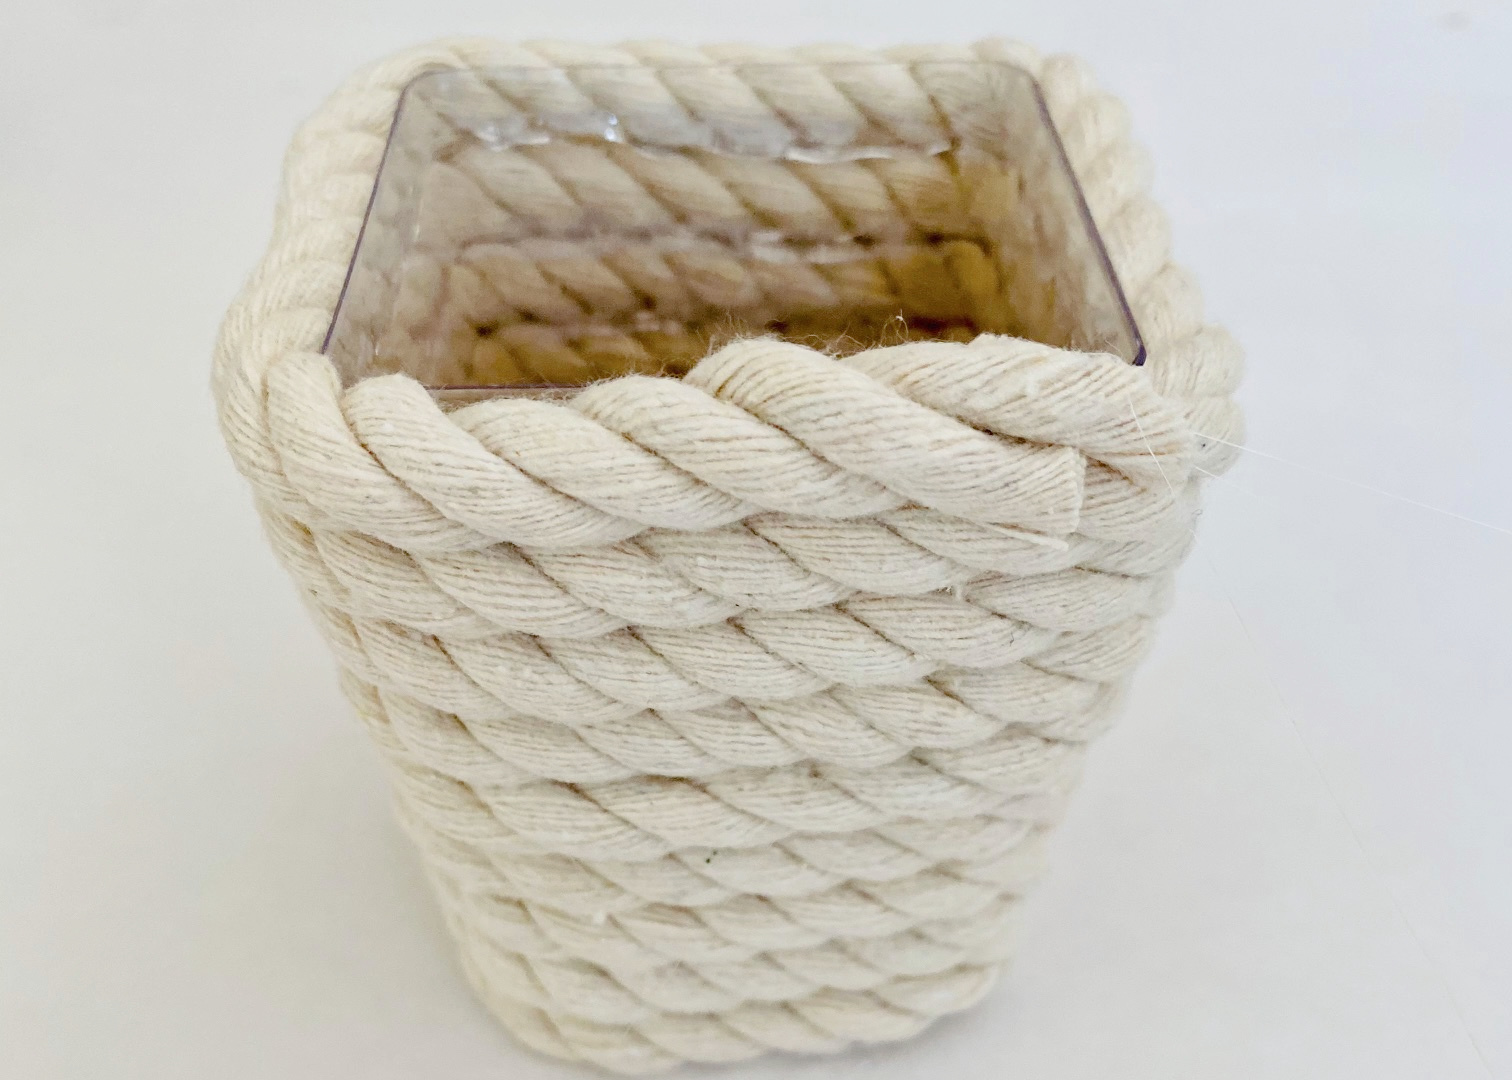
Keep wrapping and gluing until you reach the top of the candle holder. If there’s any excess rope, trim it with scissors.
Step 3: Repeating the Process Repeat the same steps for another square votive candle holder, using the cotton rope. This will give you a matching set of planters.
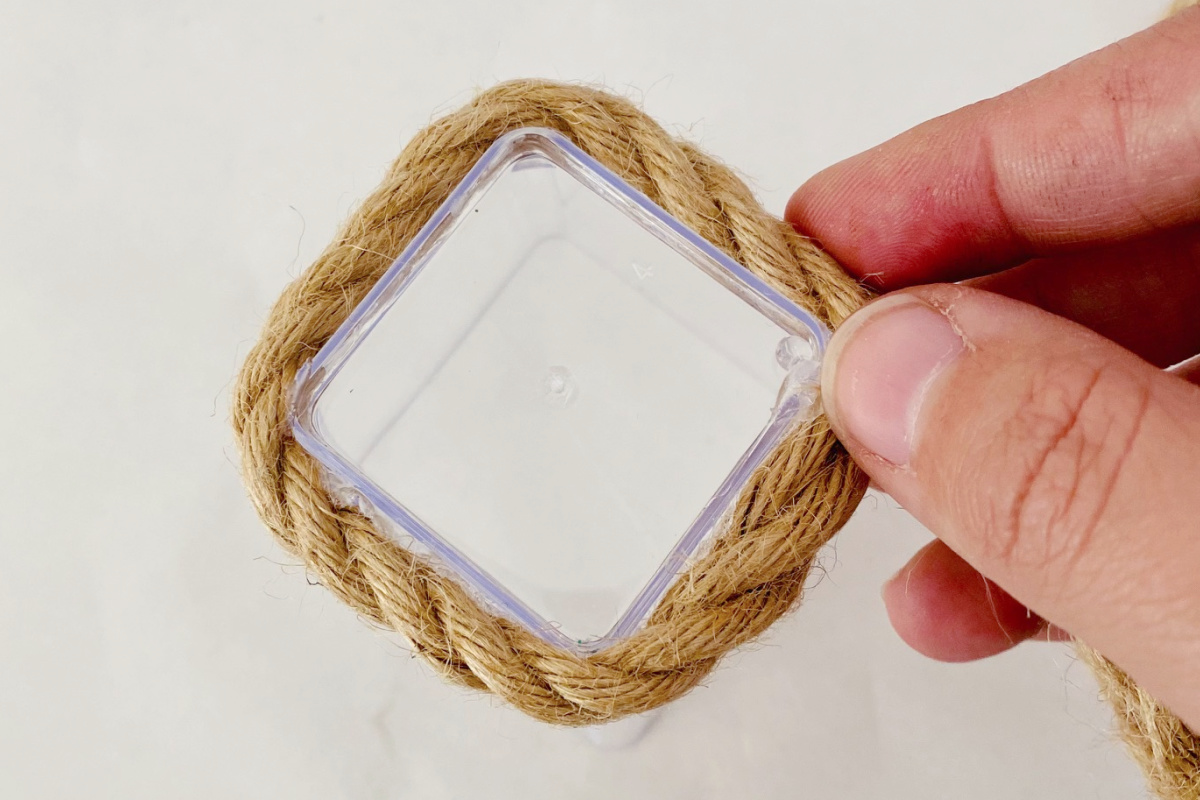
Step 4: Adding the Jute Rope Switch to the jute rope and repeat the process once again. Apply glue to the bottom of a new square votive candle holder and start wrapping the jute rope around it.
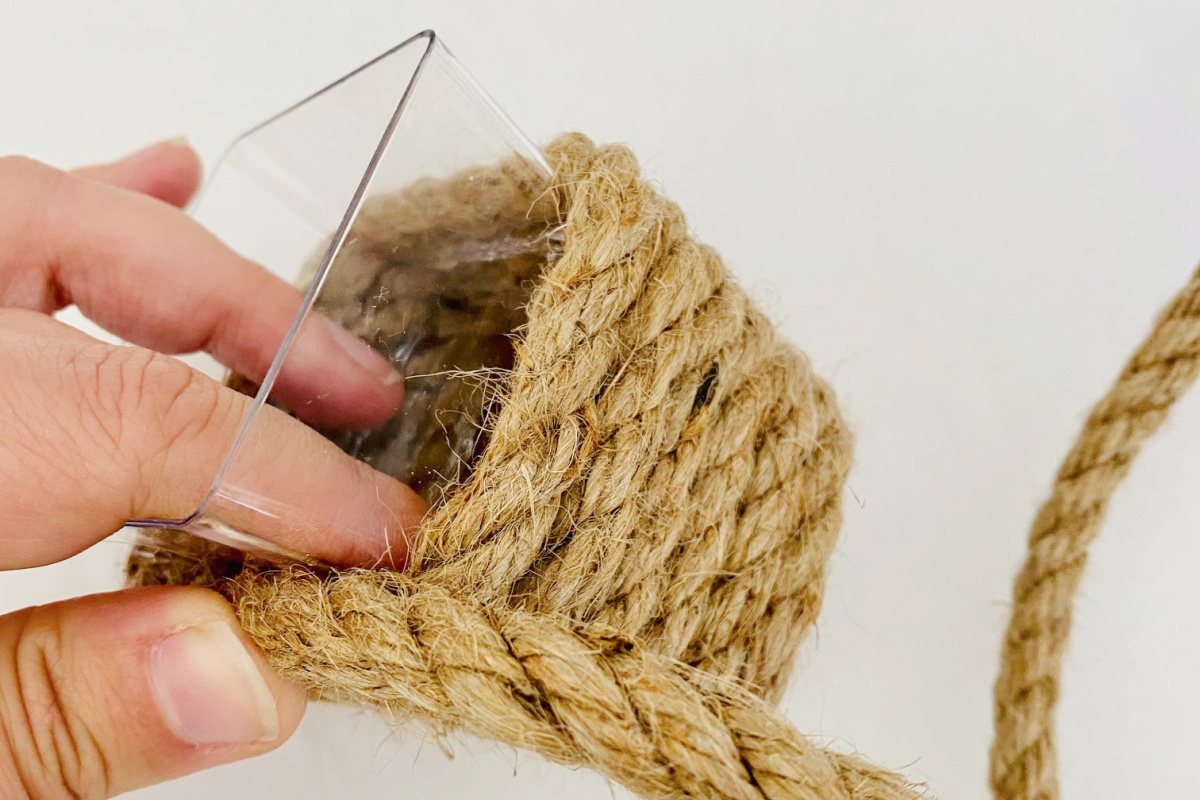
As before, continue gluing and wrapping until you reach the top of the candle holder. Trim any excess jute rope if needed.
Step 5: Allowing the Glue to Dry After you’ve wrapped all the candle holders with the ropes, it’s important to allow the glue to dry completely. This will ensure that the ropes are securely attached to the holders, providing stability for your mini planters. An hour or two should be fine.
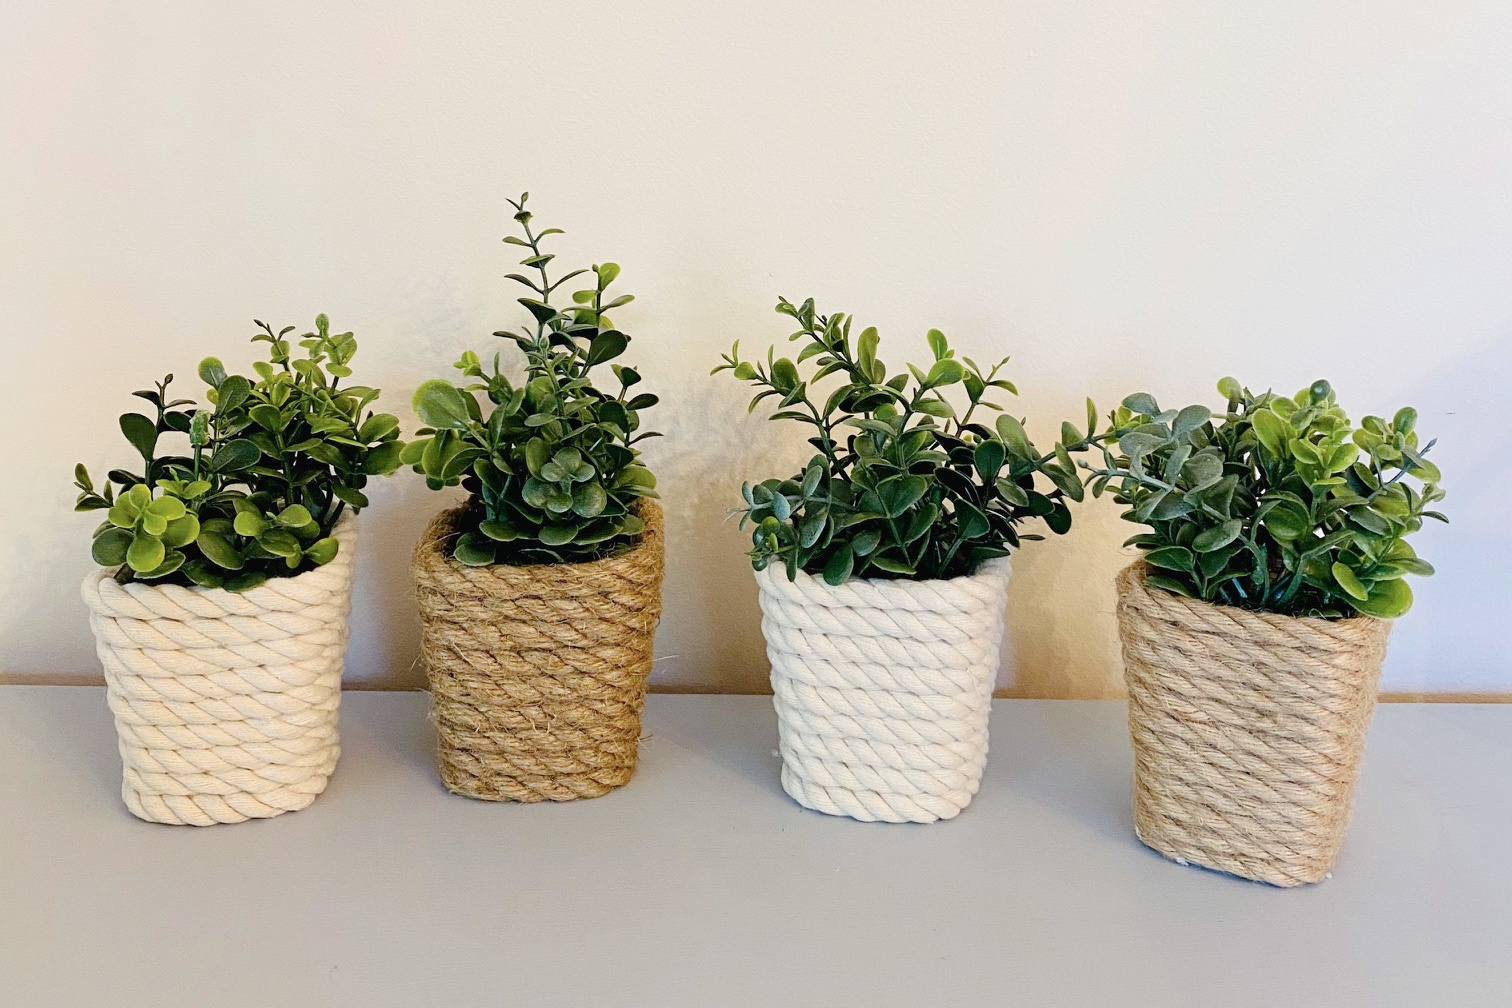
Step 6: Adding Decorative Touches (Optional) If you want to take your nautical mini planters to the next level, consider adding some decorative elements. For example, you can tuck eucalyptus leaves or other coastal-themed elements between the ropes or even glue them onto the surface of the planters. Seashells, sand dollars, or starfish are also great options. Get creative and personalize them to match your style!
Additional Tips and Tricks
Rope Length: Ensure you have enough rope length to cover all the square votive candle holders. If you’re unable to find a single rope long enough, you can join multiple pieces together by gluing the ends securely. Just make sure the joining point is concealed within the wrapping.
Glue Gun Safety: When working with a glue gun, exercise caution to prevent burns. Handle the glue gun with care and keep it away from children and pets. Place it on a heat-resistant surface and use protective gloves or a glue gun stand if necessary. You might also want to keep a dish of cool water to dip burning fingers into.
Rope Tension: While wrapping the ropes around the candle holders, keep consistent tension for a neat and even appearance. Avoid pulling the rope too tightly, as it may distort the shape of the candle holder, if not using glass, or cause the glue to squeeze out excessively.
Rope Thickness: Experiment with different rope thicknesses to achieve the desired aesthetic. Thicker ropes may create a bolder and more prominent look, while thinner ropes can offer a delicate and intricate design.
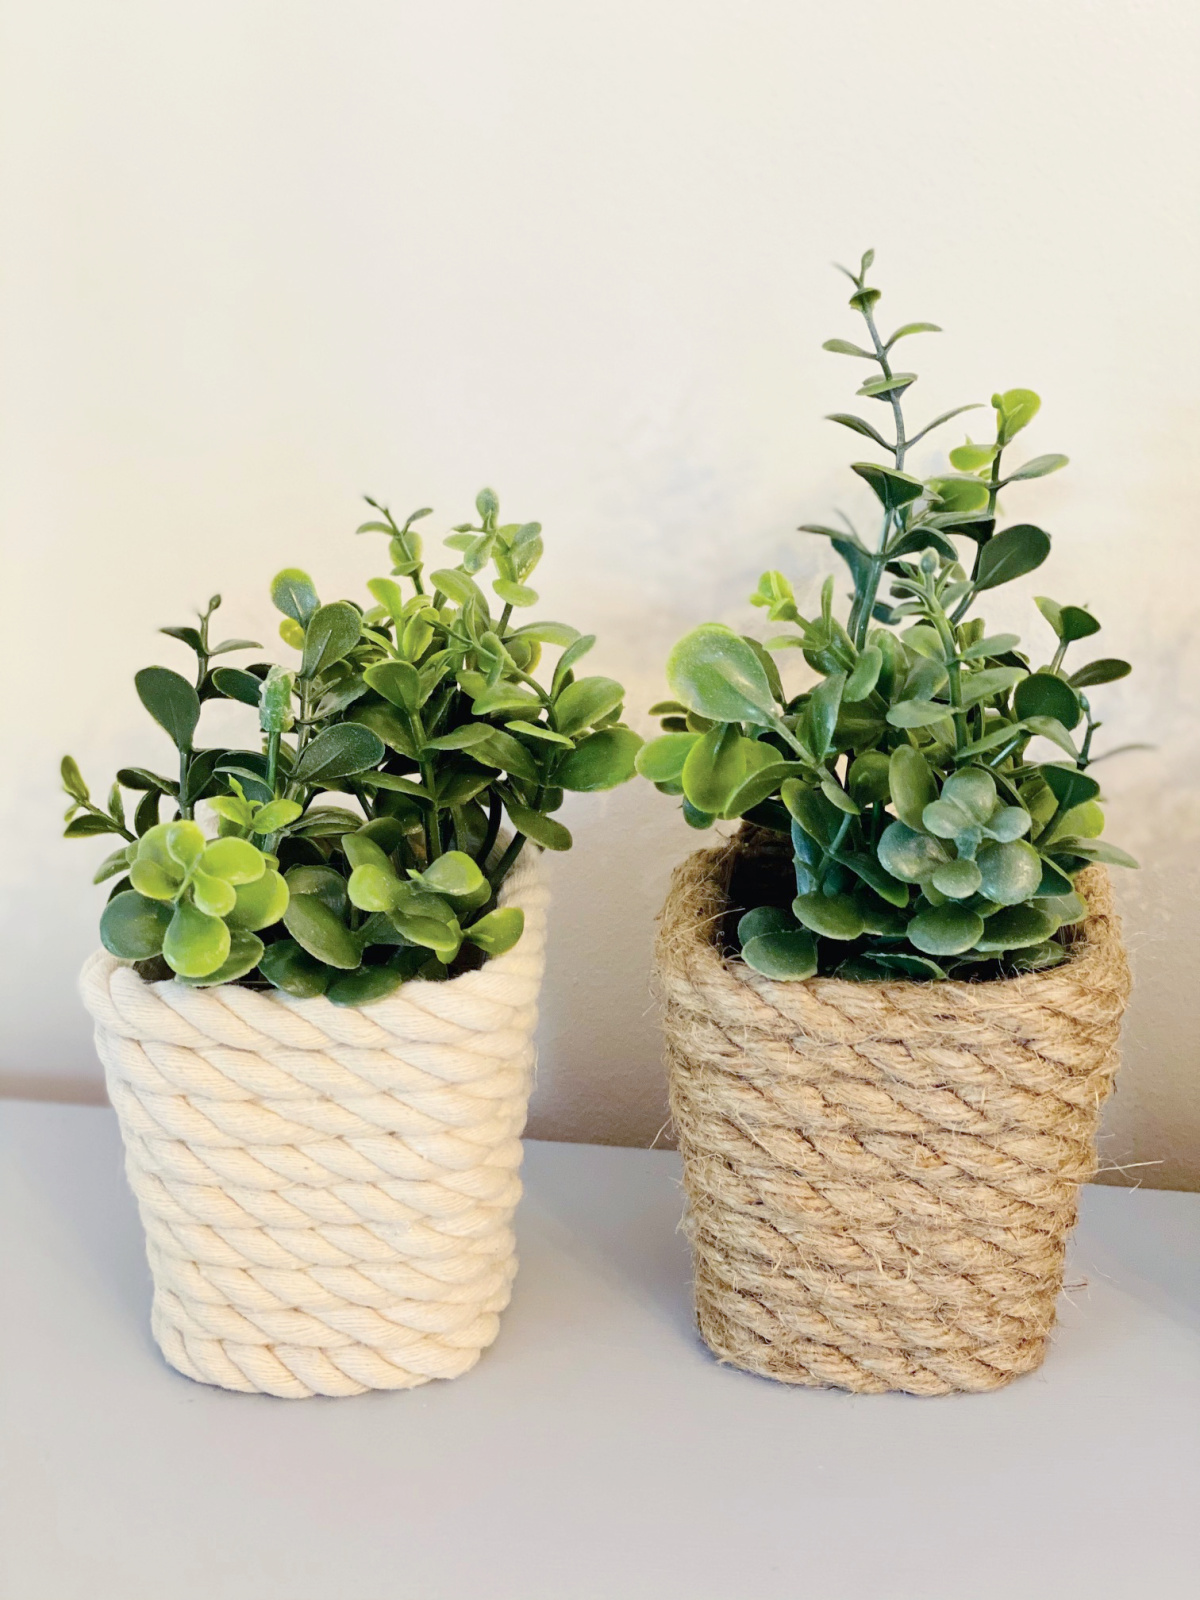
Plant Selection: Choose small plants or succulents that are suitable for mini planters. Opt for plants that require minimal watering and are well-suited for indoor conditions. Ensure the plant’s root system fits comfortably within the candle holder. Or, choose artificial plants.
Maintenance: Remember to consider the watering needs of the plants in your mini planters. Be cautious while watering to prevent excess moisture from seeping through the ropes and damaging the glue. Consider using a drainage system like small gravel or rocks, or placing a small saucer or liner within the candle holder to catch any excess water.
Display and Placement: Once your nautical mini planters are complete, think about where you’d like to display them in your home. These planters can enhance the ambiance of your living room, bedroom, kitchen, or even a bathroom. Choose a spot where they can be appreciated and complement your existing decor.
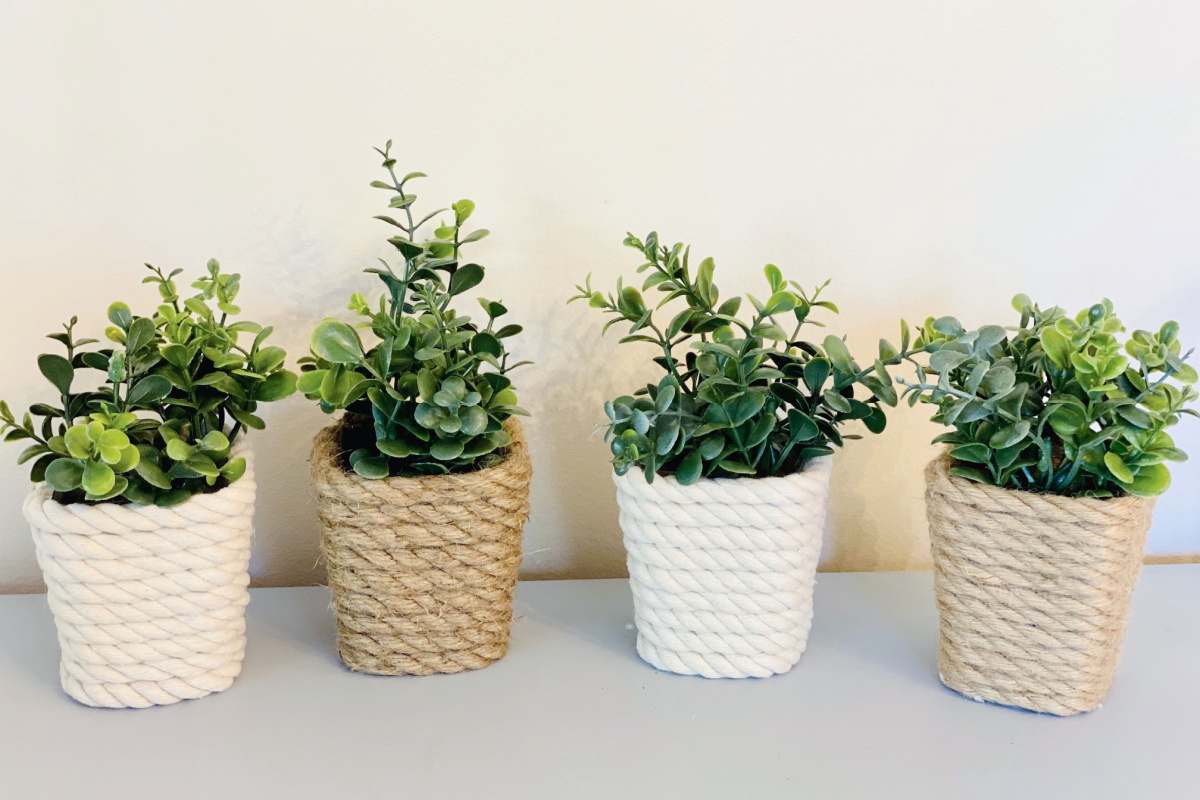
With these tips in mind, you’re well-equipped to create beautiful nautical mini planters using square votive candle holders and ropes. Enjoy the process and have fun adding a touch of coastal charm to your home!
Congratulations! You’ve successfully created charming nautical-themed mini planters using square votive candle holders and ropes. These delightful planters will infuse your home with a coastal vibe, adding a unique touch to your decor. Whether you place them on a windowsill, a shelf, or use them as table centerpieces, these DIY planters are sure to catch the eye and spark conversations. Gather your materials, unleash your creativity, and embark on this enjoyable crafting journey. Happy decorating!
