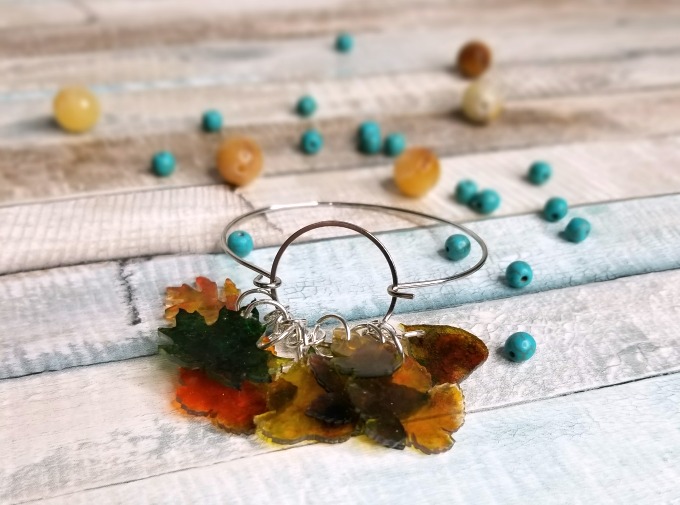
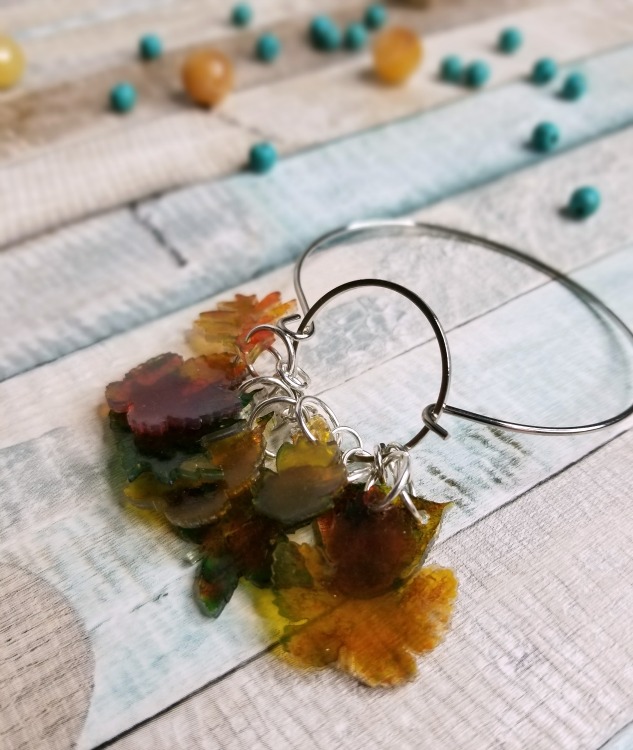
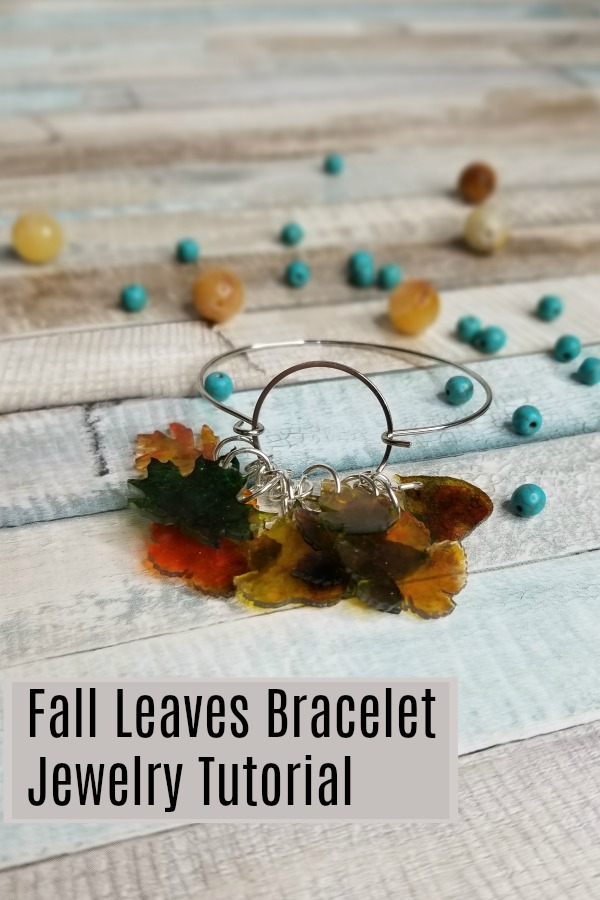
Fall is my favorite season. I love cooler weather and the leaves changing color. To help celebrate the changing season, we created this Autumn Leaves bracelet.
It’s so simple to make and looks so fabulous. No one will believe you made it yourself. Even if you’re not crafty.
Autumn Leaves Charm Bracelet
Links may be affiliate links. The help support our site at no additional cost to you.
The two secret components that make this bracelet amazing are shrink plastic and alcohol inks. Yup. And the Cricut machine to cut the shapes out.
Supplies
- Cricut Explore 3 – You could definitely use a template and an X-acto knife. It’s just a lot more labor intensive. You can also use a Cricut Maker.
- Alcohol Inks
- 8mm Jump Rings
- 6mm Jump Rings
- Adjustable Bangle Bracelet Blank
- Clear Shrink Plastic
- Krylon Triple Thick Spray
- Parchment Paper
- Cotton ball or makeup sponge
- ¼ inch hole punch
- Scissors
Directions
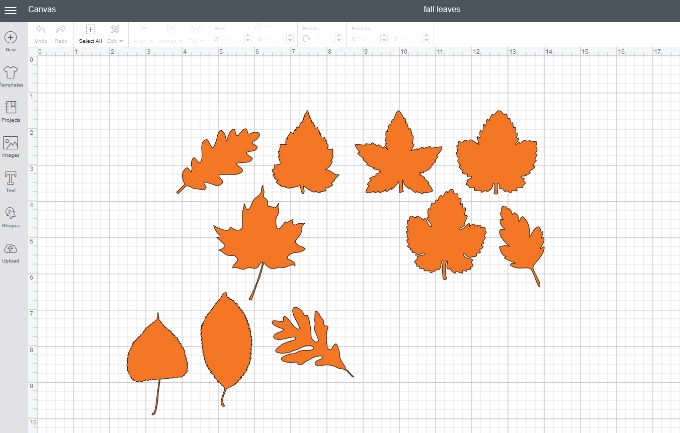
Fire up Cricut Design Space and find a great leaf cut file. We used this one from Martha Stewart.
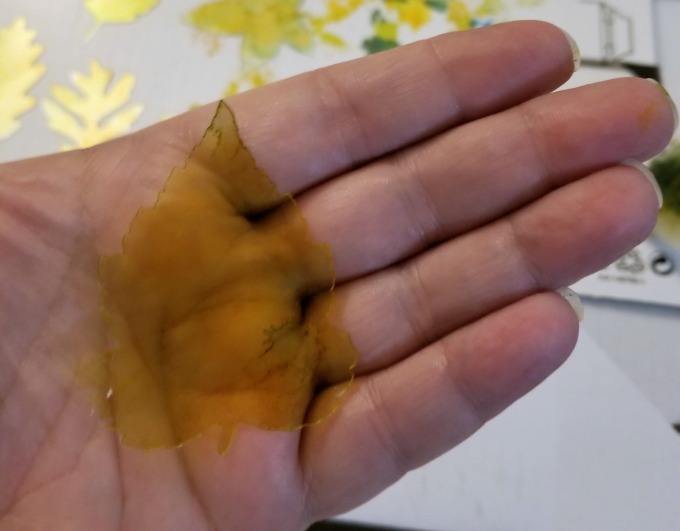
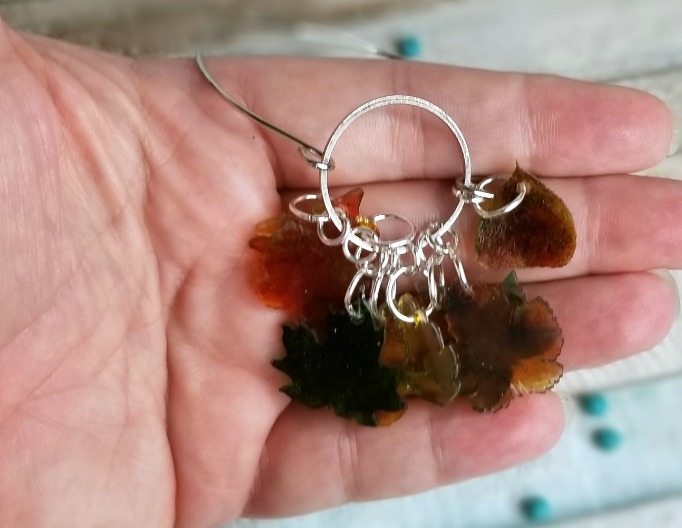
Size your images to be at least twice as large as the finished size you want. My cut leaves are between 2 ¼ and 2 ½ inches tall, while the finished ones are 1 -1 ¼ inches tall.
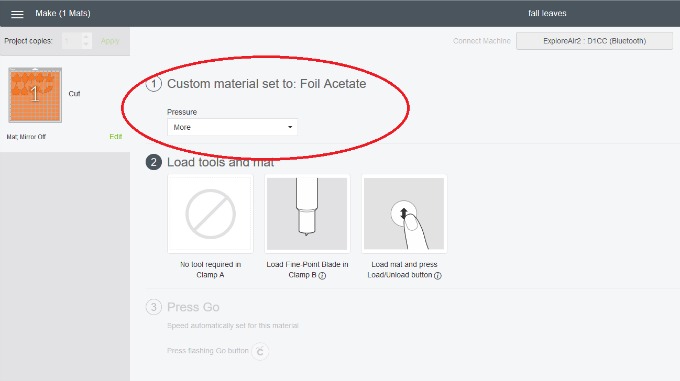
Set your machine to custom materials and choose foil acetate. Then select more pressure. I used a deep cut blade, but the regular blade works fine, too.
Make sure your mat is sticky, and place the shrink plastic on your mat. Load the machine and you’re good to go. A less sticky mat may give you issues, and the shrink plastic may fall off during cutting. I used a new LightGrip mat (because that’s what I had), and it worked great.
Cut your leaf shapes out of shrink plastic. They’ll look really big, but remember that they’ll shrink down quite a bit.
Sometimes, you might have to break the shapes out of the plastic a little. This isn’t a big deal, and the excess plastic should break off quite easily. Take care not to tear your cut-out leaf, though.
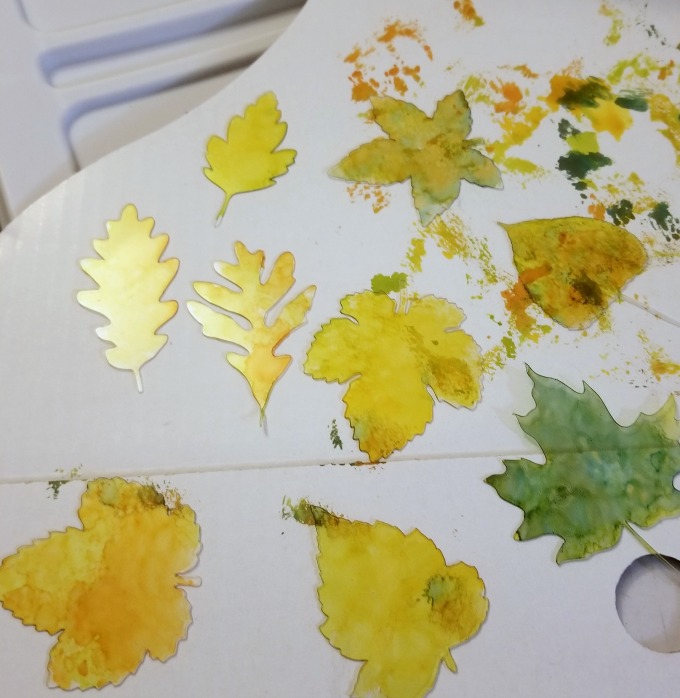
Color your leaves with alcohol inks. We used Sunset Orange, Sunshine Yellow, Sail Boat Blue, and Citrus from Tim Holtz.
Punch a hole in each leaf before heating. We used a ¼ inch hole punch, and it’s a great size for jewelry charms. Take care not to punch through the edge of your plastic piece.
Place your colored leaves on a baking sheet lined with parchment paper. Cover the shapes with another sheet of parchment.
Check the directions on your package of shrink plastic, and heat according to those directions. Generally, it’s around 300 degrees F.
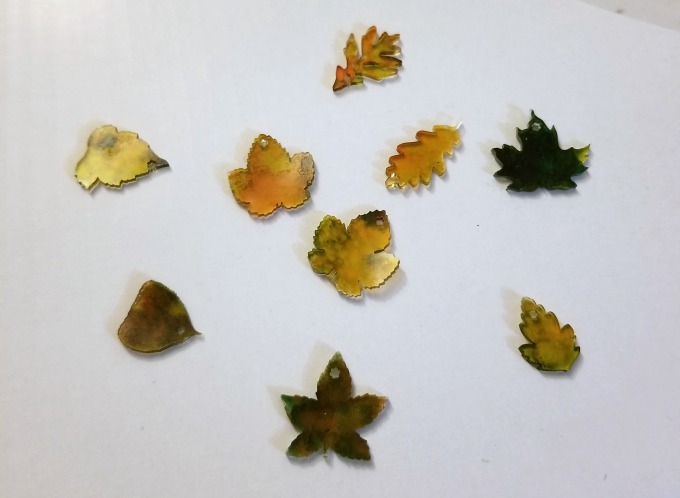
Keep an eye on your pieces. The process goes fast. They’ll shrink, and then curl up. Don’t panic! Give it another minute or so in the oven, and they’ll flatten out. This is how you know when they’re done. Ours took about 3 or 4 minutes to shrink. Let cool.
The colors will be much more intense after shrinking. You’ll want to spray them with a sealer. We like Krylon Triple Thick.
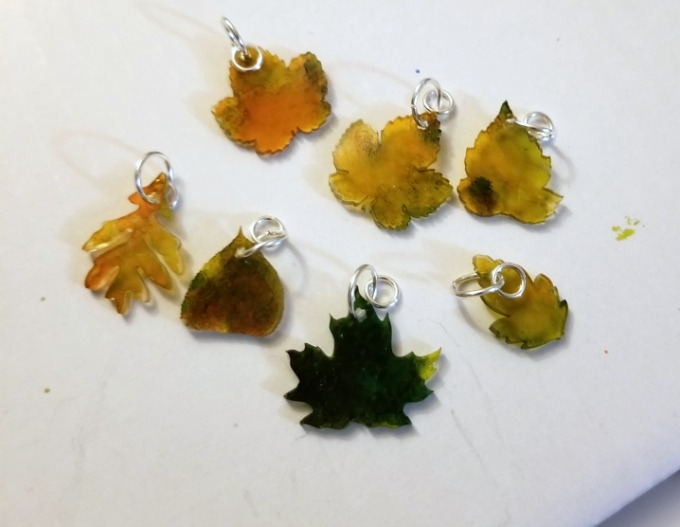
Thread an 8mm jump ring through the hole in the charms. Add a 6mm jump ring to the 8mm, then close.
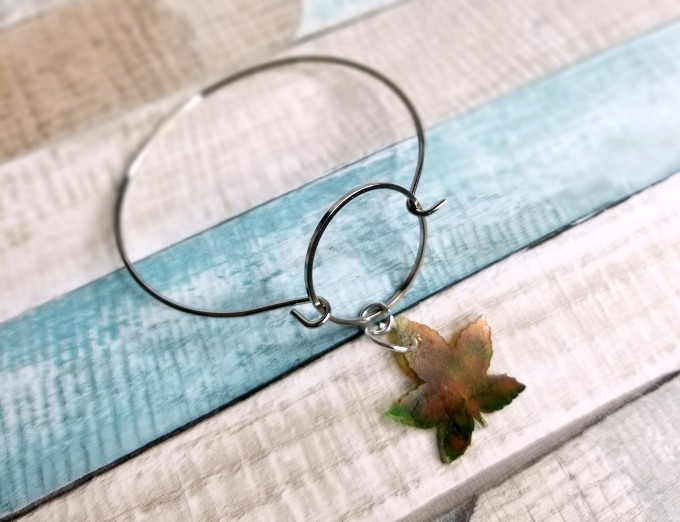
Open the 6mm jump ring and add the charm to your bracelet. Close the jump ring. Repeat for all the charms.
Voila! You’ve got a great festive bracelet that’s perfect for fall.
See the size and color difference after shrinking?
Isn’t this Autumn Leaves bracelet easy? All told, it took about half an hour, start to finish. Love this project? Don’t forget to pin it for later, or share on social media!

