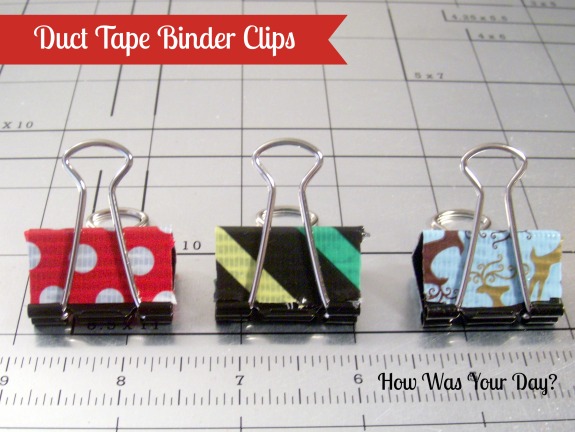
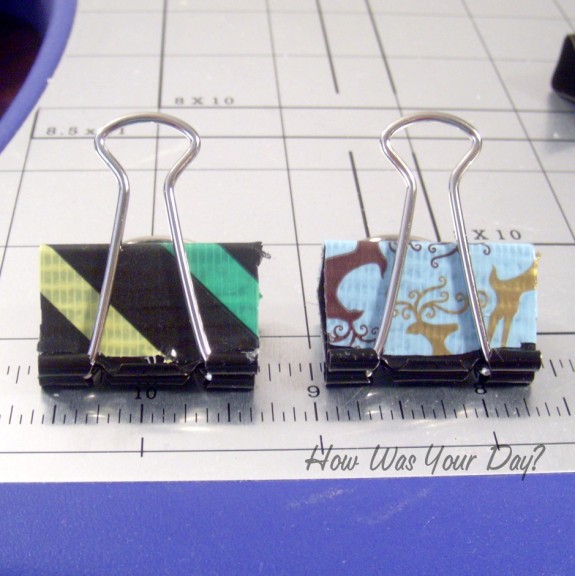
This duct tape crafts project was inspired by Scotch duct tape.
I have a weakness for office supplies. I can’t even hide it. If it’s kind of cute, or brightly colored, I’m looking at it and probably pondering a purchase. The biggest problem is that they tend to be on the pricier side. You can dress up your plain ol’ office supplies quickly and easily. This is a perfect back to school project, and duct tape crafts have become so popular recently.
Supplies Needed:
- Binder Clips. Larger ones are easier to work with. I’m using Medium sized ones.
- Duct Tape
- Xacto Knife. Scissors will end up getting gunked up.
- Fine grit sandpaper or an emery board (optional)
Directions:
Take your binder clips apart. Remove the arms from the body and set aside.
Take your duct tape and cut a smallish piece that will cover your binder clip. Generally, 2-3 inches in length is plenty. Or, you can work directly from the roll. That’s what I do.
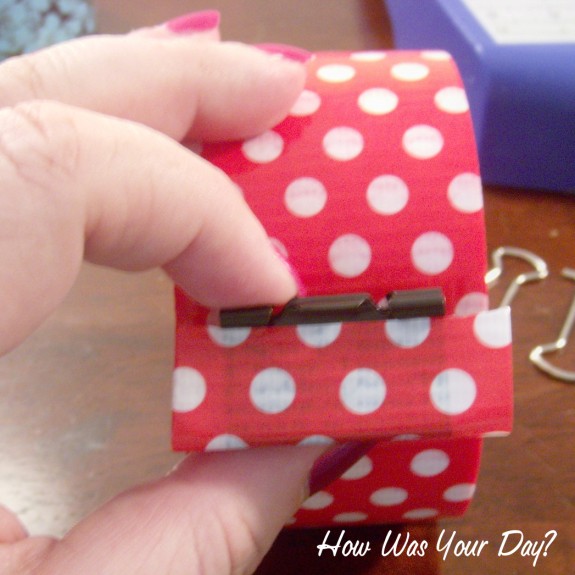
Place the edge of your duct tape under the lip of the binder clip. Press it down to make sure it’s stuck.
Wrap the tape up the side and over the top of the binder clip, making sure there’s no air bubbles or wrinkles.
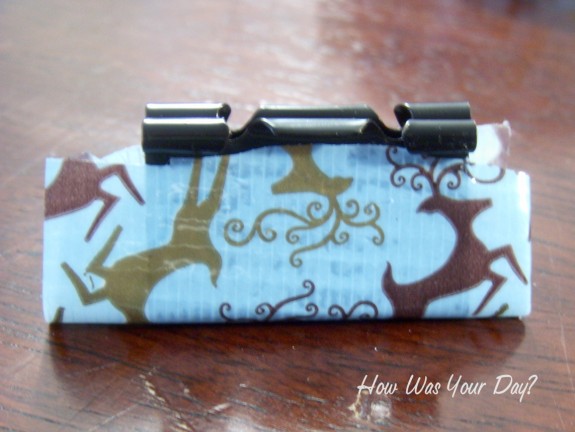
Smooth the tape down the other side of the binder clip. Trim to fit the length, and tuck the end under the lip on the end. If it’s a little uneven, that’s ok. No one’s really going to see it or notice.
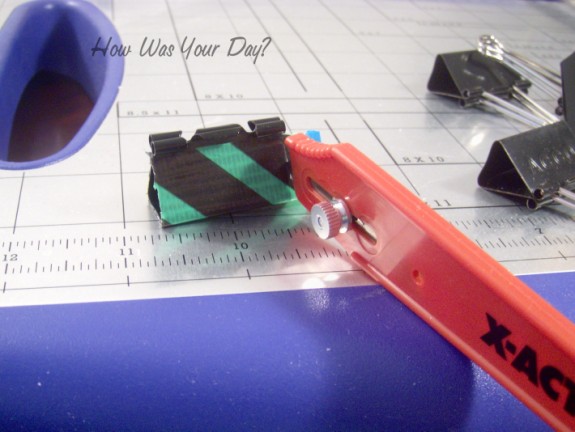
Now, you’ll probably have some tape hanging over the edges of your binder clip. Simply take your Xacto knife and trim it down, carefully. I did this by pulling the tape taut in one hand, and using my knife to cut through. I used the edge of the binder clip as a guide.

If you have rough edges, just run your finger, an emery board, or a small piece of fine sandpaper along the edge. This will get rid of the slightly uneven edges.

Replace the arms of the binder clips.
TaaDaa!! You know have decorated binder clips that were quick and easy to do. What are some of your favorite duct tape crafts?

