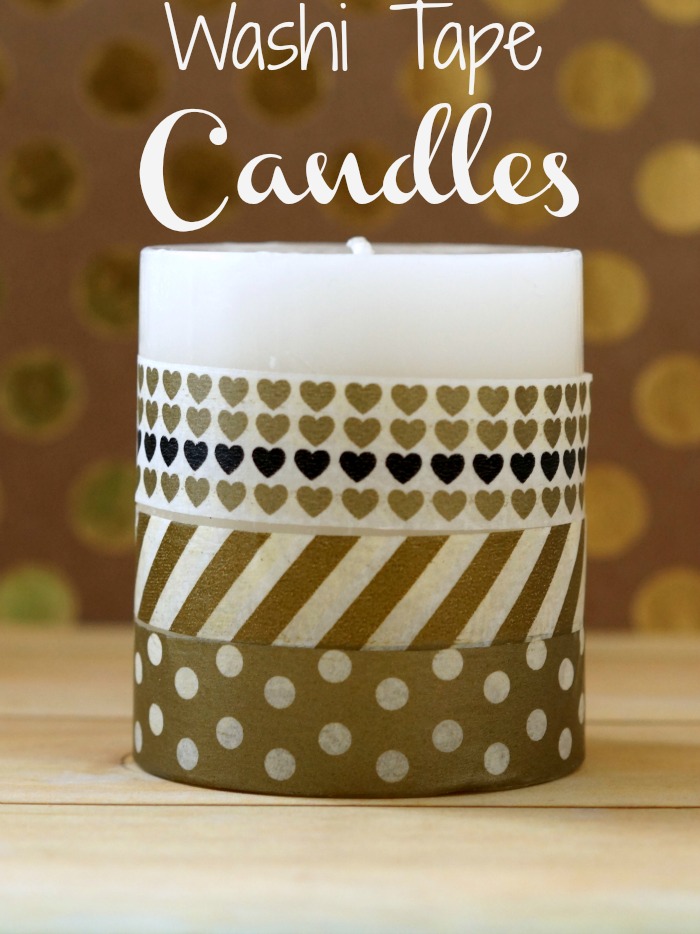
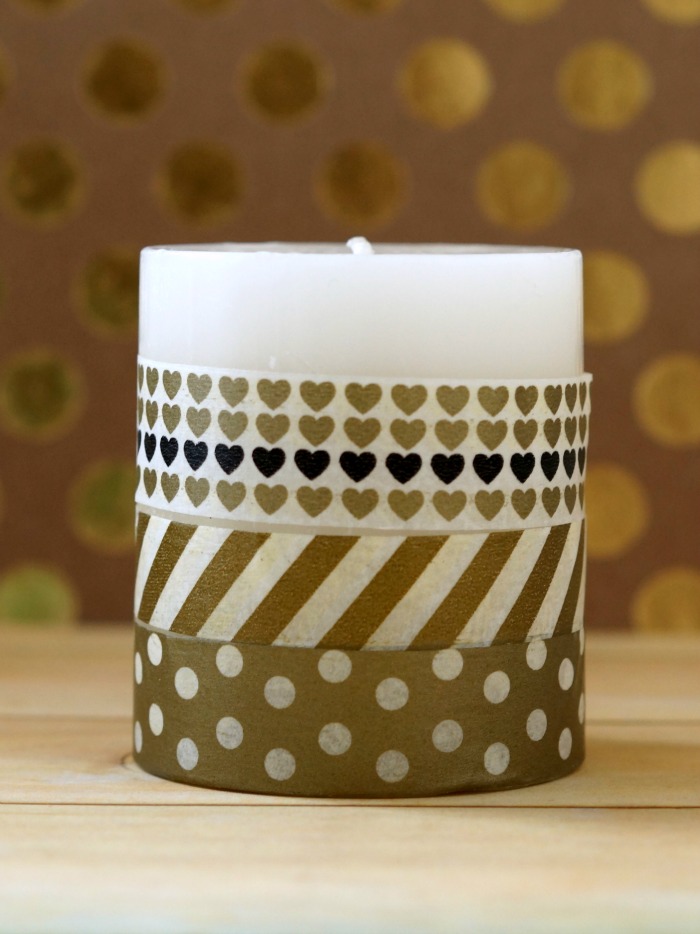
DIY Washi Tape Candles can really change the look of any room or event.
I was recently drafted for décor help for a gathering. Since we were putting this together last minute, and on a somewhat shoestring budget, we had to get creative. One of the main items we used were candles. But, how do we jazz these candles up quickly, and on a budget? Washi tape to the rescue! Oh yes. We made Washi Tape Candles!
Washi Tape Candles
Supplies
- Candles
- Washi Tape in coordinating colors and patterns.
- Ruler
- scissors
Directions
Unwrap your candle, making sure to get all of the plastic wrap off. There were a few where we failed on this step, and they didn’t look as good.
Give your candles a good wipe down with a paper towel or washcloth. We want to remove any grease or debris.
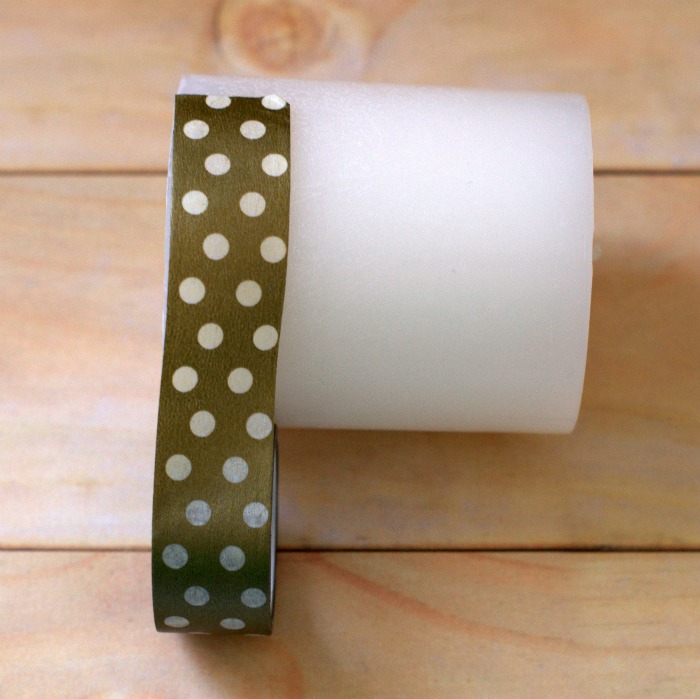
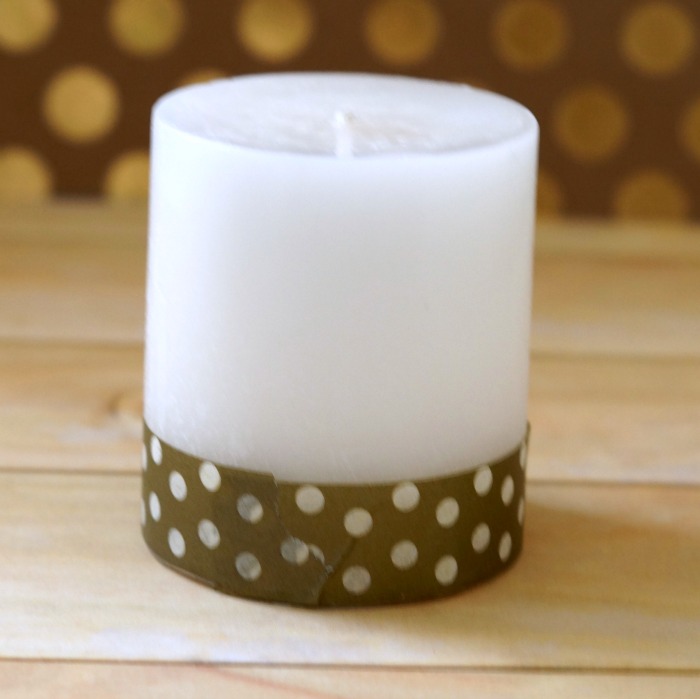
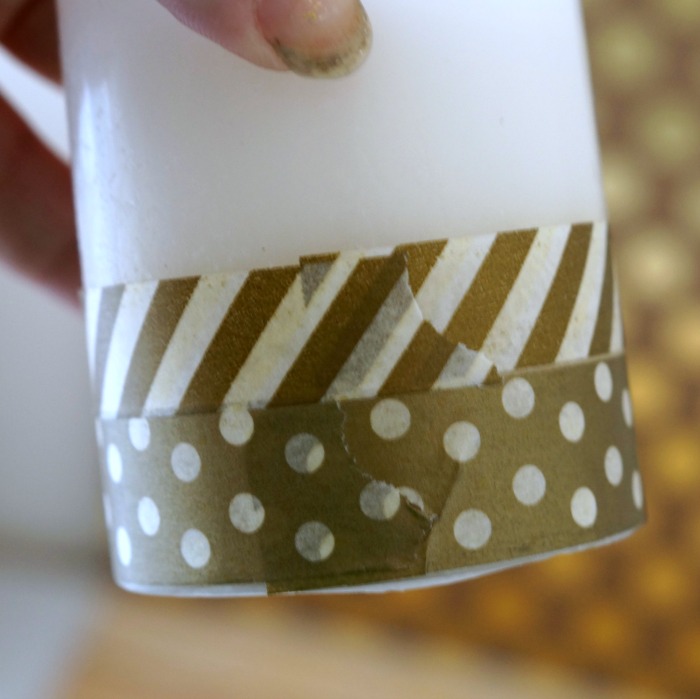
Take your washi tape, and stick one end to your candle. Now, wrap your tape all the way around your candle. Do this a bit slowly, to make sure that it’s on straight and is sticking to the candle. You also want to make sure it doesn’t have too many wrinkles.
Overlap the washi tape ends slightly and cut or tear the tape off the roll.
If your paper tape is having difficulty sticking, burnish it down with a credit card or small squeegee for vinyl. This will really help your washi tape candle come together.
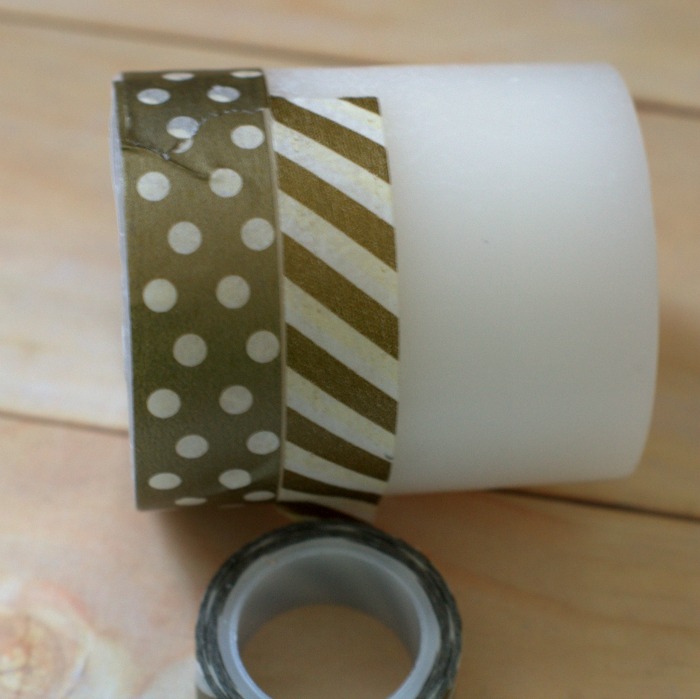
Take your next pattern of paper tape, and repeat the above steps. Repeat as desired, until you get the look you want. I found that 2-4 stripes looked the best for the washi tape candles.
I like the look of the washi tape being around the bottom of the candles, but feel free to experiment.
After a couple hours, the washi tape and the candle will become one. It’s almost like a cool science experiment seeing the washi tape absorb the wax and the wax accept the paper. This melding will help your washi tape candles stay together.
Total time: 5-10 minutes each.
Total costs: $1 for the candle + $5-8 for a set of washi tape. You can get 8-10 candles of this size (sm pillar) from a set.
Will you be making washi tape candles?

