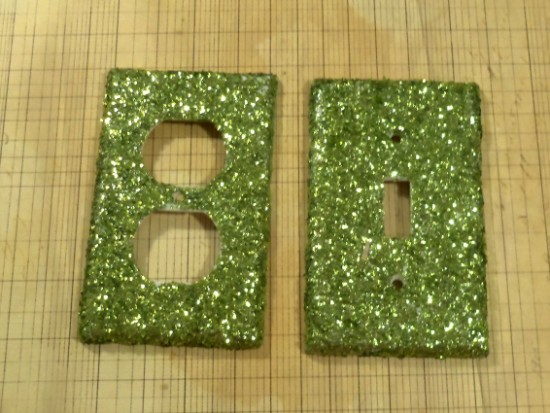
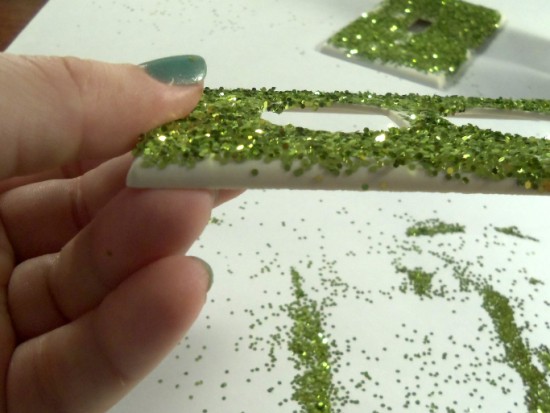
I love all things that are sparkly or glittery. I’m not sure why, but glitter and sparkle just calls to me like a beacon. When I saw a switch plate that had rows of crystals on it, I thought to myself “Couldn’t you do that with glitter?”
You will need:
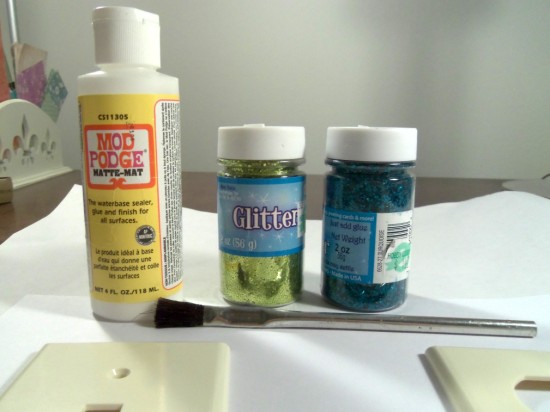
Switch plate
Glitter
Mod Podge or other clear drying glue
Spray Sealer. I used Krylon Triple Thick Clear.
Newspaper, or other protective surface covering
Brush for applying glue
Smaller paper, to save your glitter.
Alcohol
Spray Box.
How To Make a Glitter Switch plate:
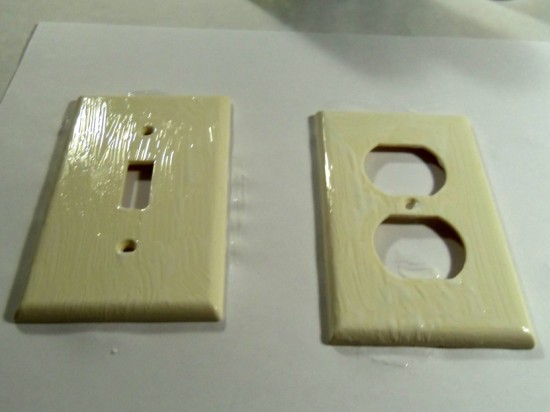
Clean your switch plates really well. I like to rub mine with alcohol to remove any kind of grease or residue. Set aside to let dry.
Coat your switch plates with glue. Be sure to put on a thin, even coat.
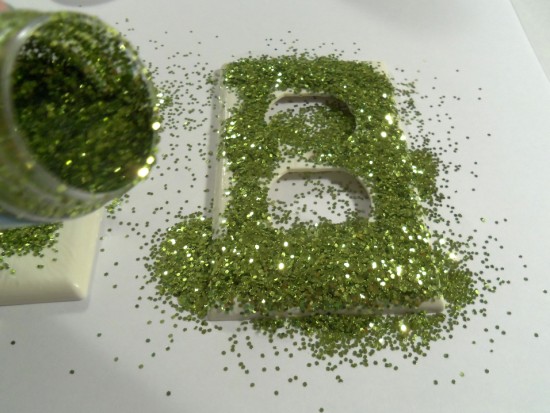
Place your switch plates on the smaller piece of paper. Cover with glitter. Shake excess glitter off switch plate and set aside. Return glitter to container.
Check your switch plate for any missed spots. Apply glue and cover with glitter again. Repeat until all spots are covered. You can see where I didn't get the side of this covered with glue.
Set aside and let dry completely.
Once the switch plate is completely dry, spray with sealer, making sure to get the sides. Set aside and let cure. If it needs another coat after its dry, just spray it again.
Helpful hint: You will want to use the spray sealer in a well ventilated area. Use a spray box to help catch the overspray.
Your Glitter Switch plate project is now complete. Pretty easy, right?
Total time: 1 day
Work time: 20 minutes
Investment Costs: About $20, including varnish, glitter, brush, and Mod Podge. If you already have these items, your costs will be less.
Per piece cost: $0.45, depending on your glitter and switch plate. I spent about $2 for the glitter and the switch plates came from Home Depot for about $0.15 each.

