I love doing DIY for the holidays. Or any time, really. I find that a handmade gift is so special, and sometimes the recipient even appreciates how much time and effort went into the item. Anyone that’s ever given handmade gifts knows what I’m talking about.
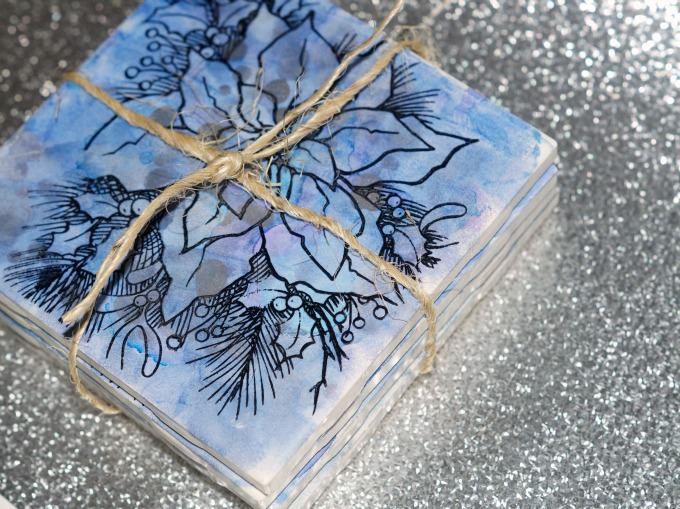
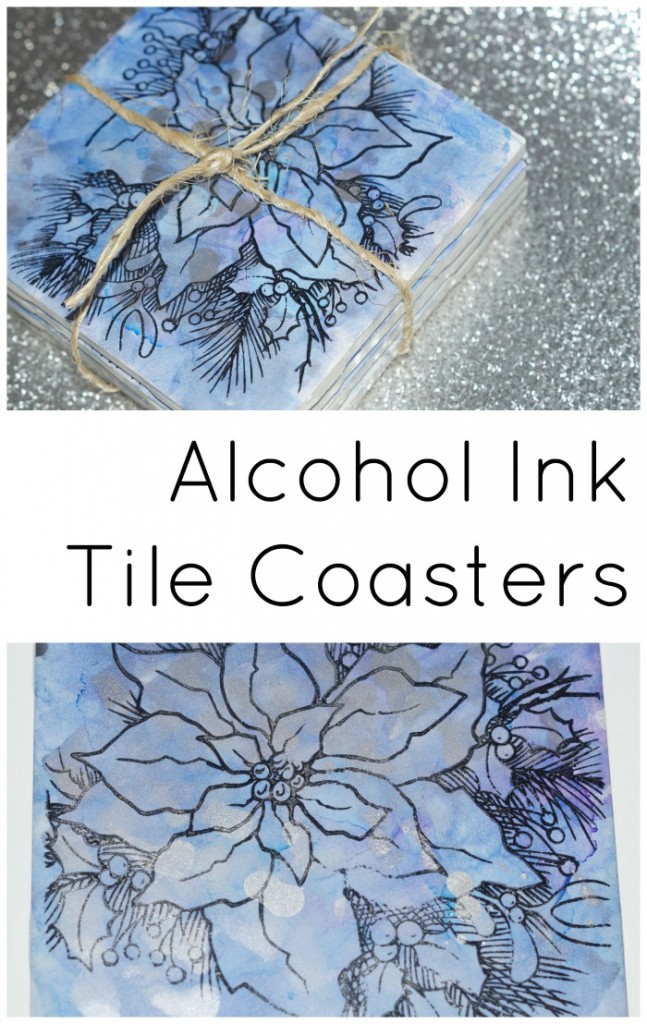
I really like to give useful gifts, too. These easy and elegant upcycled tile coasters are something that just about every one on your gift list can use. You can customize the tile coasters to their personal aesthetic, as well.
I had always been intrigued by Alcohol Inks, but didn’t really know what to do with them. Besides that, they were really expensive! I didn’t realize that you only needed a couple drops. This Tim Holtz Alcohol Ink tutorial gave me the encouragement I needed to jump in feet first!
Easy and Elegant Upcycled Tile Coasters
Links may be affiliate links.
Supplies
- 4 Ceramic tiles. I got mine from Home Depot. They’re about 15 cents each.
- Alcohol inks. These are from Tim Holtz and work beautifully. I’m using blue, purple, gold, and silver.
- Cork – This is probably enough cork to last for the rest of your life!
- Staz On stamp pad. This is solvent based ink, and works beautifully.
- Stamp of your choice. This one is from Stampendous.
- Advanced Strength Glue Dots or E6000
- Cosmetic sponge or gauze
- Alcohol. I use a little alcohol pad, but a spray bottle works great too.
- Scissors
- Krylon Triple Thick Spray Sealer
Upcycled Tile Coasters Directions
Rub your tile down with alcohol. This will clean it of any debris, and give a little more working time with the inks.
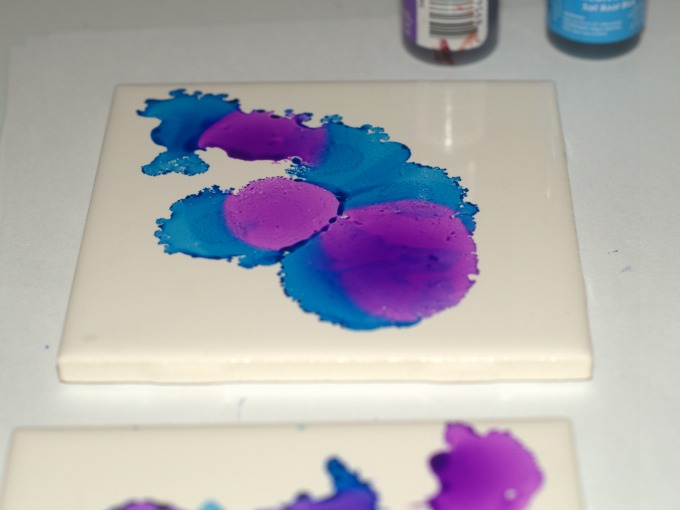
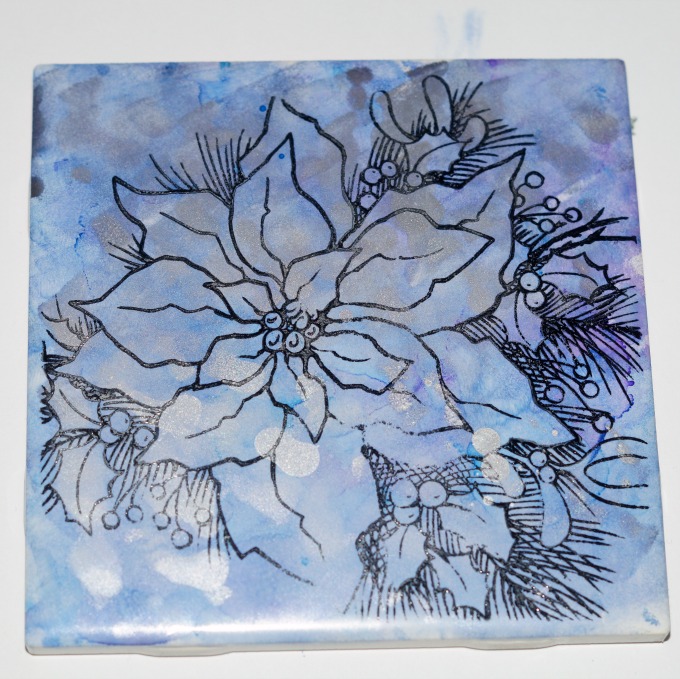
Drip a few drops of alcohol ink on your tile in a couple of colors. Mush the inks together using the cosmetic sponge, and cover the entire tile with ink. Use a dabbing motion. These few drops should be enough ink. Set aside for a minute to dry.
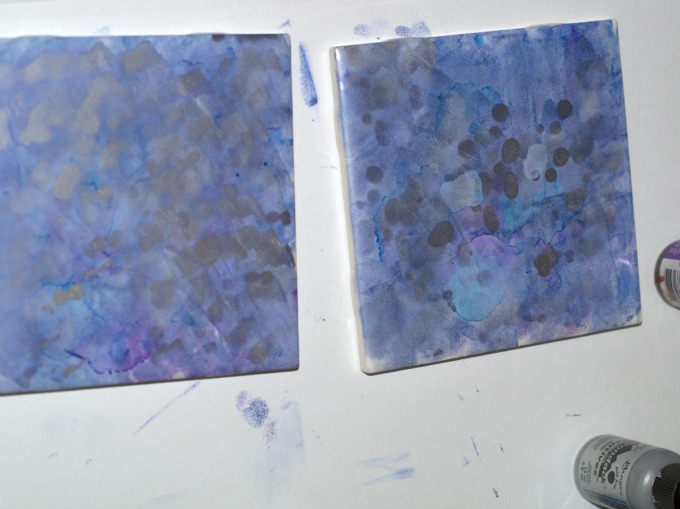
Look at the tile and see how it looks. Does it need more of one color? Does it need some shimmer or a metallic sheen? Repeat the process above to adjust the look, until you’re happy with the tile. Set aside to dry completely, about 5 minutes. You can easily do two tiles at a time.
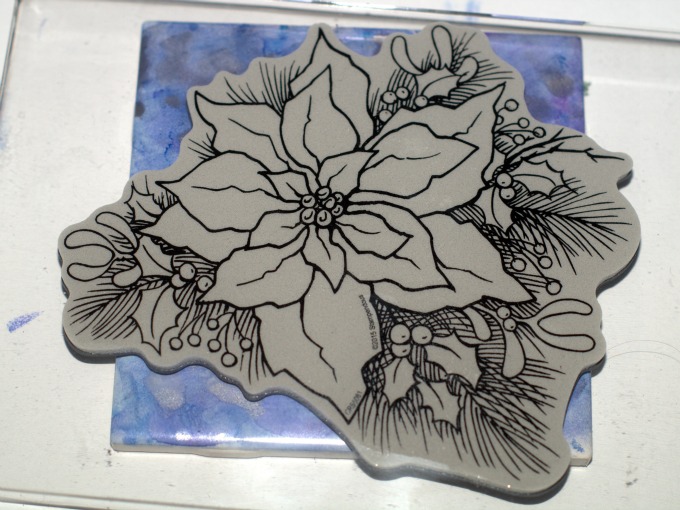
Ink the stamp up with Staz On ink. This is solvent based ink and will set on the ceramic tile. I’m using a clear stamp, so I can see the design and the tile really well and line up how I want the image.
Stamp the image on the tile, pressing really evenly. Walk your fingers over the stamp, pressing as you go. Lift the stamp.
The image should have transferred to the tile. Don’t worry if it’s not perfect! It adds to the charm, and usually still looks really good. If the tile gets too messed up, just start over again. They’re like $0.15!
Set aside to dry. About 10 minutes or so.
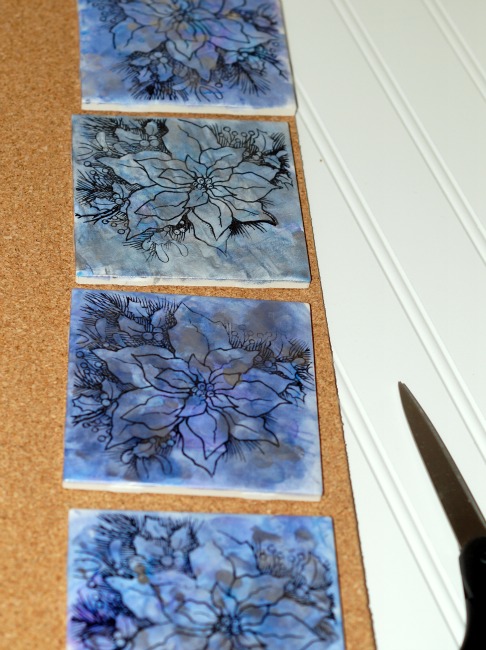
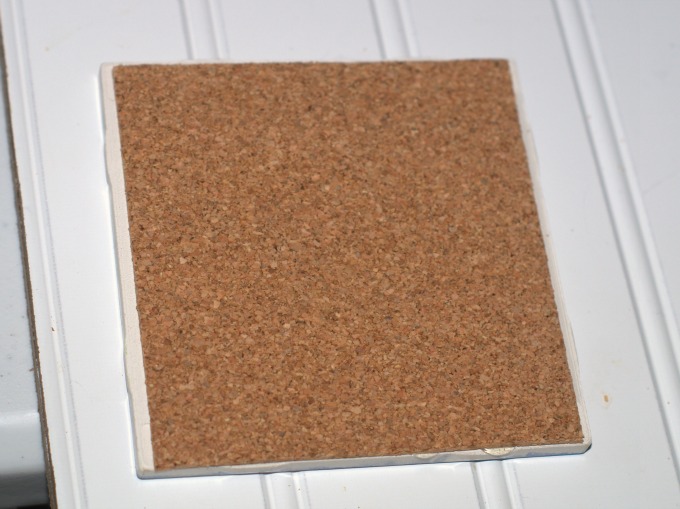
Trace the tile onto the cork. Trim the cork to fit the bottom of the tile. Adhere to the tile using Advanced Strength Glue Dots or E6000. Repeat for the whole set.
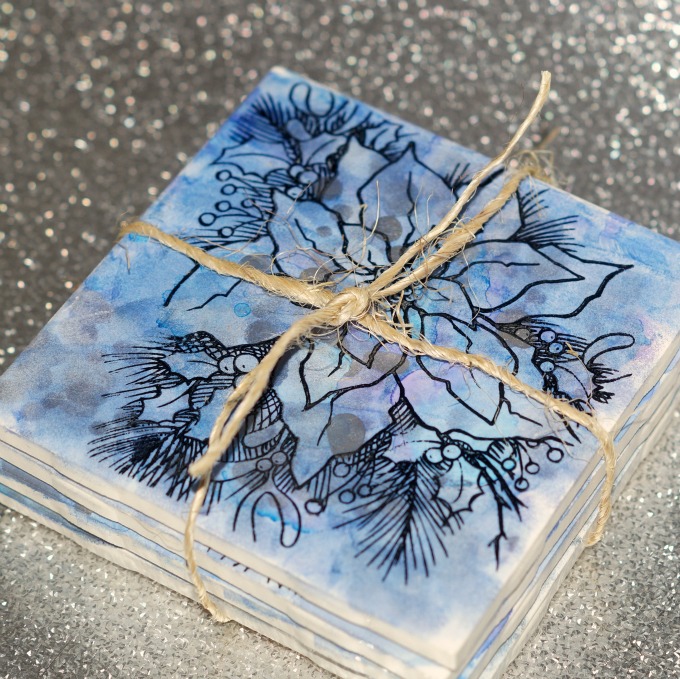
Spray with a spray sealer. I really like the Krylon Triple Thick spray sealers. Voila! You have a really elegant set of upcycled tile coasters that you made for about $1! Make a set for everyone on your list this season. These upcycled tile coasters are a great craft fair item, too.
For more Pinterest Remakes, here are a few of my favorite bloggers:
- Peppermint Body Scrub in 5 Minutes by Confessions of an Overworked Mom
- Chocolate “Muddy Buddy” Snowy Pinecones by Food Fun Family
- Make your Own Christmas Tree by 2Boys+1Girl=OneCrazyMom

