Thanks to Oriental Trading for providing some of the supplies for these Resin Glitter Pendants.
As most of you know by now, I have a love affair with glitter. I mean, I’m pretty sure it’s a two-way street and we’re thisclose to being official. I wanted to make something that I could show the world my love, not just another home décor glitter project. Enter the Resin Glitter Pendants.
Real resin is difficult to use, and in my experience, has mixed results. You have to make sure that you mix it just right, for long enough – but not too long – and that the weather is just right. Yeah, I don’t have the time or patience for all of that. Sooo…I chose to use Diamond Glaze, which is a resin-like product, but about a thousand times easier to use. There are other brands of this on the market, but Diamond Glaze and Crystal Lacquer are my favorites.
Supplies needed to make Resin Glitter Pendants
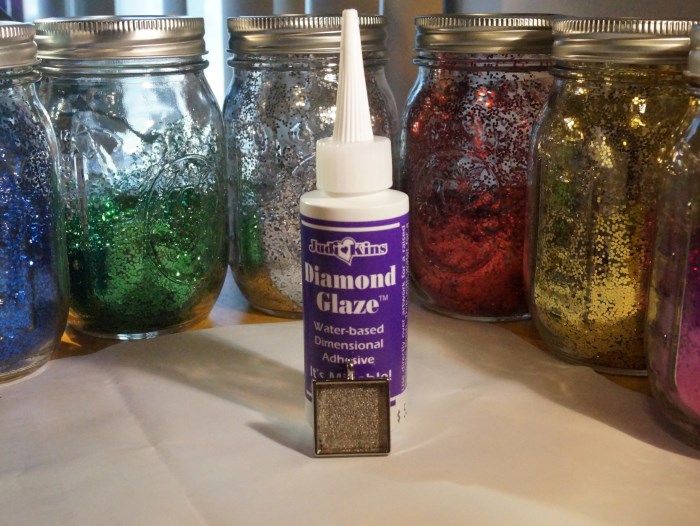
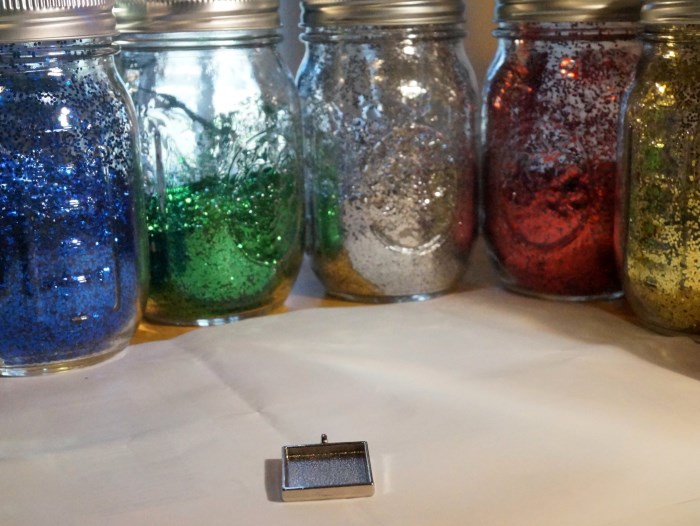
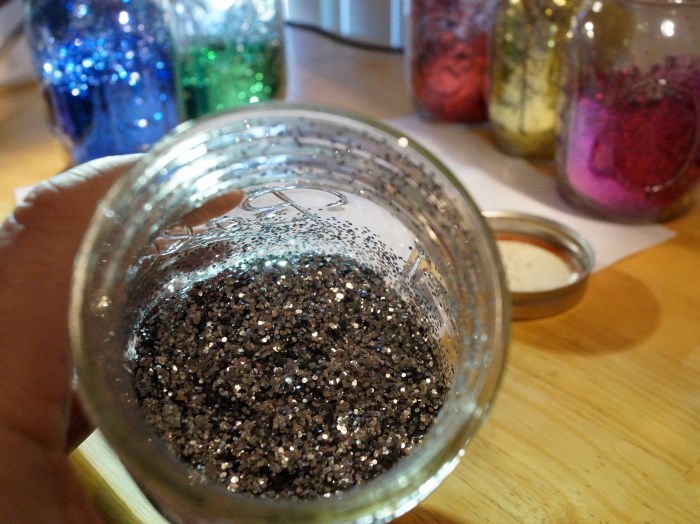
- Glitter. I am using colors from this collection from Oriental Trading.
- Diamond Glaze
- Pendant Blanks. These are available just about everywhere. Be sure to get one that you can set down and is even on the back. You’ll also want to make sure that it has somewhat high sides.
- Chain or Neck Cord – You want to wear your new work of art, don’t ya?
- Rubbing Alcohol
- Cotton Swabs
- Scrap Paper
How to Make Resin Glitter Pendants
Take the pendant blanks and clean them with rubbing alcohol. Let dry completely.
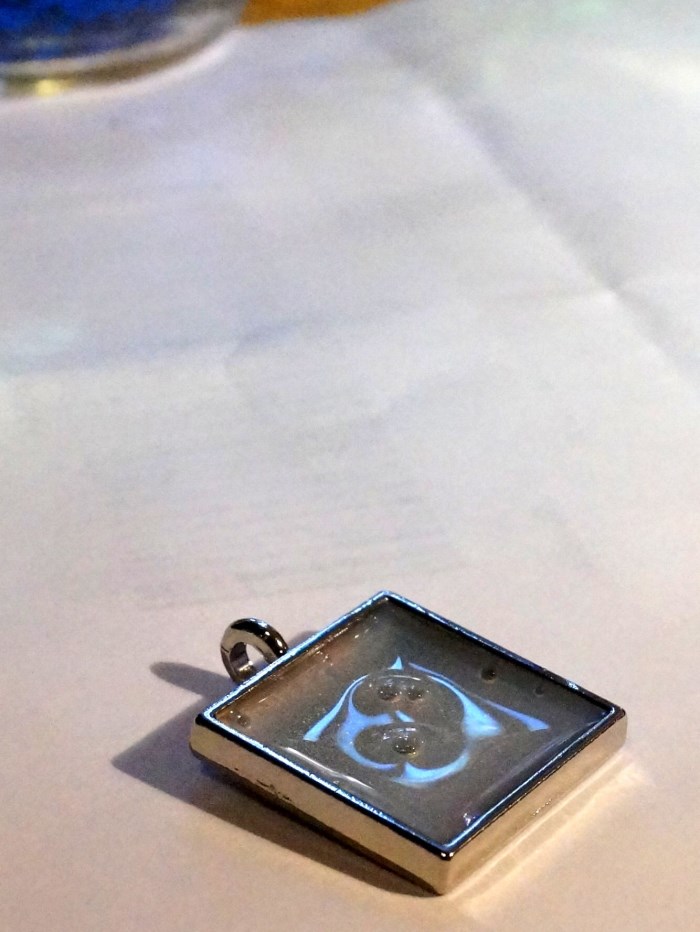
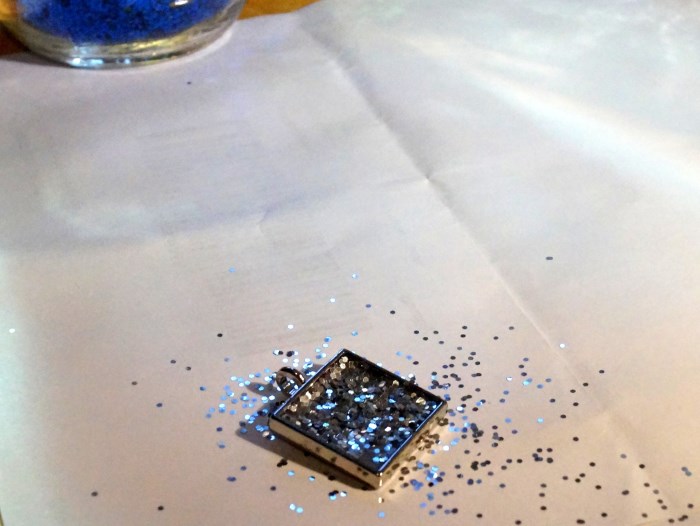
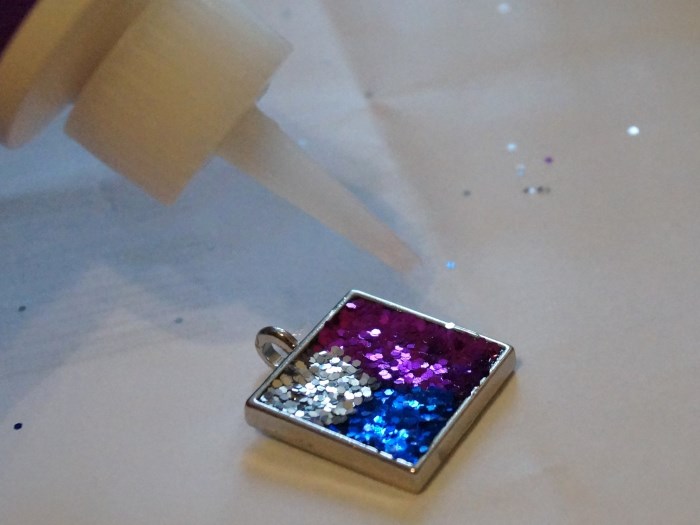
Cover your work surface with your scrap paper. Place your pendant down and place a thin layer of Diamond Glaze in the pendant.
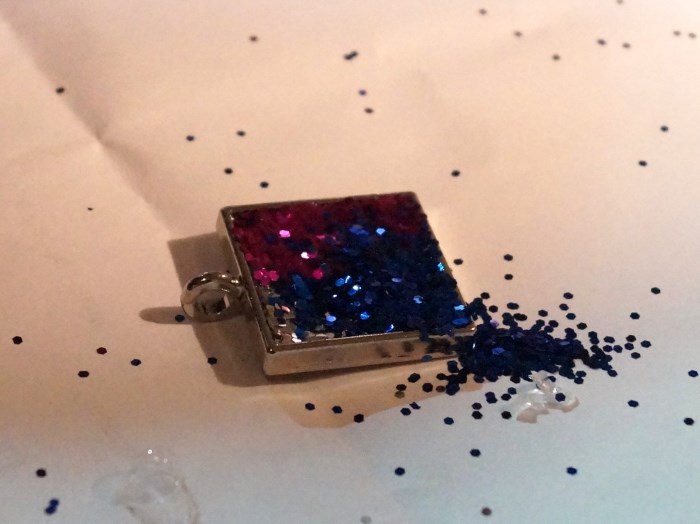
Sprinkle with glitter. Let set, about 10 minutes or so.
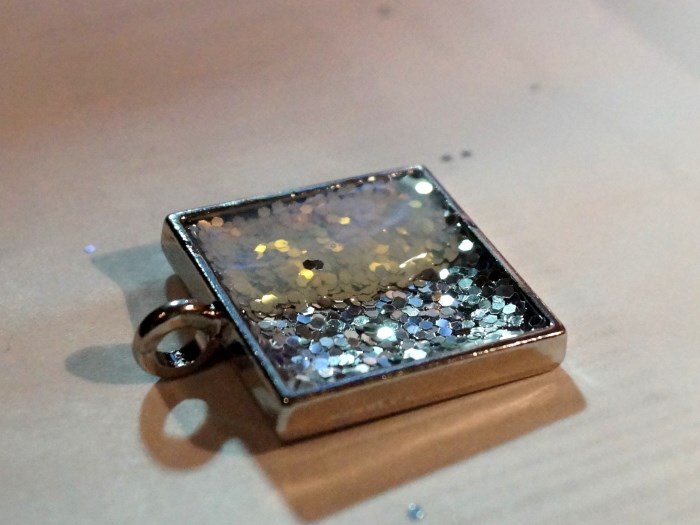
Tap out excess glitter from your pendant, and return to container. Let the Diamond Glaze dry completely. About 30-60 minutes.
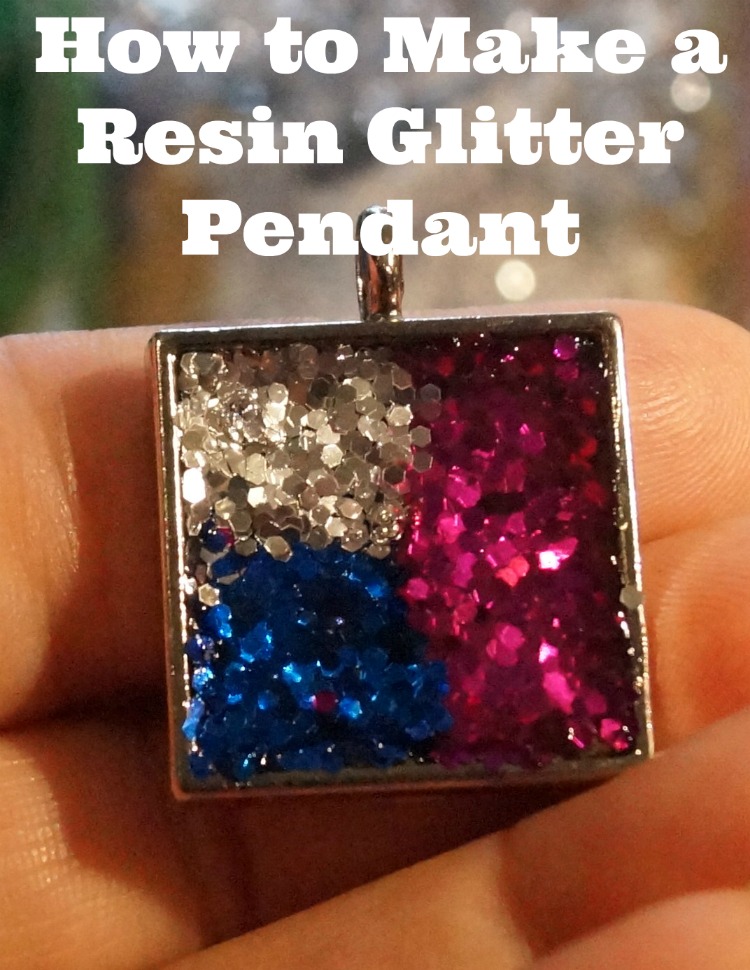
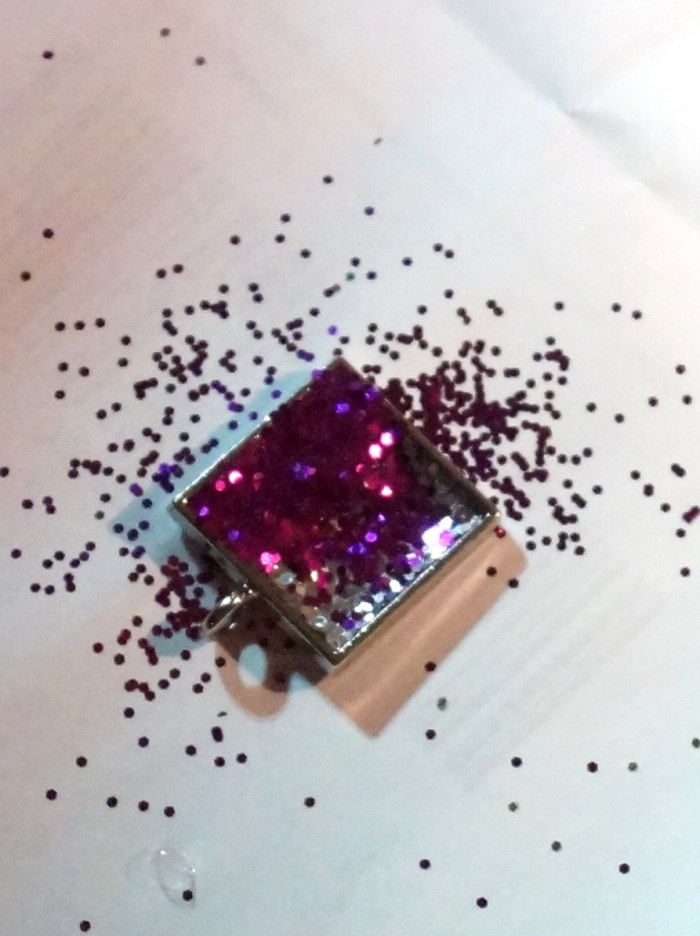
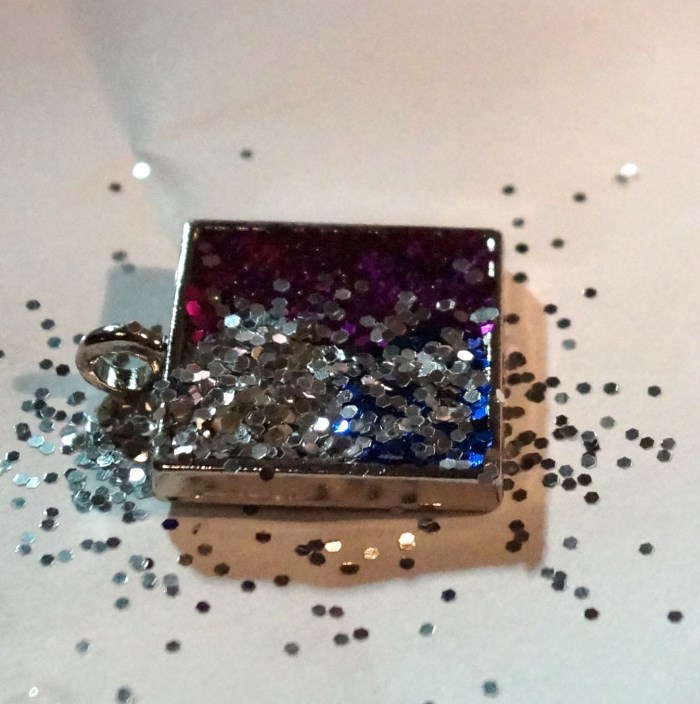
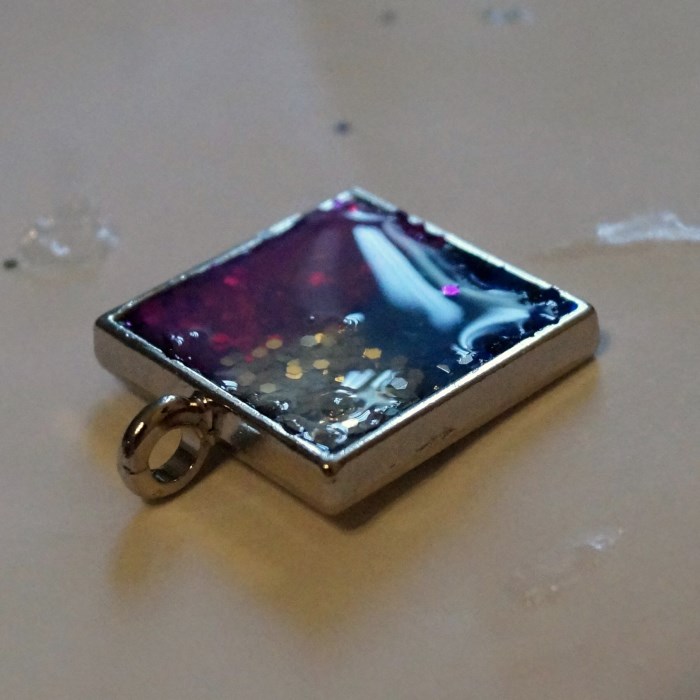
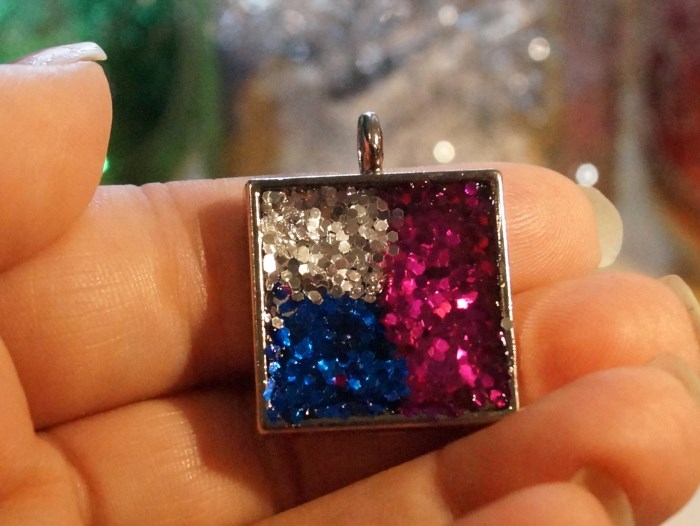
This is where the design aspect really starts to come in to play. Add another layer of Diamond Glaze. If you want to do a pendant like the one shown, only add Diamond Glaze to HALF of the pendant. Do this by drawing a line down the middle of the pendant, carefully, then filling in the one half of the pendant. Add your glitter and let set.
Tap out excess glitter from your pendant, and return to container. Let the Diamond Glaze set about 15 more minutes.
Add more Diamond Glaze to the empty area. Again, I divided the remaining space in half and filled half of it with Diamond Glaze and sprinkled with glitter. Let set 10 minutes and tap the excess glitter from your pendant, and return to the container.
Let the diamond Glaze set for about 15 more minutes, and then fill the last area with Diamond Glaze. Repeat the steps above.
Let dry completely, approximately 30-60 minutes.
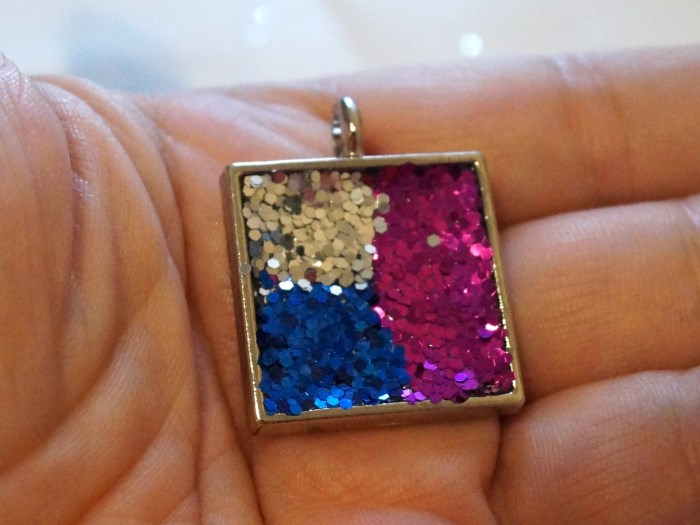
Top off with two layers of Diamond Glaze, to get a high gloss shine that really packs a punch! Let these layers dry completely between them.
Voila! You now have a completed Resin Glitter Pendant that has a high shine finish, and a ton of sparkle.
Helpful tips for making Resin Glitter Pendants –
If you get a bubble in your pendant, pop it! Use a pin, a needle, or even a toothpick. Sometimes, it doesn’t want to pop, but it will let you move it to a corner or lift it out completely.
Use a complimentary color of glitter as the first layer of your pendant. Personally, I used silver, to add some brightness to the project.
This is a great project for assembly lines. Resin glitter pendants are big sellers at craft shows, jewelry lines, and even online websites.

