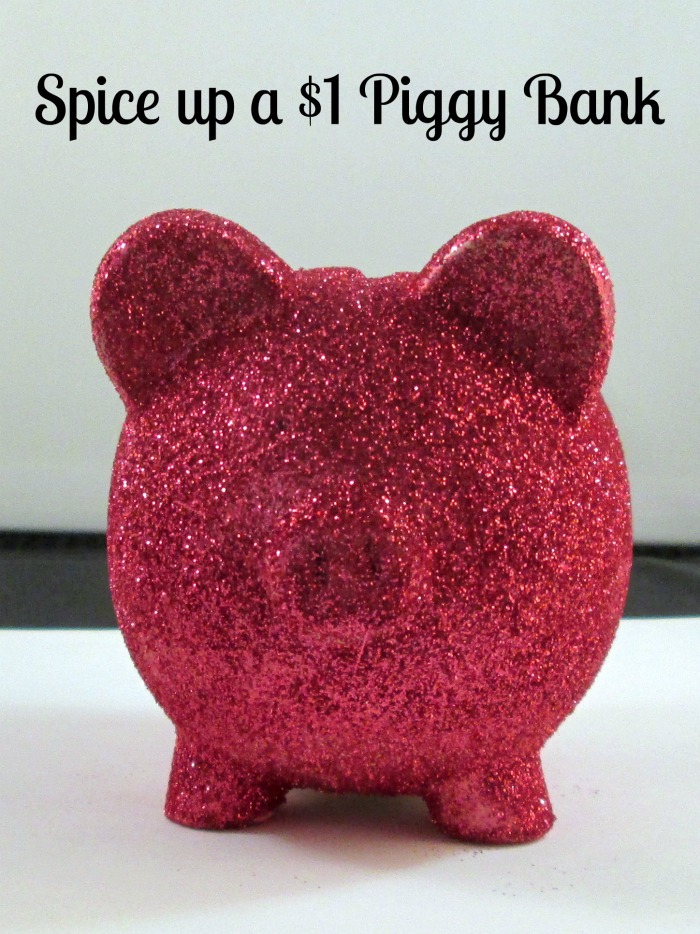
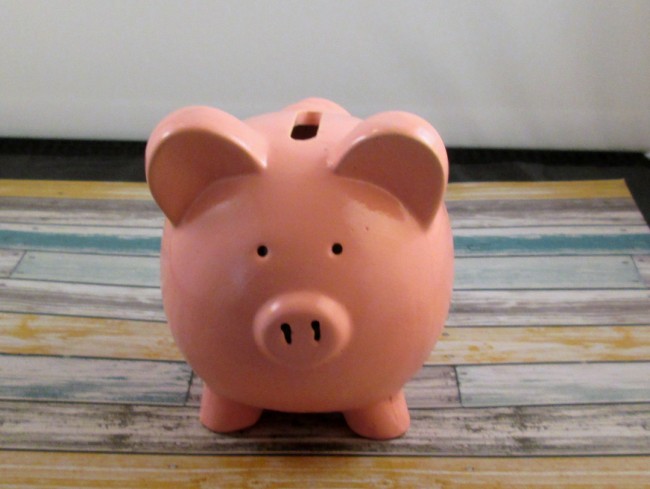
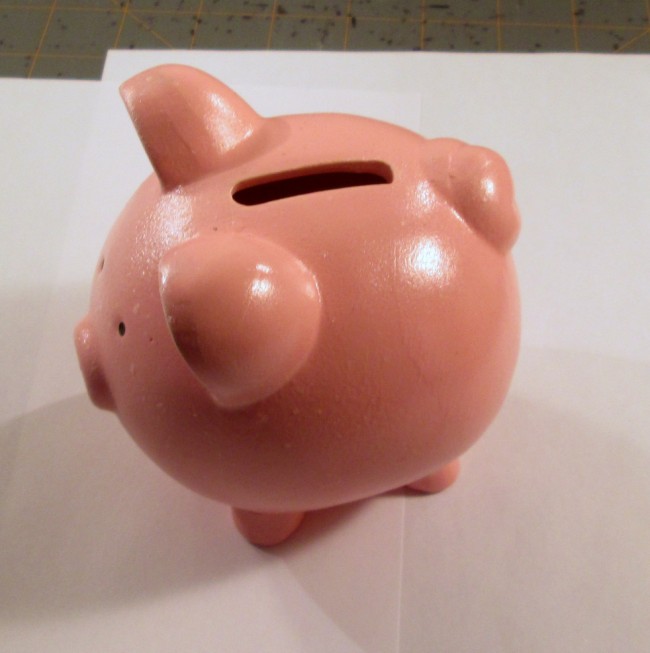
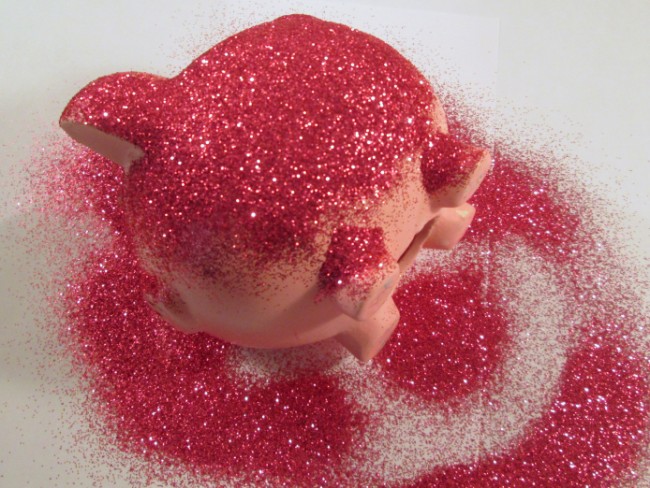
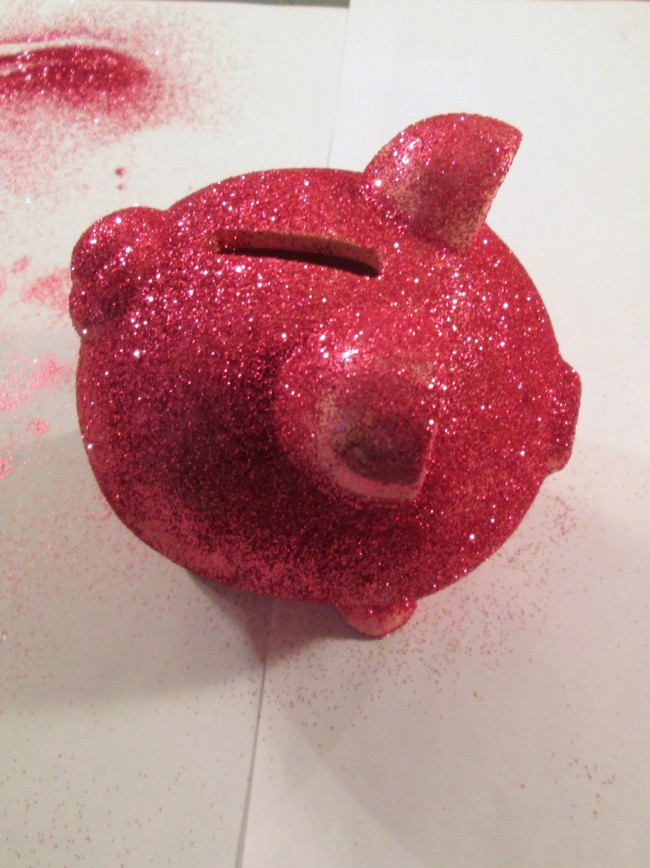
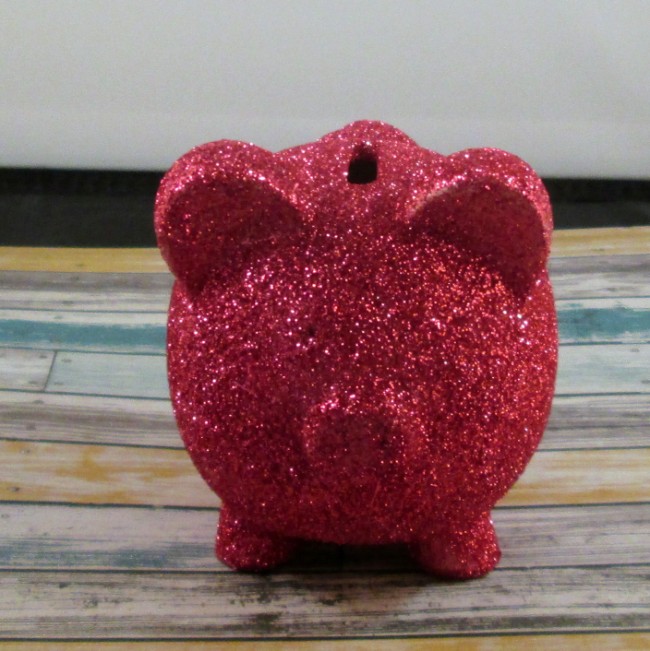
I am a huge fan of glitter. I mean, what’s not to like? It just seems to make everything feel a little more special. Glitter is also a great way to jazz up something that’s plain or has even seen better days. For this project, I took a plain ol’ piggy bank from the dollar store and decided to make it shine!
How to Glitter a Dollar Store Piggy Bank
Supplies needed
Piggy Bank
Fine or Ultra Fine Glitter – You’ll want a fairly large quantity. You don’t use that much, but it makes life easier
Spray adhesive or mod podge
Spray sealer
Scrap paper
Paper towels
Fine grit Sandpaper
Directions
Clean the piggy bank. I used a damp paper towel to wipe off the dust and dirt. There wasn’t really any greasy residue.
My piggy bank had a matte, porous finish. If yours has a glossy finish, you may want to rough up the surface by lightly sanding it.
Spray with adhesive. Be sure to get all sides and angles. You want to do this outside, as spray adhesive has quite the odor.
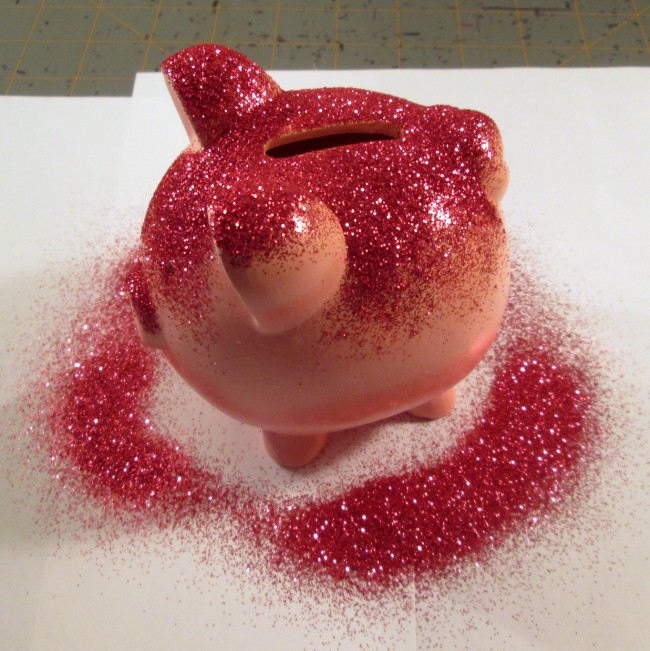
Place scrap paper down. Place the piggy bank on the paper. Sprinkle very liberally with glitter.
Roll the pig on the side and sprinkle glitter on the side. Repeat for every angle. Shake off the excess glitter & return to jar.
If necessary, add more adhesive and sprinkle with additional glitter. Shake off excess glitter & return to jar. Let sit for a couple hours.
If desired, finish your item with a spray sealer. This helps to prevent the glitter from shedding and getting all over the place.
Total Cost:
$1 for the Piggy Bank
$3 for a jar of glitter
$8 for a can of Spray adhesive
$7 for a can of Spray Sealer
You use very little of the glitter, adhesive, and sealer. Less than 1/10th of the can!
Total Time:
10 minutes work time, 2 hours or so dry time.
Tips:
If you use spray adhesive, and your glitter starts to melt, let it dry and switch to Mod Podge!
If your glitter melts, DO NOT use spray sealer.

