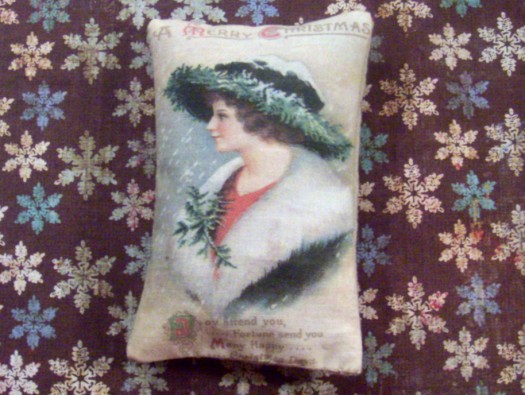
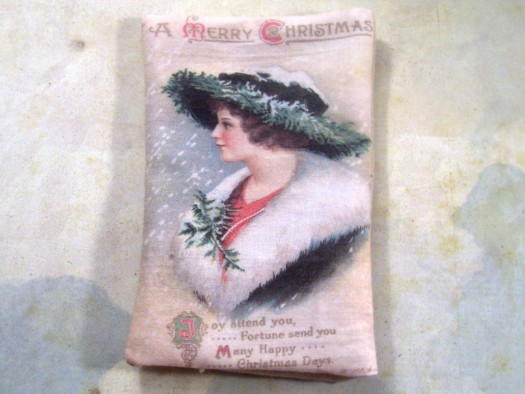
Have you been looking for a quick gift for some friends that is totally different? Everyone needs sachets for their drawers, closets, and chests. These are especially great, as they’re filled with Moth B Gone, which keeps moths away from your wool items.
These sachets are also special, because we’re going to print our own image on fabric! Yep, that’s right! No store bought fabric for us. Okay, that’s not totally true, but it’s close enough.
I’m going to show you how to print on fabric! We can prepare to print fabric in one of two ways – buy pre-treated sheets of fabric or treat our own fabric. If you’re not going into production mode, buying pre-treated sheets is easiest and probably most cost effective.
Supplies Needed
Printable Fabric
A small piece of fabric for the backing. Mine is approximately 5×5 inches
Filler of your choice – can be lavender, cotton, beans, lentils, something that smells good. Whatever.
Sewing machine
Computer
Inkjet printer
Needle & thread
How to Print on Fabric
Personally, I prefer to treat my own fabric with Bubble Jet Set (BJS). I purchase fabric that has natural fibers – for this project, I used a high thread count cotton muslin. I soak my fabric according to the directions on the bottle, and let dry. I then iron heavy duty freezer paper that’s 8 ½ x 11 onto the sheet of fabric, to make them stiff enough to feed through my printer.
I trim the fabric to size (8 ½ x 11 inches) and set the offcuts to the side. If there are large pieces, like 5×8 or so, I save those and adhere to labels to go through the printer. I prep a decent amount of fabric at once, and save the sheets I haven’t used.
There are recipes out there to make your own BJS. I’ve never tried it, and have heard of varying success rates with it. Some printers also allow you to print directly on fabric with no pre-treating. For this project, you’d probably be fine, as we won’t be laundering.
To make the sachet
Take your image and size it to your project. I just used Word and scaled the image until it was a size I wanted.
Take your treated fabric and place it in your printer. Print your image just like you’d print any other file. I have my printer on the lowest settings it will go, and my images are just fine. I have fresh hp inkjet cartridges, but that doesn’t seem to matter.
I try to plan the print so that I get the most images out of a page. For the size of sachet I made, I was able to get 4 images from one sheet of fabric. You want to leave about an inch border around your images for printing. That means 2 inches in between images.
Cut apart and peel the images from the backing. Or peel your fabric from your backing and cut images apart. Either way works, but if you’re making your own pages, you can re-use the freezer paper.
Take your backing fabric and cut it roughly the same size as your printed image with border. Put right sides together and sew. I lined up my machine’s needle to the edge of the image and sewed along one of the long sides first, then the top, then the next long edge, then the bottom. Leave a 2 inch opening. I sew continuously, without stopping. You can also sew this by hand. It won’t take long at all.
Trim your seam allowance down, except where your opening is. I leave about ¼ to 3/8 inch. Turn right sides out, and make sure the corners are pointed out. If not, you’ll end with more of an oval shape that’s not as cute. You can use a pencil, pen, or knitting needle, etc to do this.
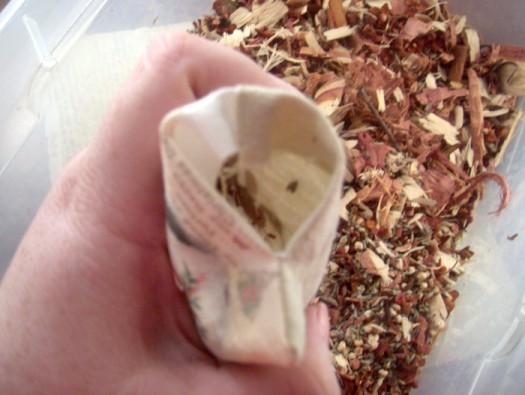
Fold the remaining seam allowance in, making a nice edge. Fill with whatever filling you desire. I filled the sachet with Moth B Gone until it looked right. Sew up the opening. I did it by hand, but you could do it by machine.
Distribute the filling, until your happy with the way your sachet looks.
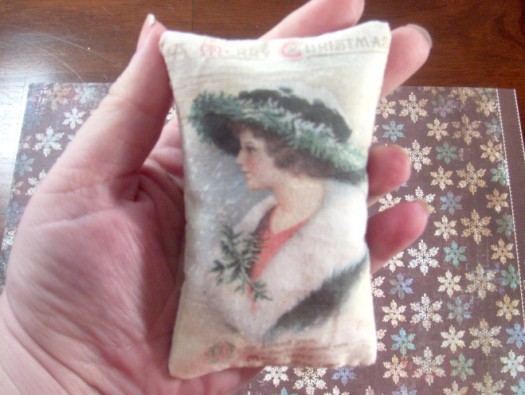
Voila! You have made a sachet.
Total investment: If you buy pre-treated sheets and something like lavender for a filler, you’re probably looking at about $20 to get started. For this, you could make 12 or more sachets.
Total Cost: Again, depends on the filler and the backing fabric. You could easily make these for $0.50 to $1 a piece.
Total Time: Machine sewing: 15 mins, including printing and sewing. Hand Sewing: 30 mins or so.


